Let's learn how to add an image to your course
1. The course has multiple languages?
Before we begin, here are some tips regarding images. Three image formats are accepted. And if the course has multiple languages, it's not a problem, an image can be uploaded for each language.
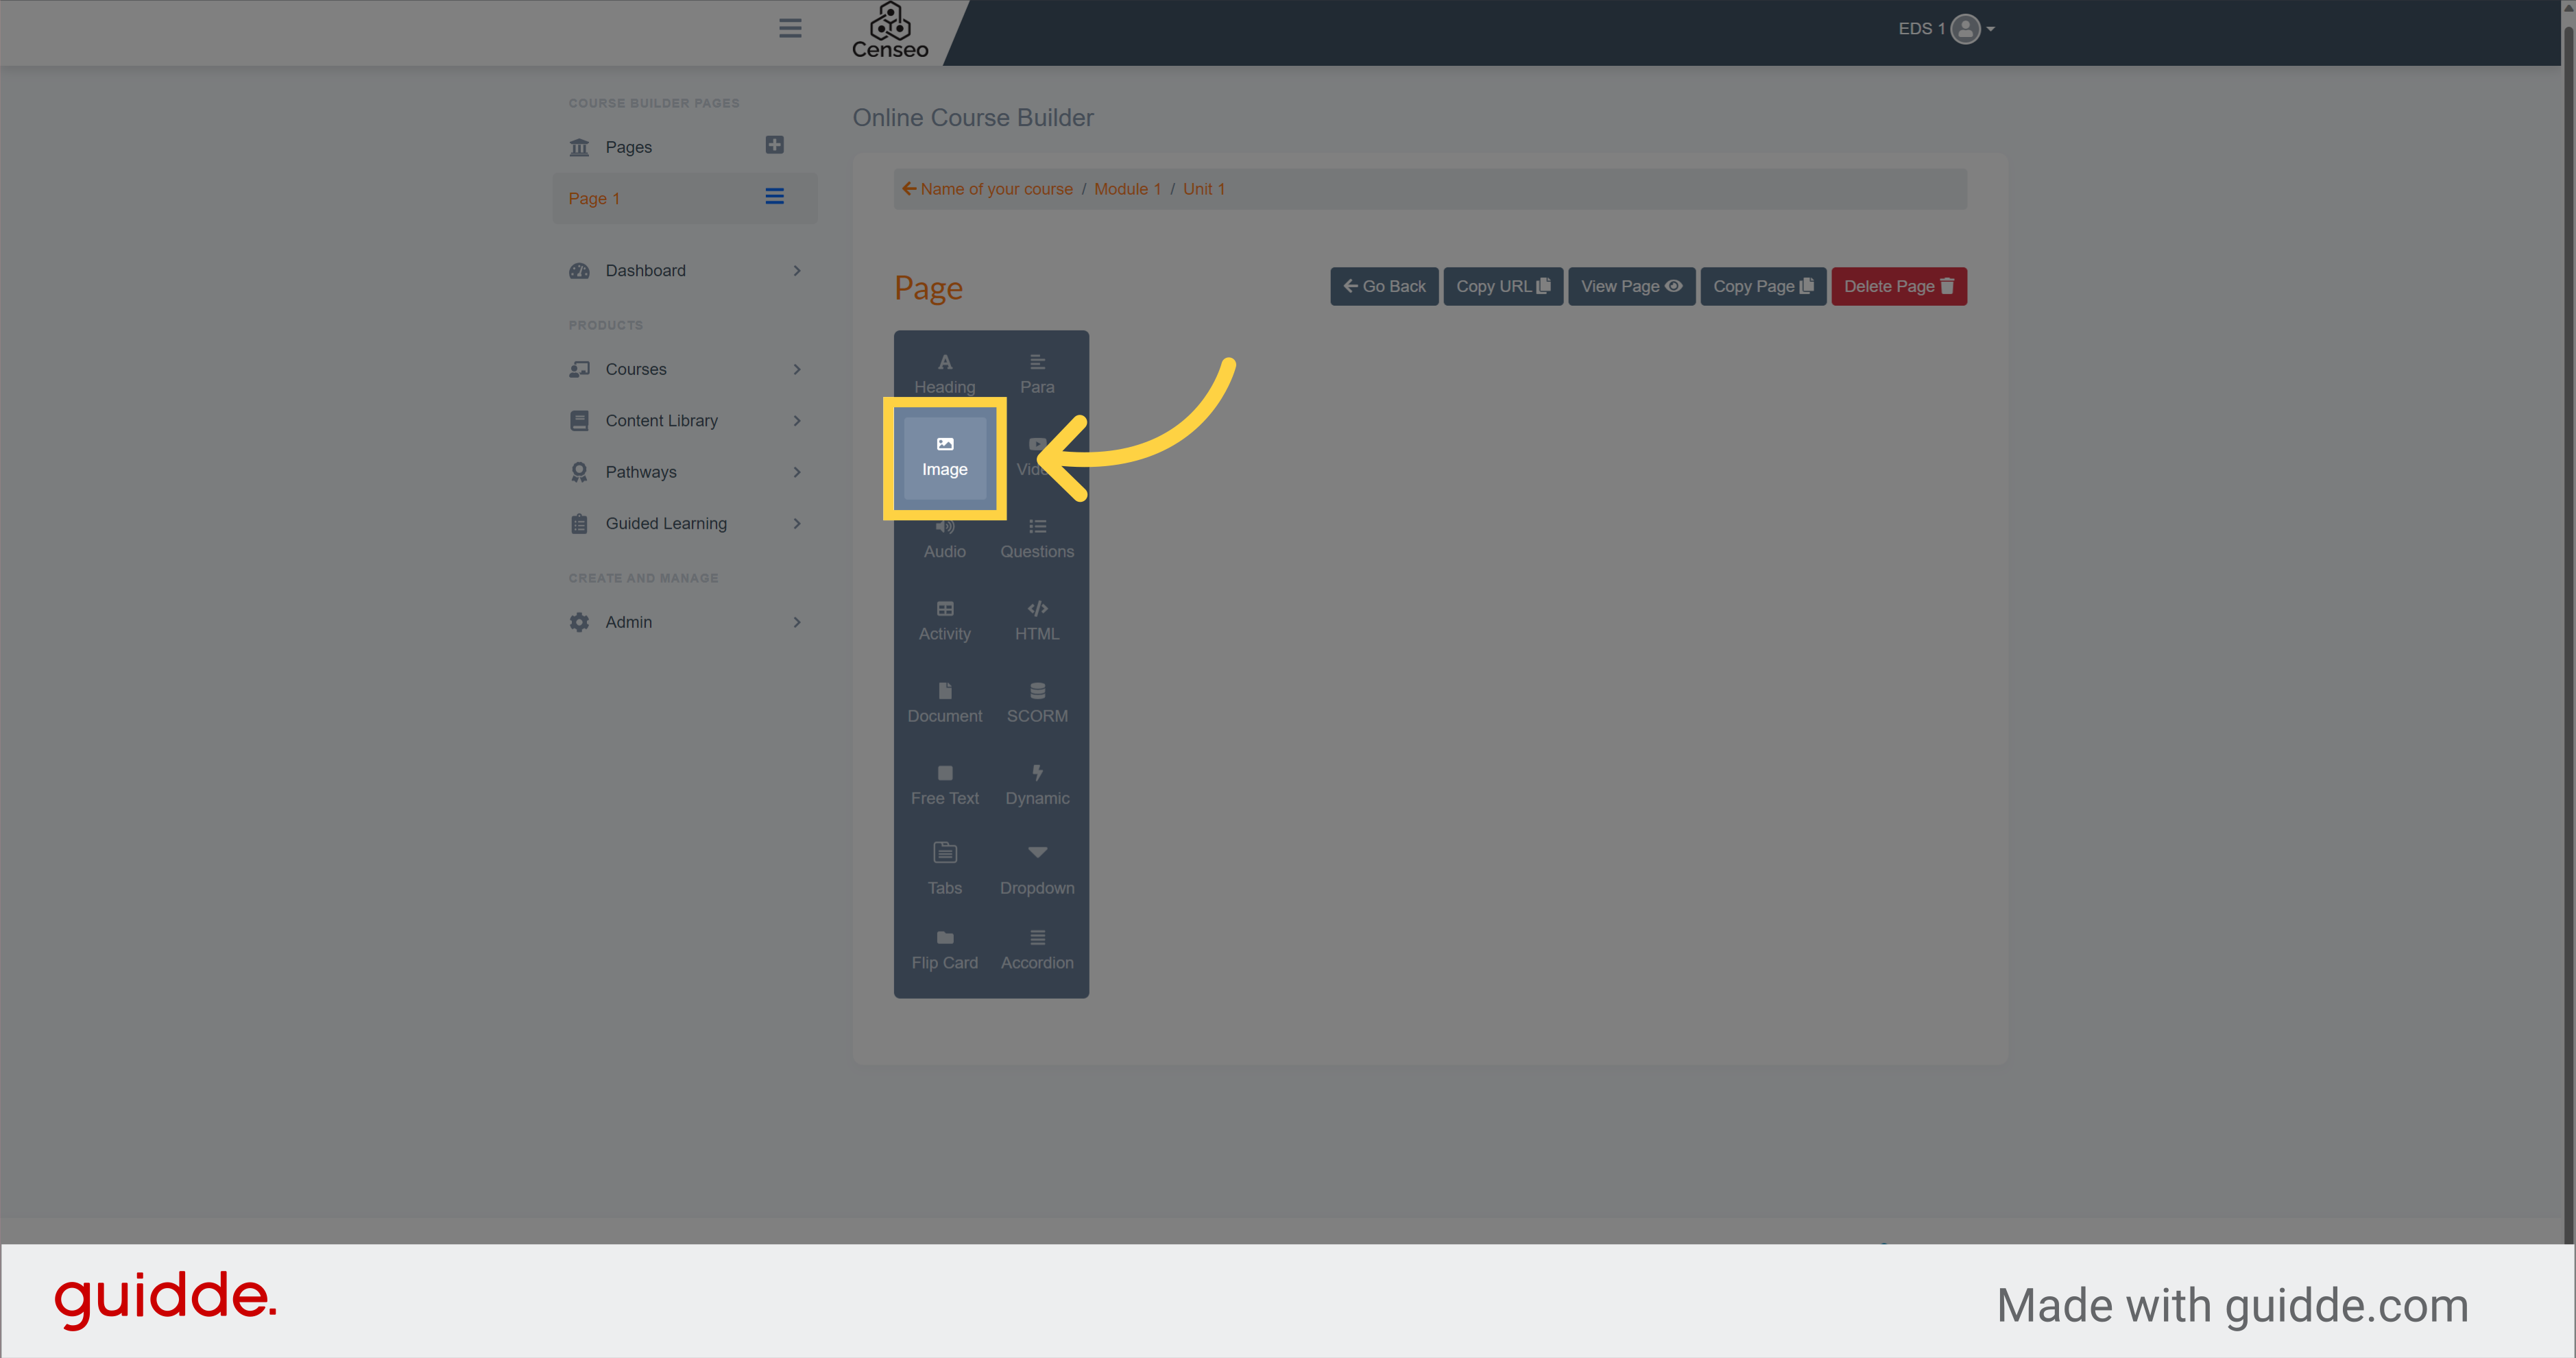
2. Click "Image"
The first step is to Click on the "Image" button and drag it onto the page
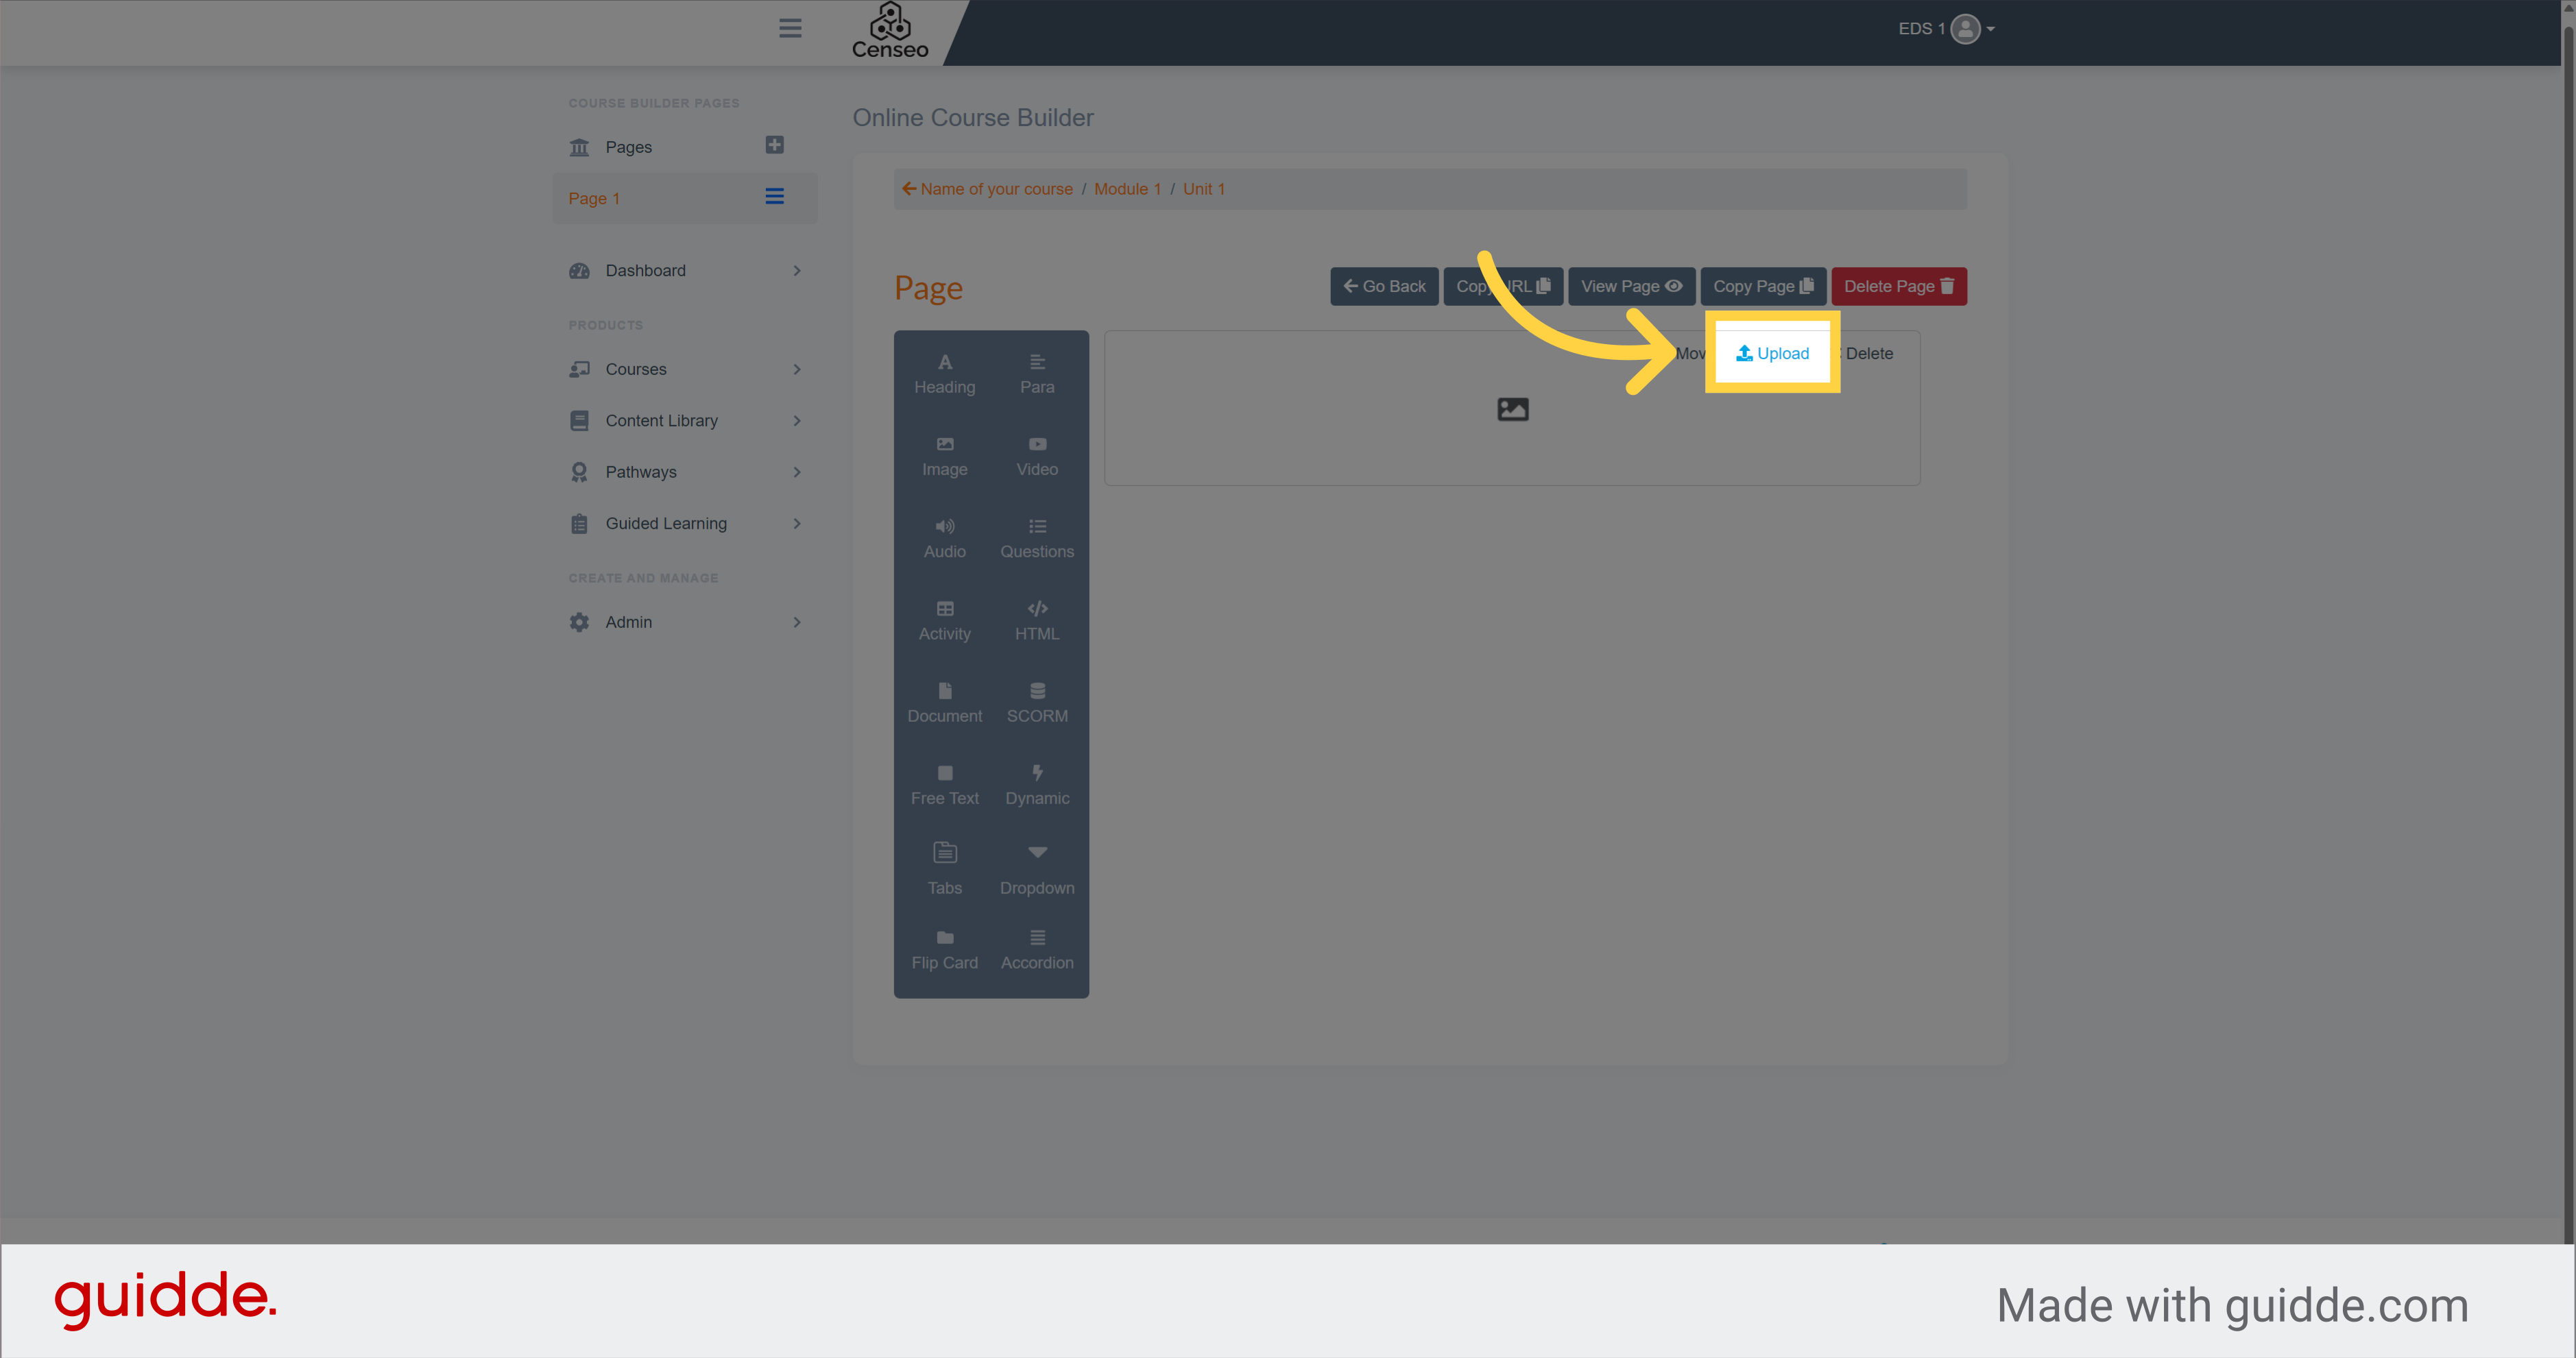
3. Click "Upload"
Then, to upload an image, you have to click on the upload button
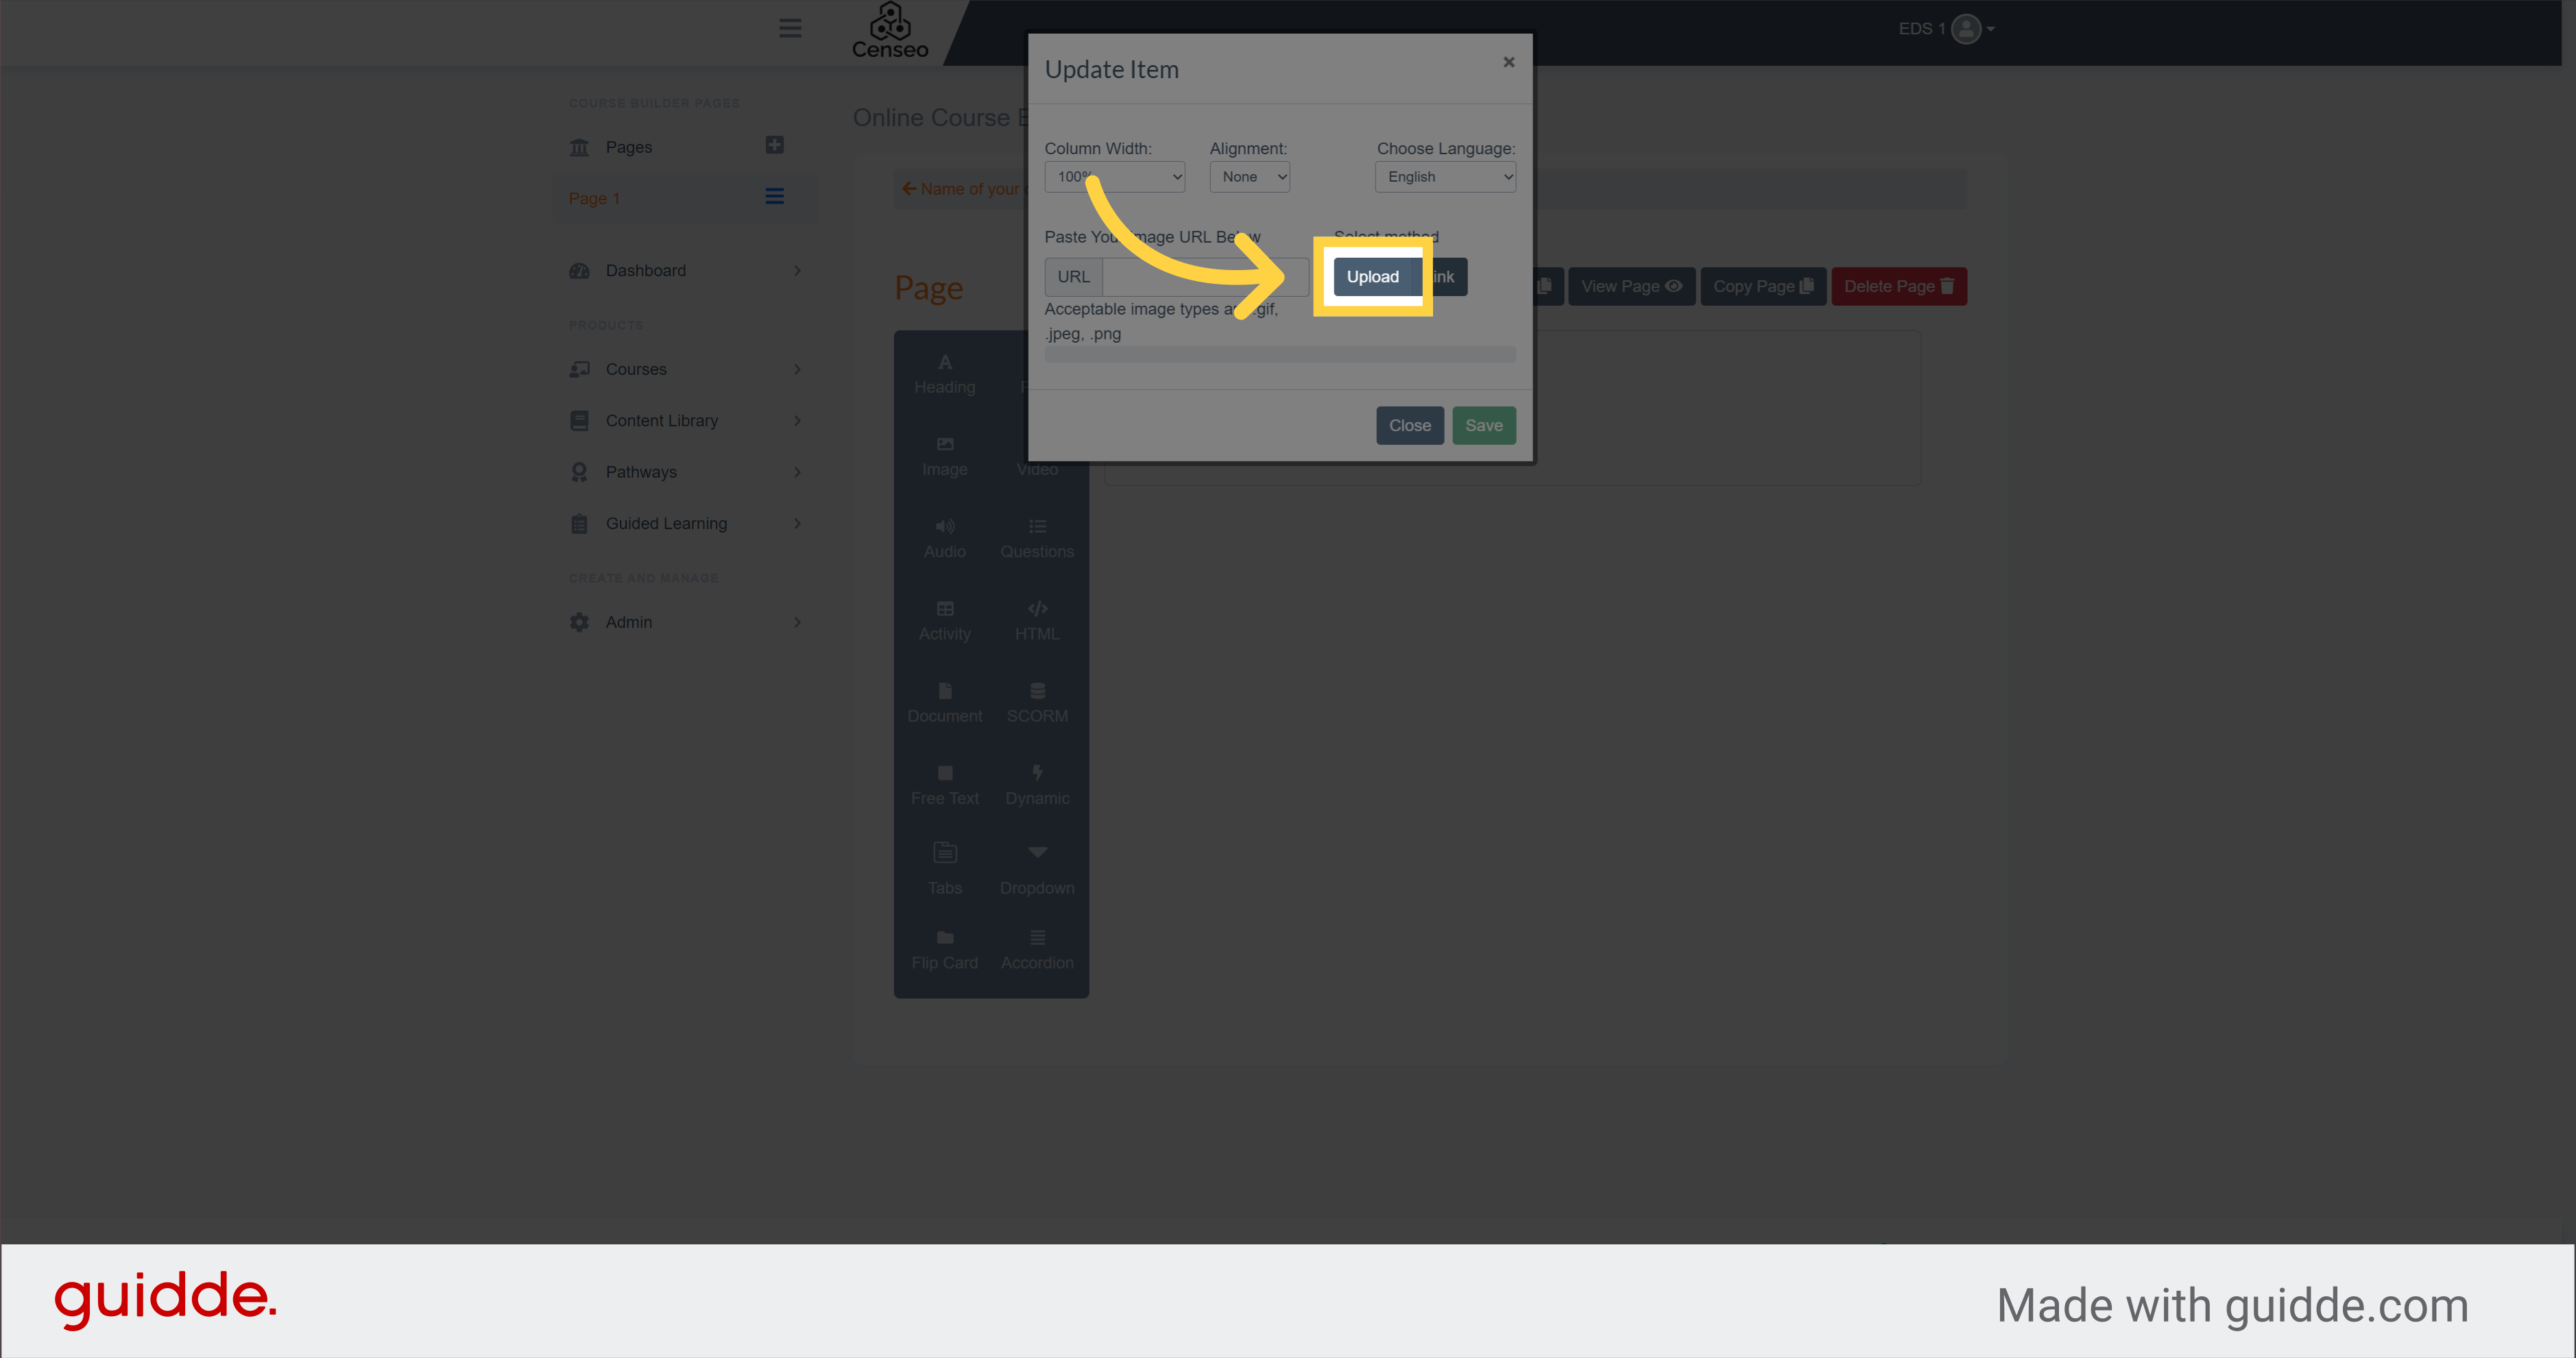
4. Click "Upload"
To add an image that you saved to your computer, click the Upload box
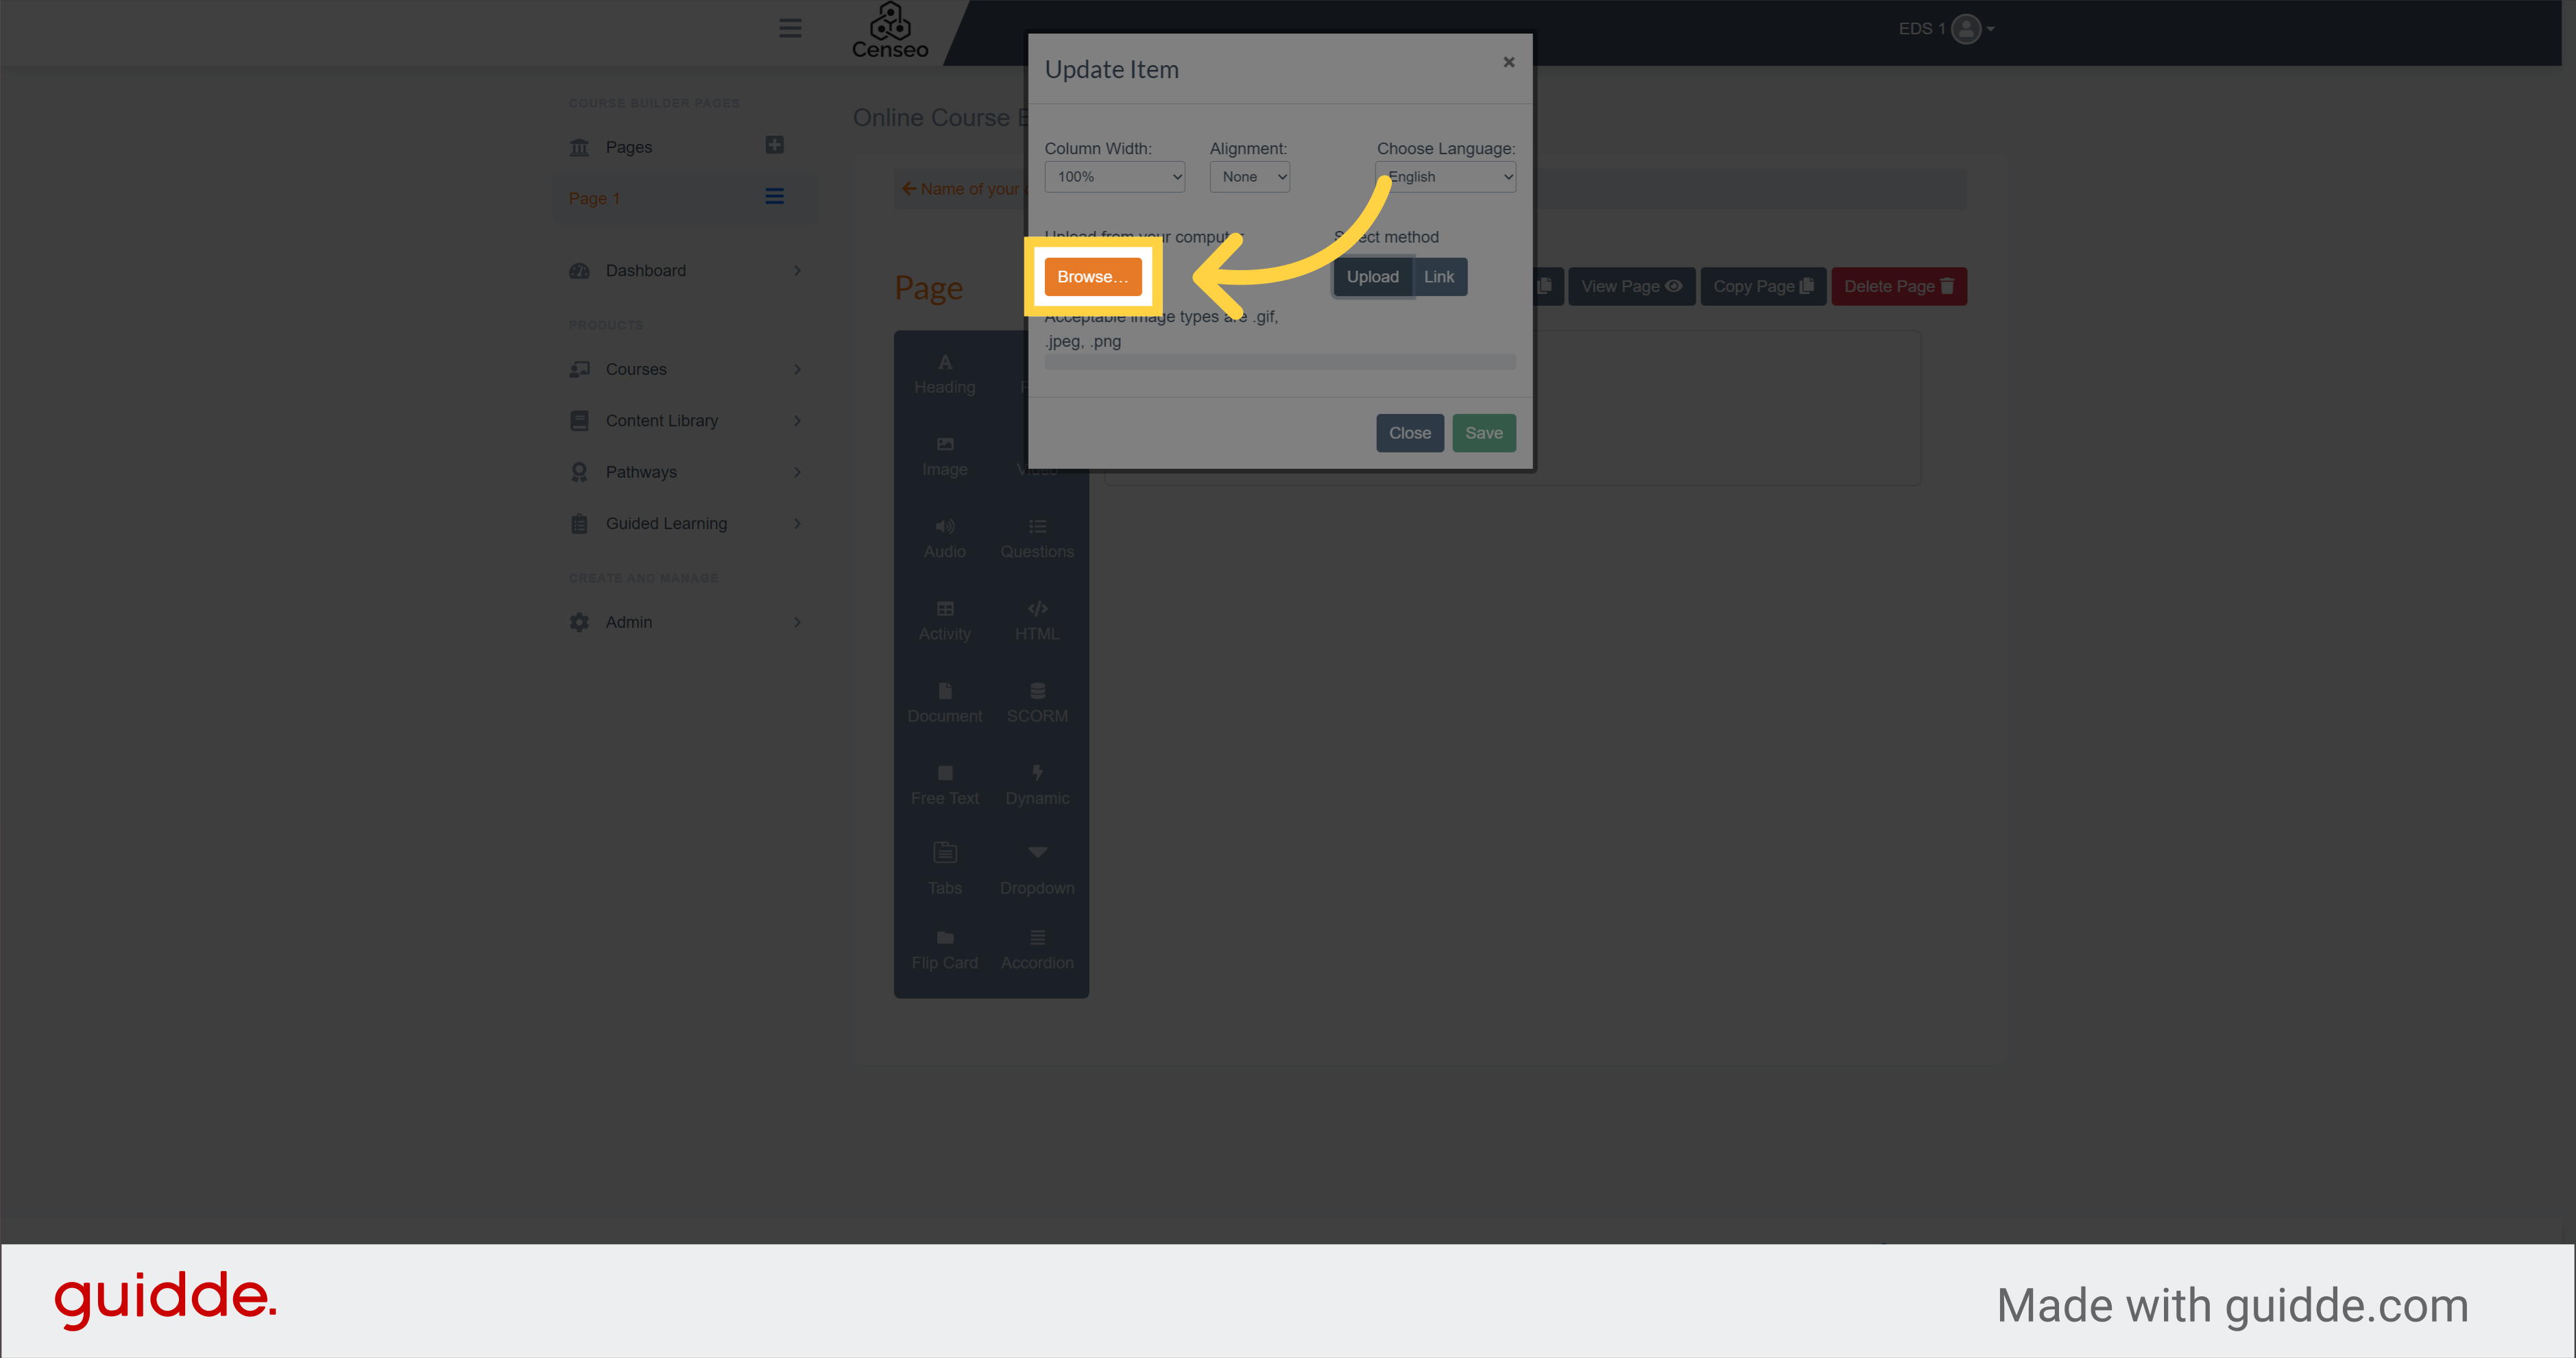
5. Click "Browse…"
Then select the orange browse box
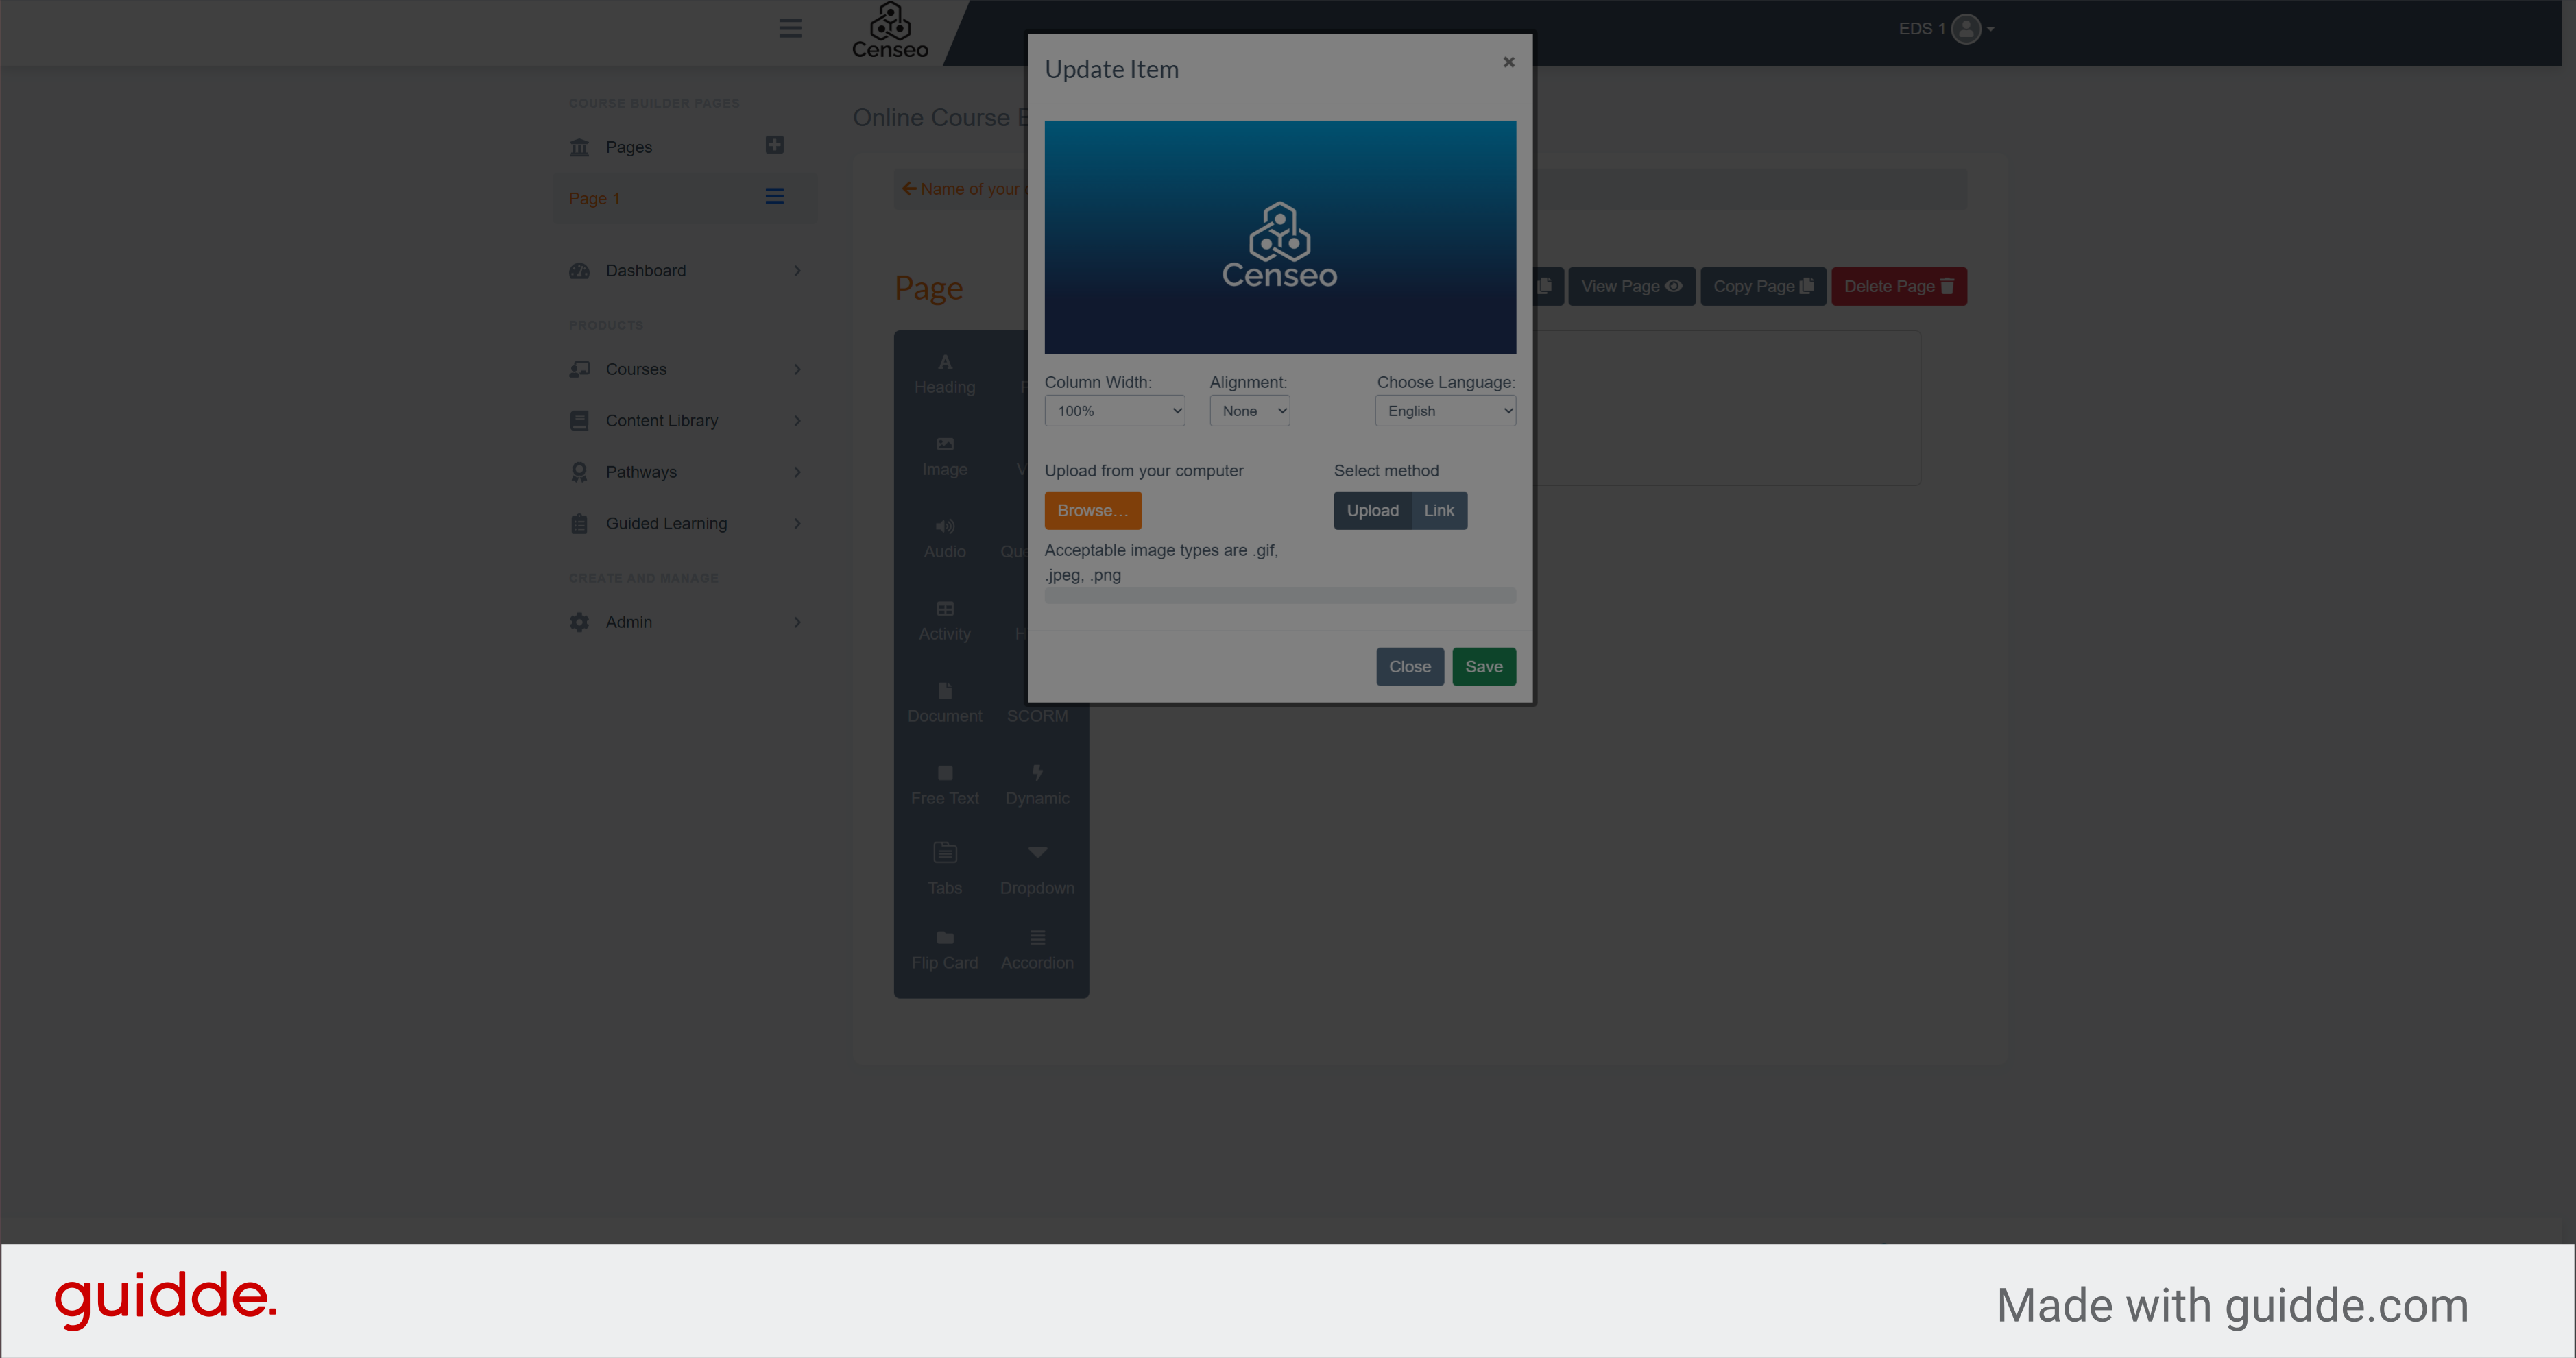
6.
You will be sent in your files. Double click on the image of your choice and it will be added
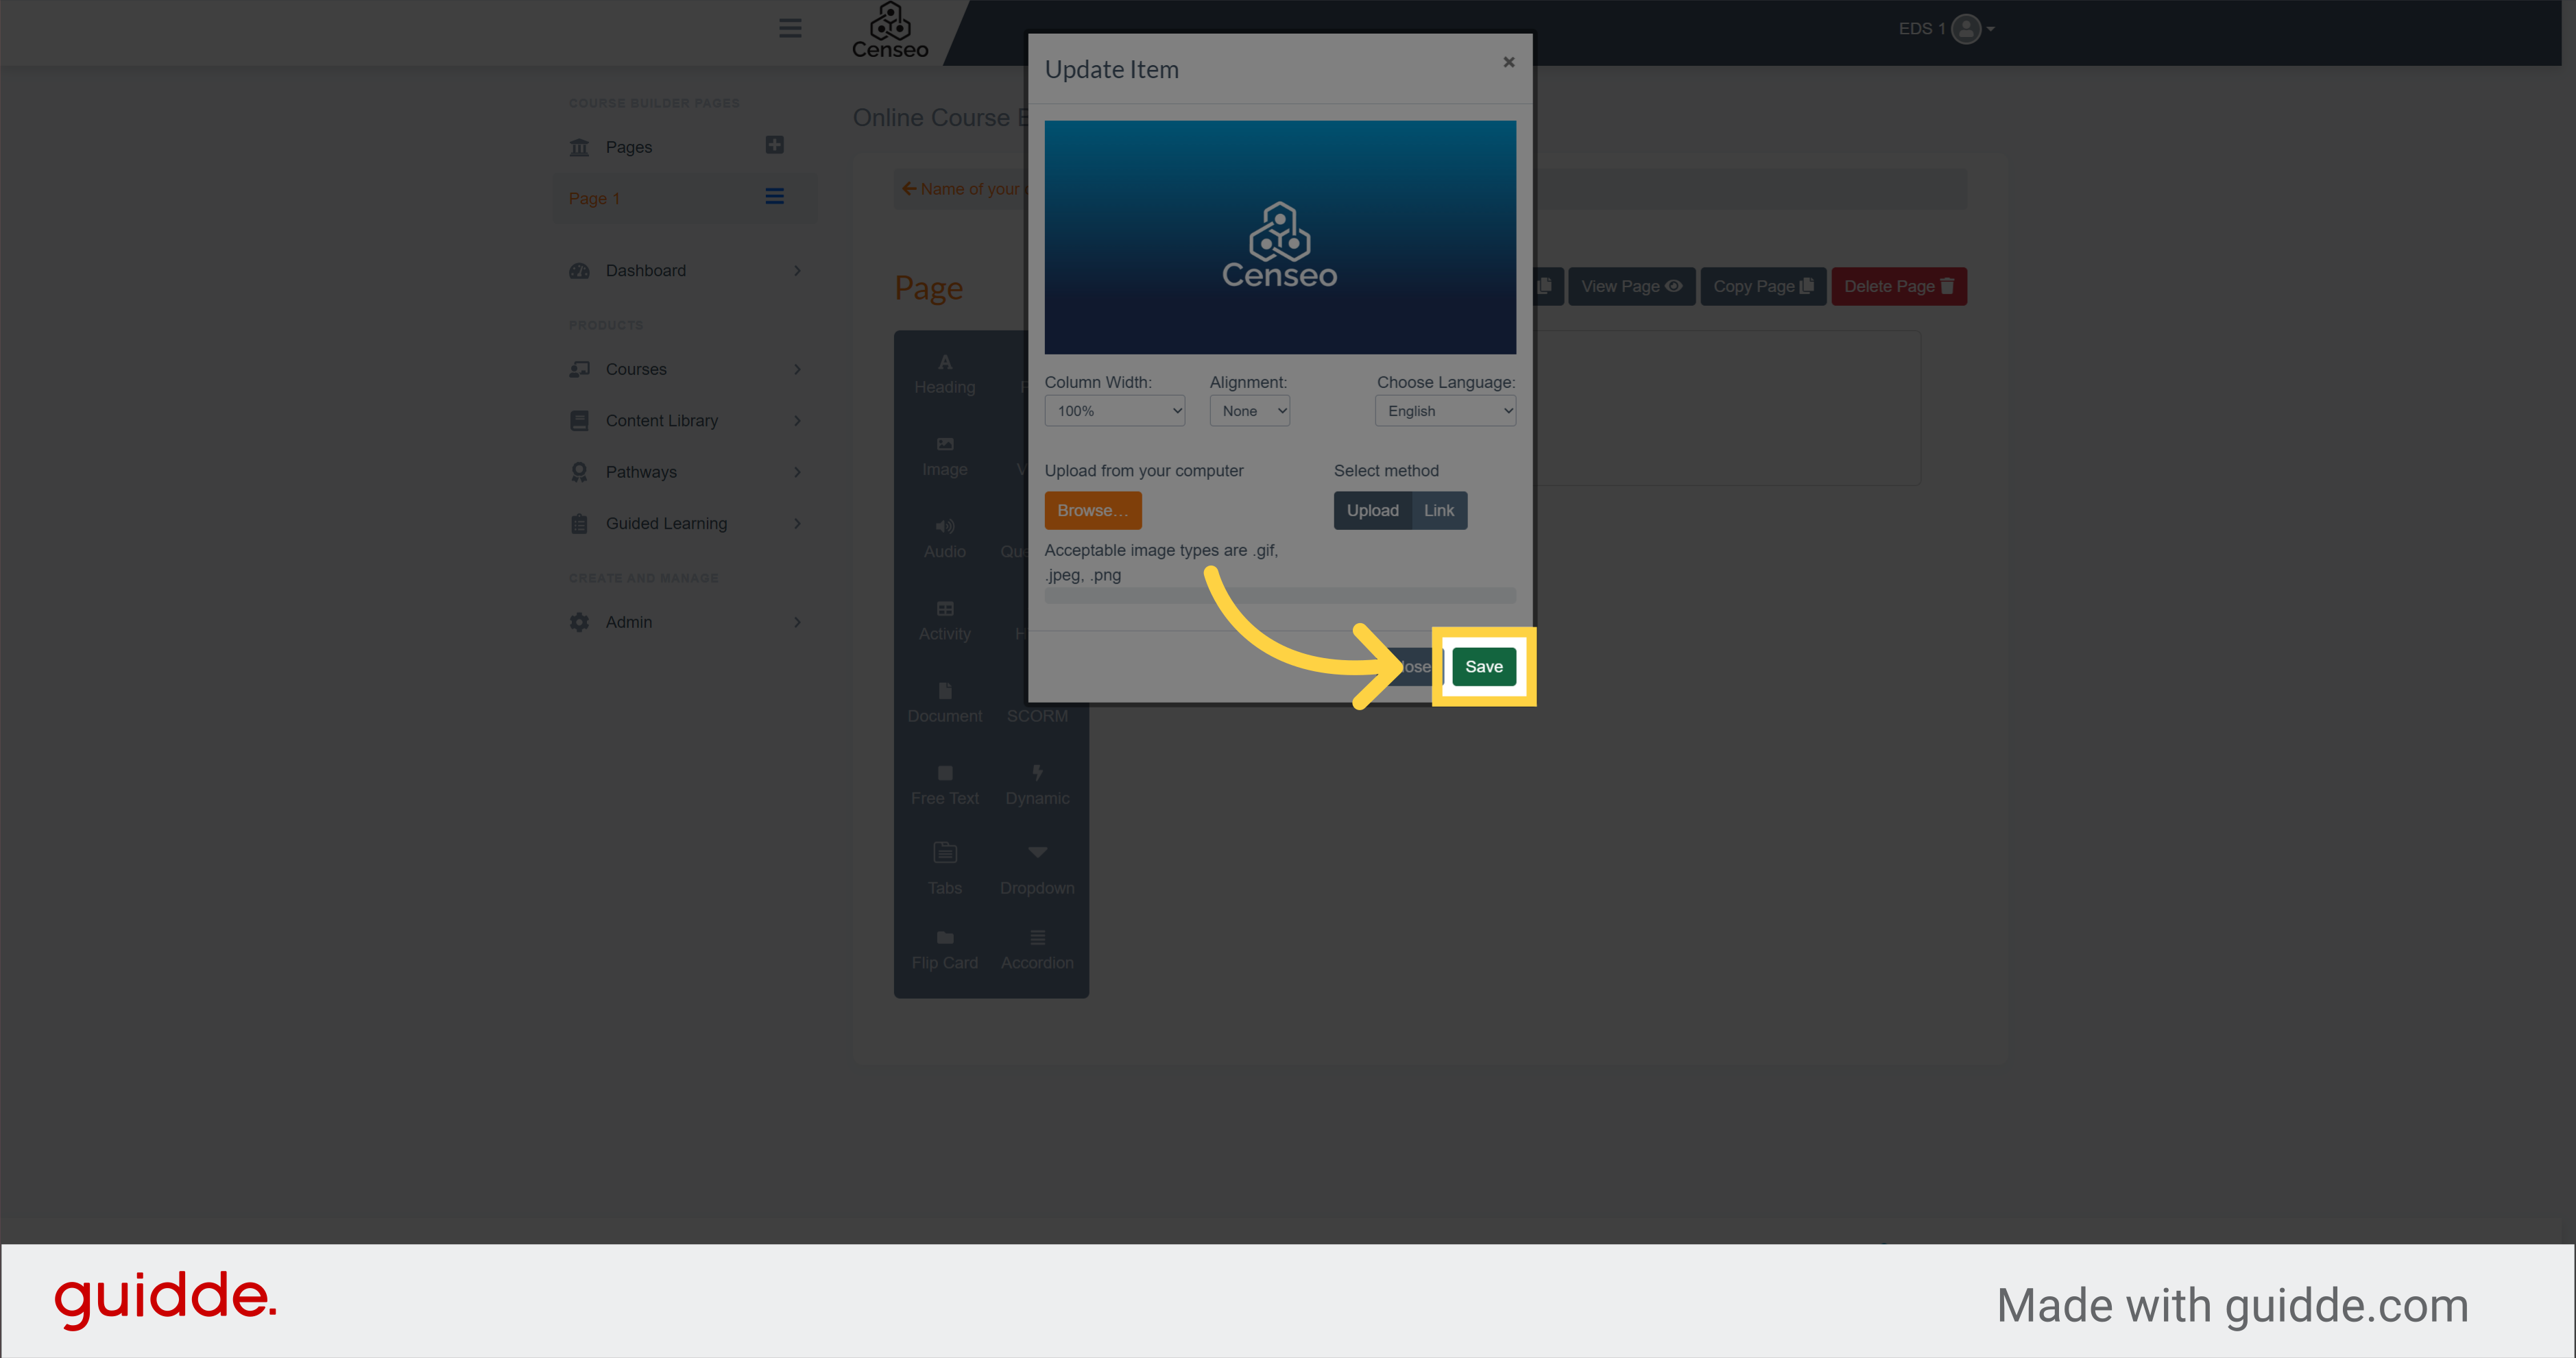
7. Click "Save"
Click on the "Save" button to validate the operation
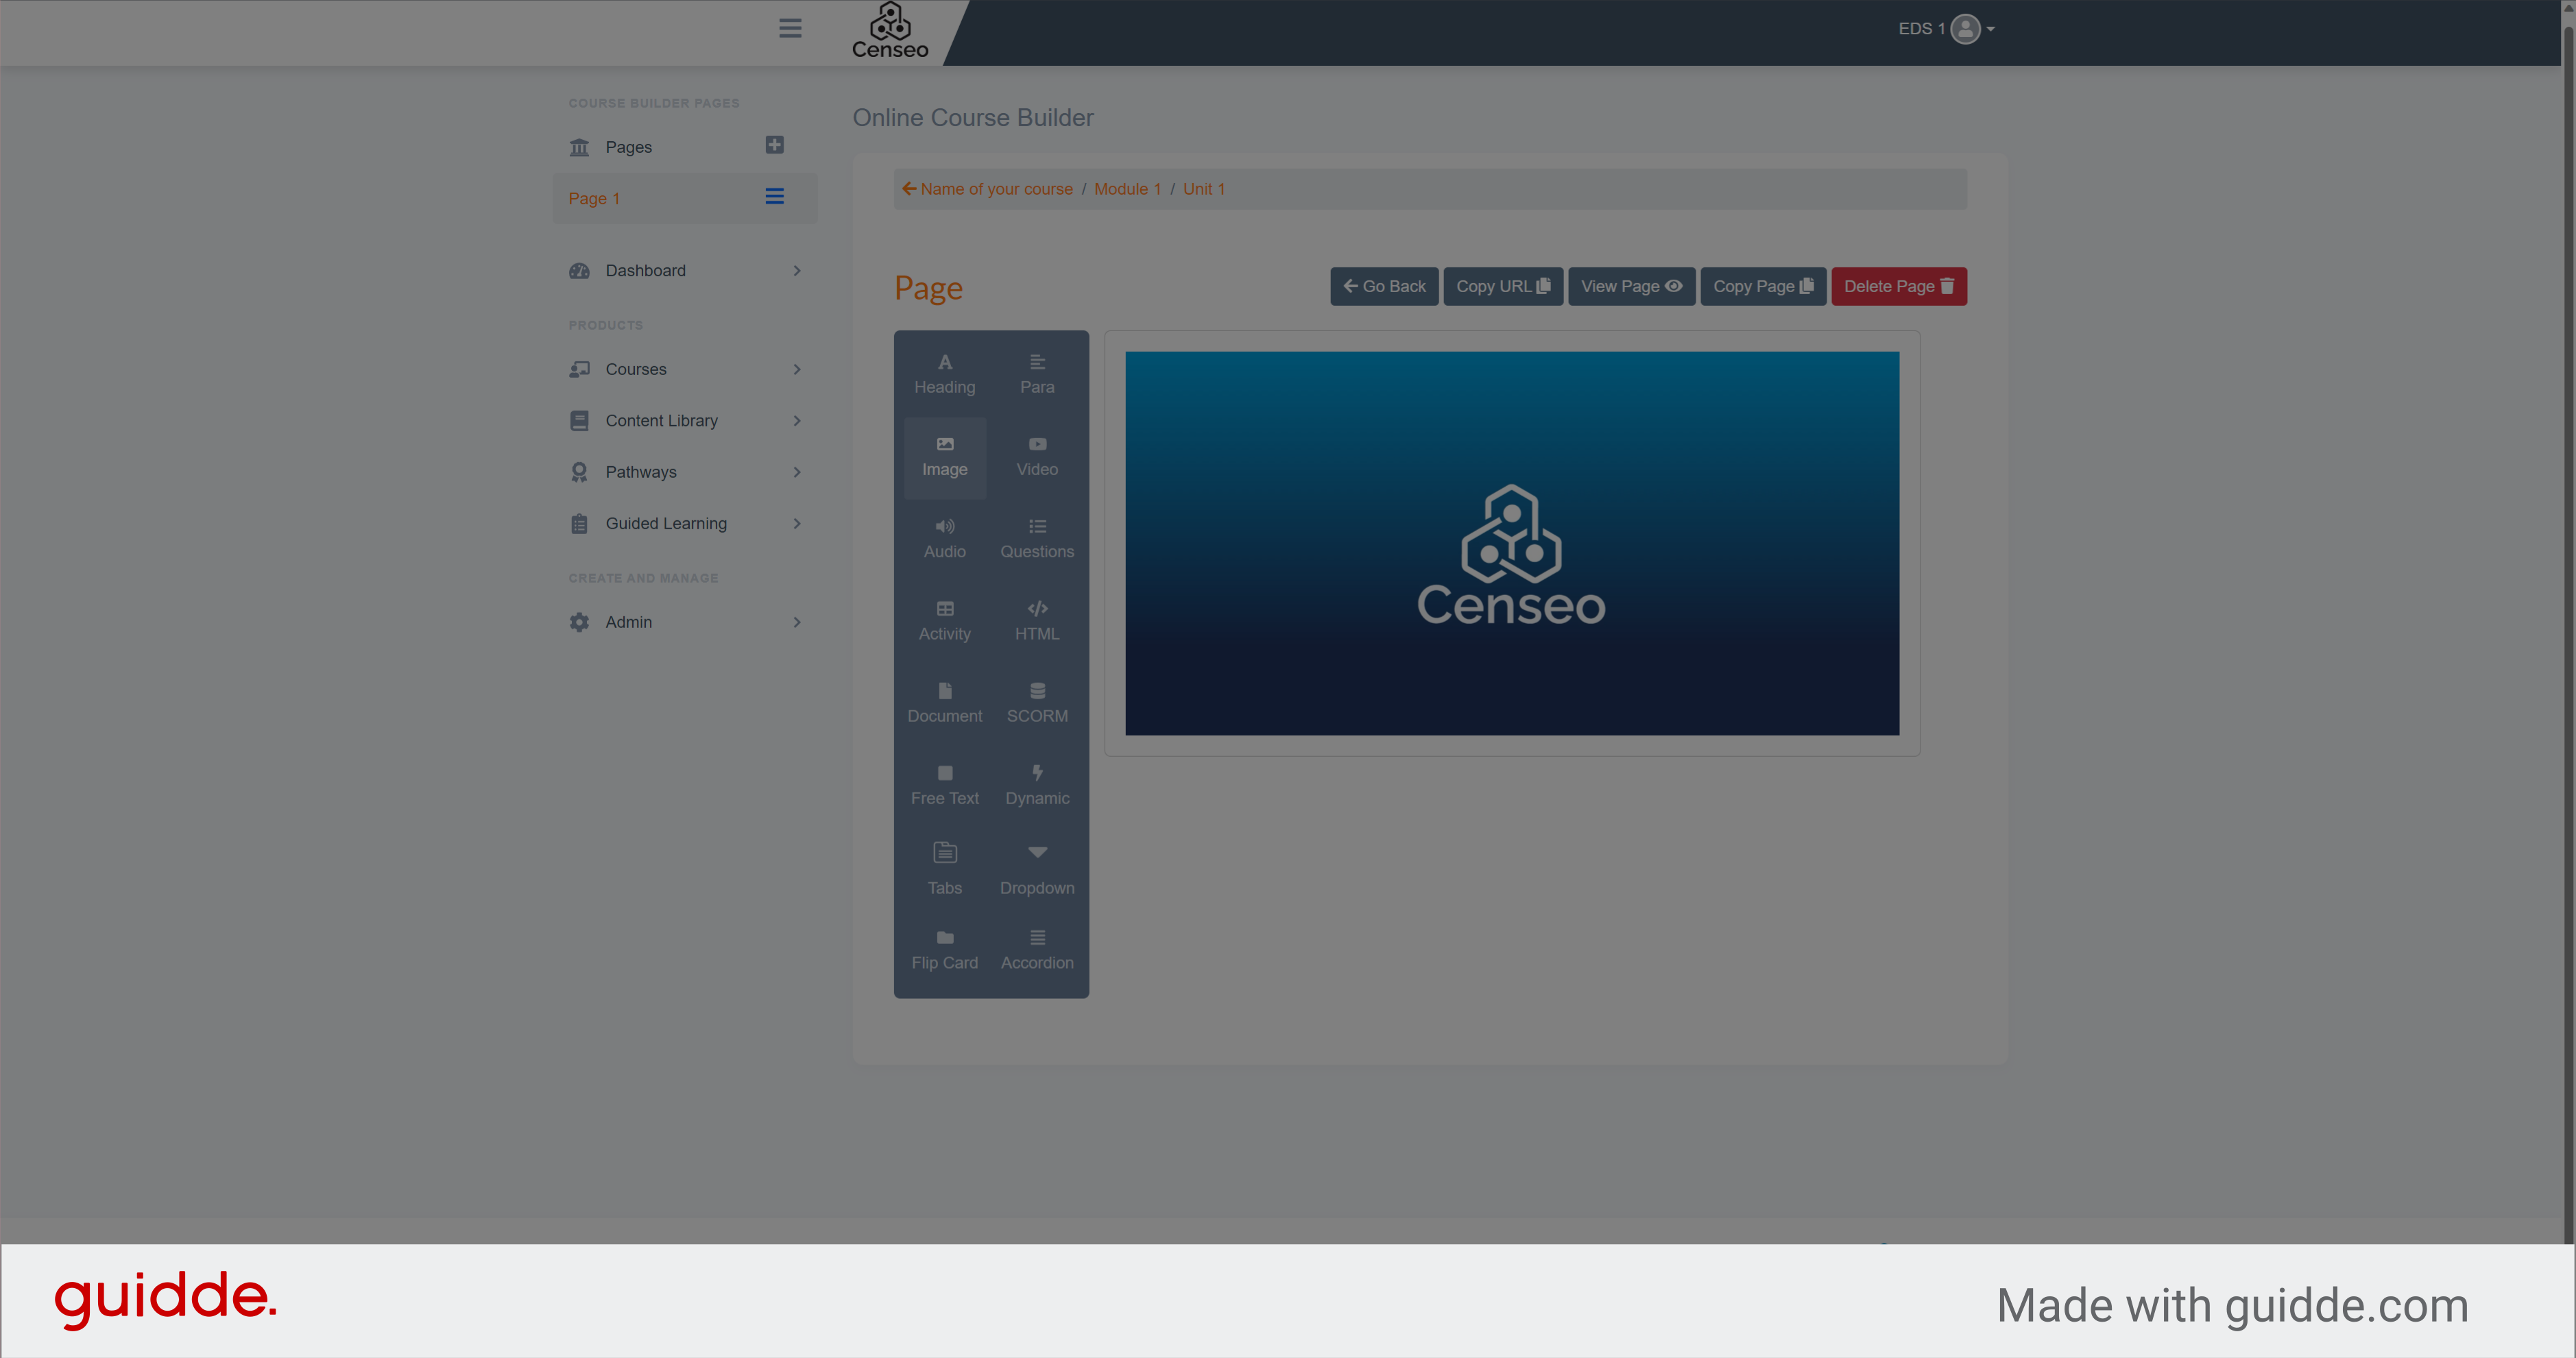
8. Click here
Your image has been uploaded to your course page
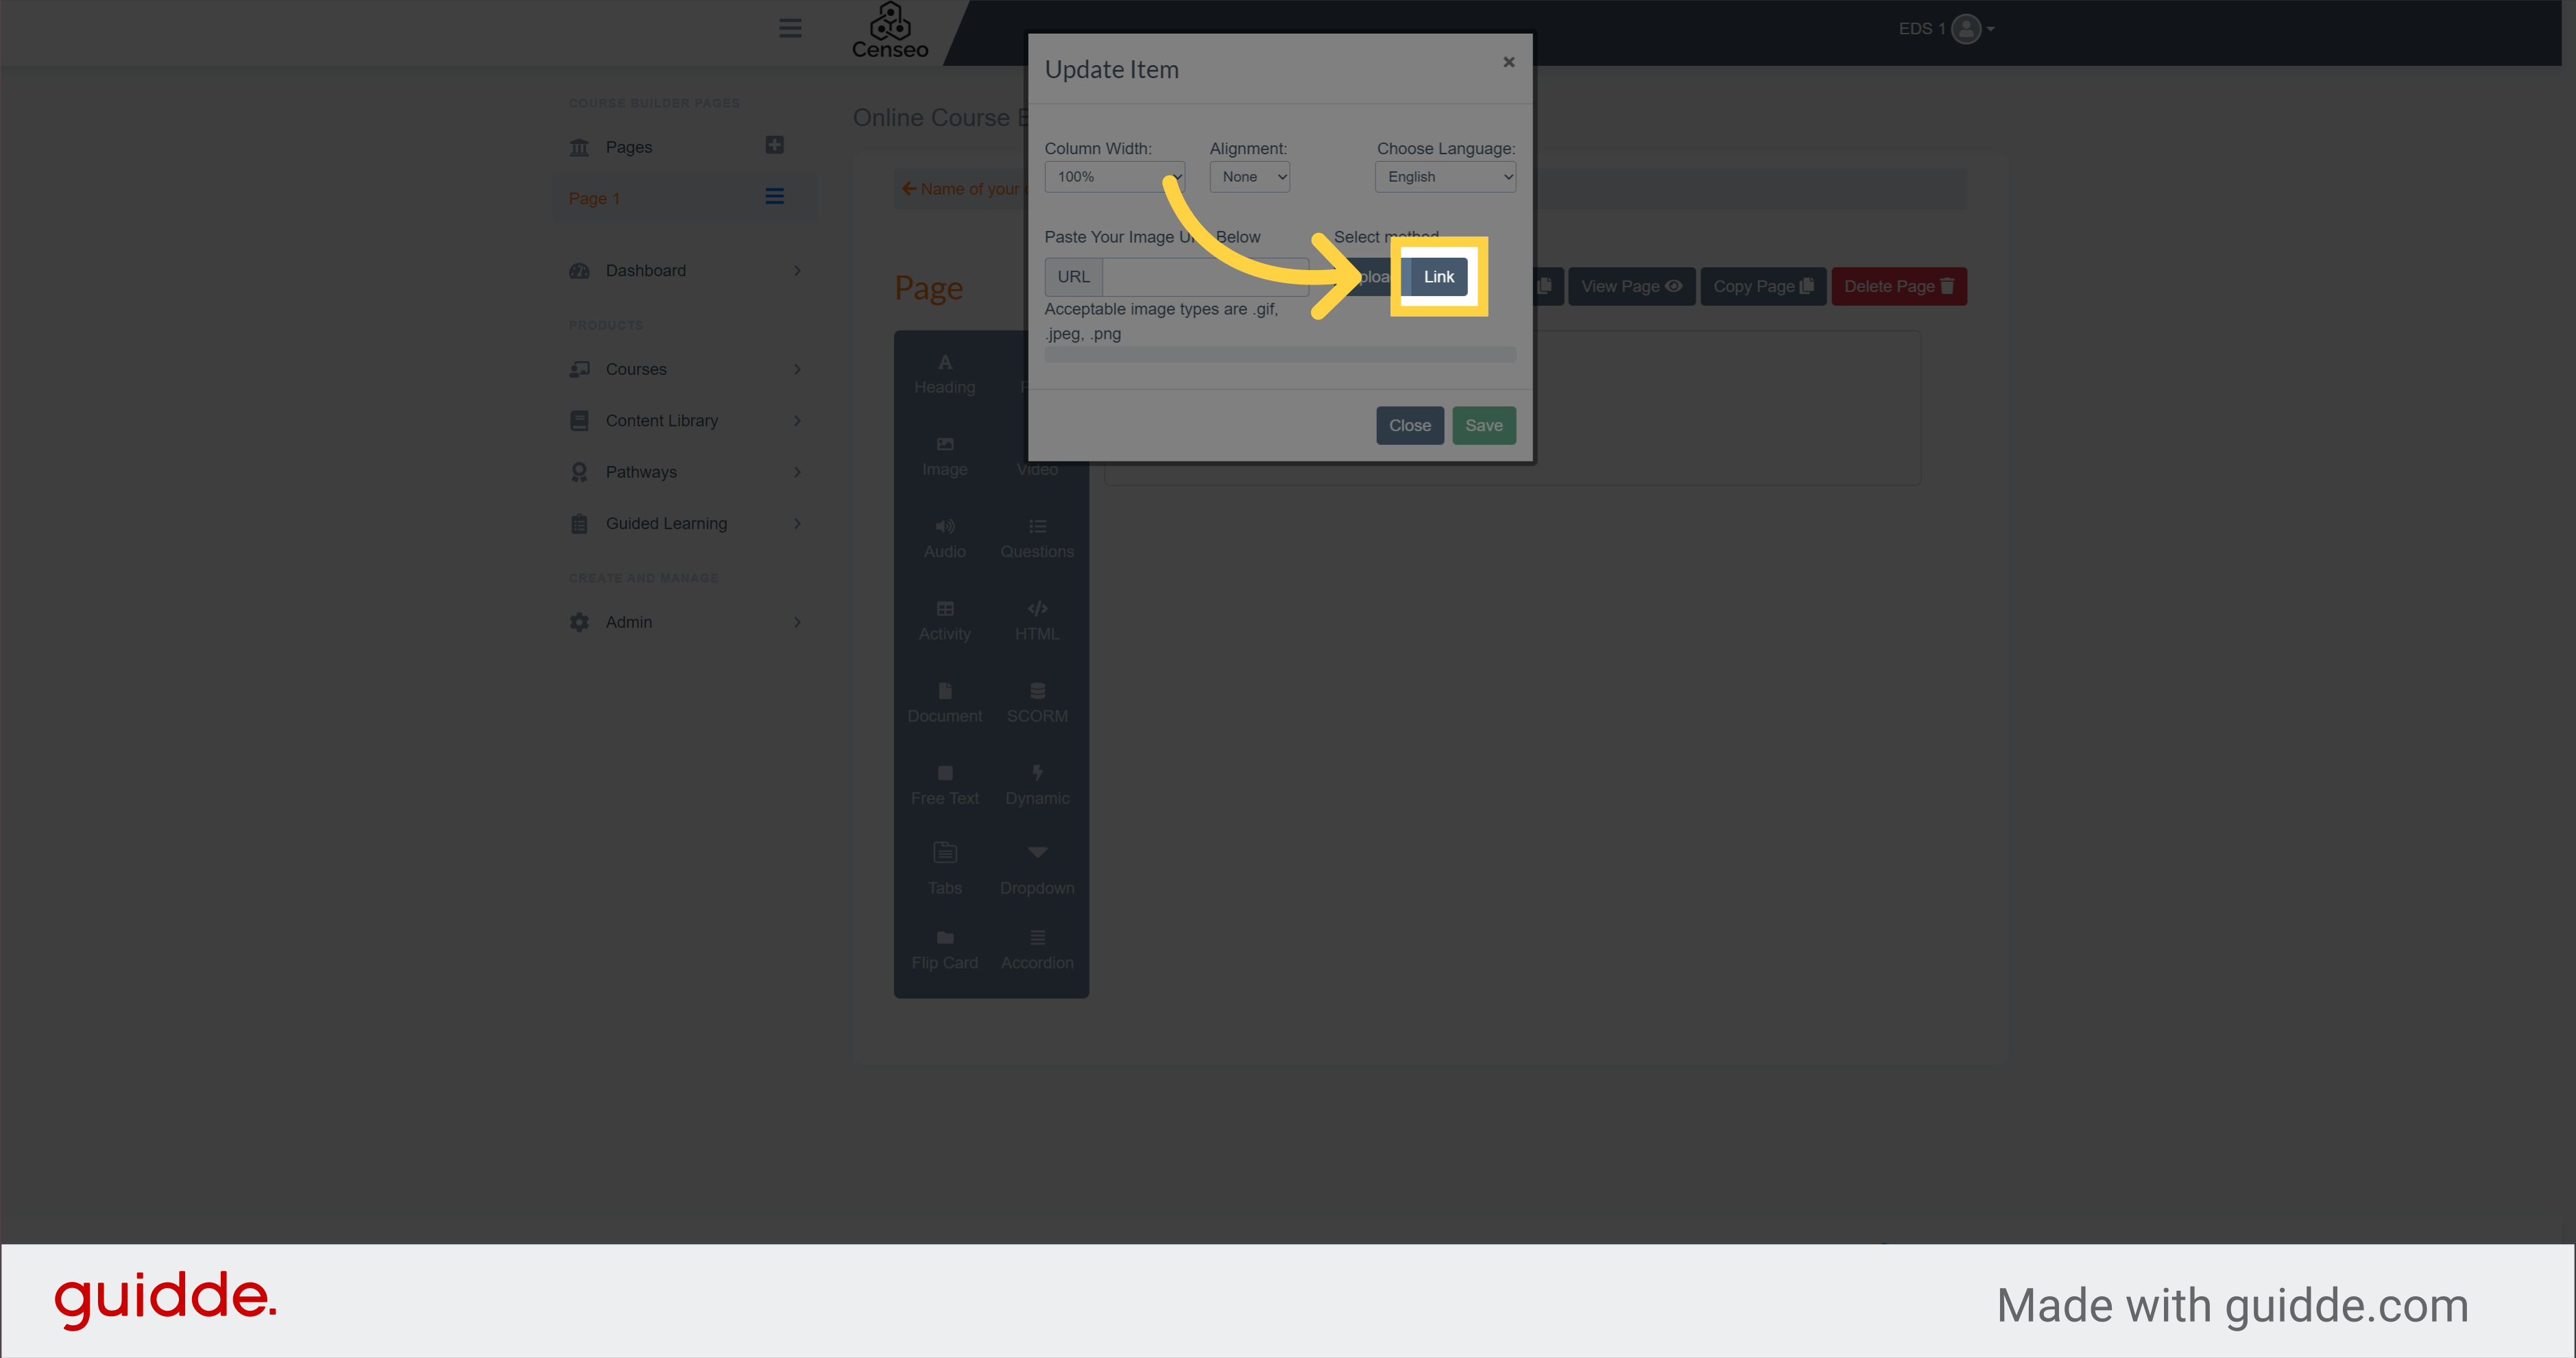
9. Click "Link"
However, if you want to add an image via a server, please go back to this image editing box and click on the link button
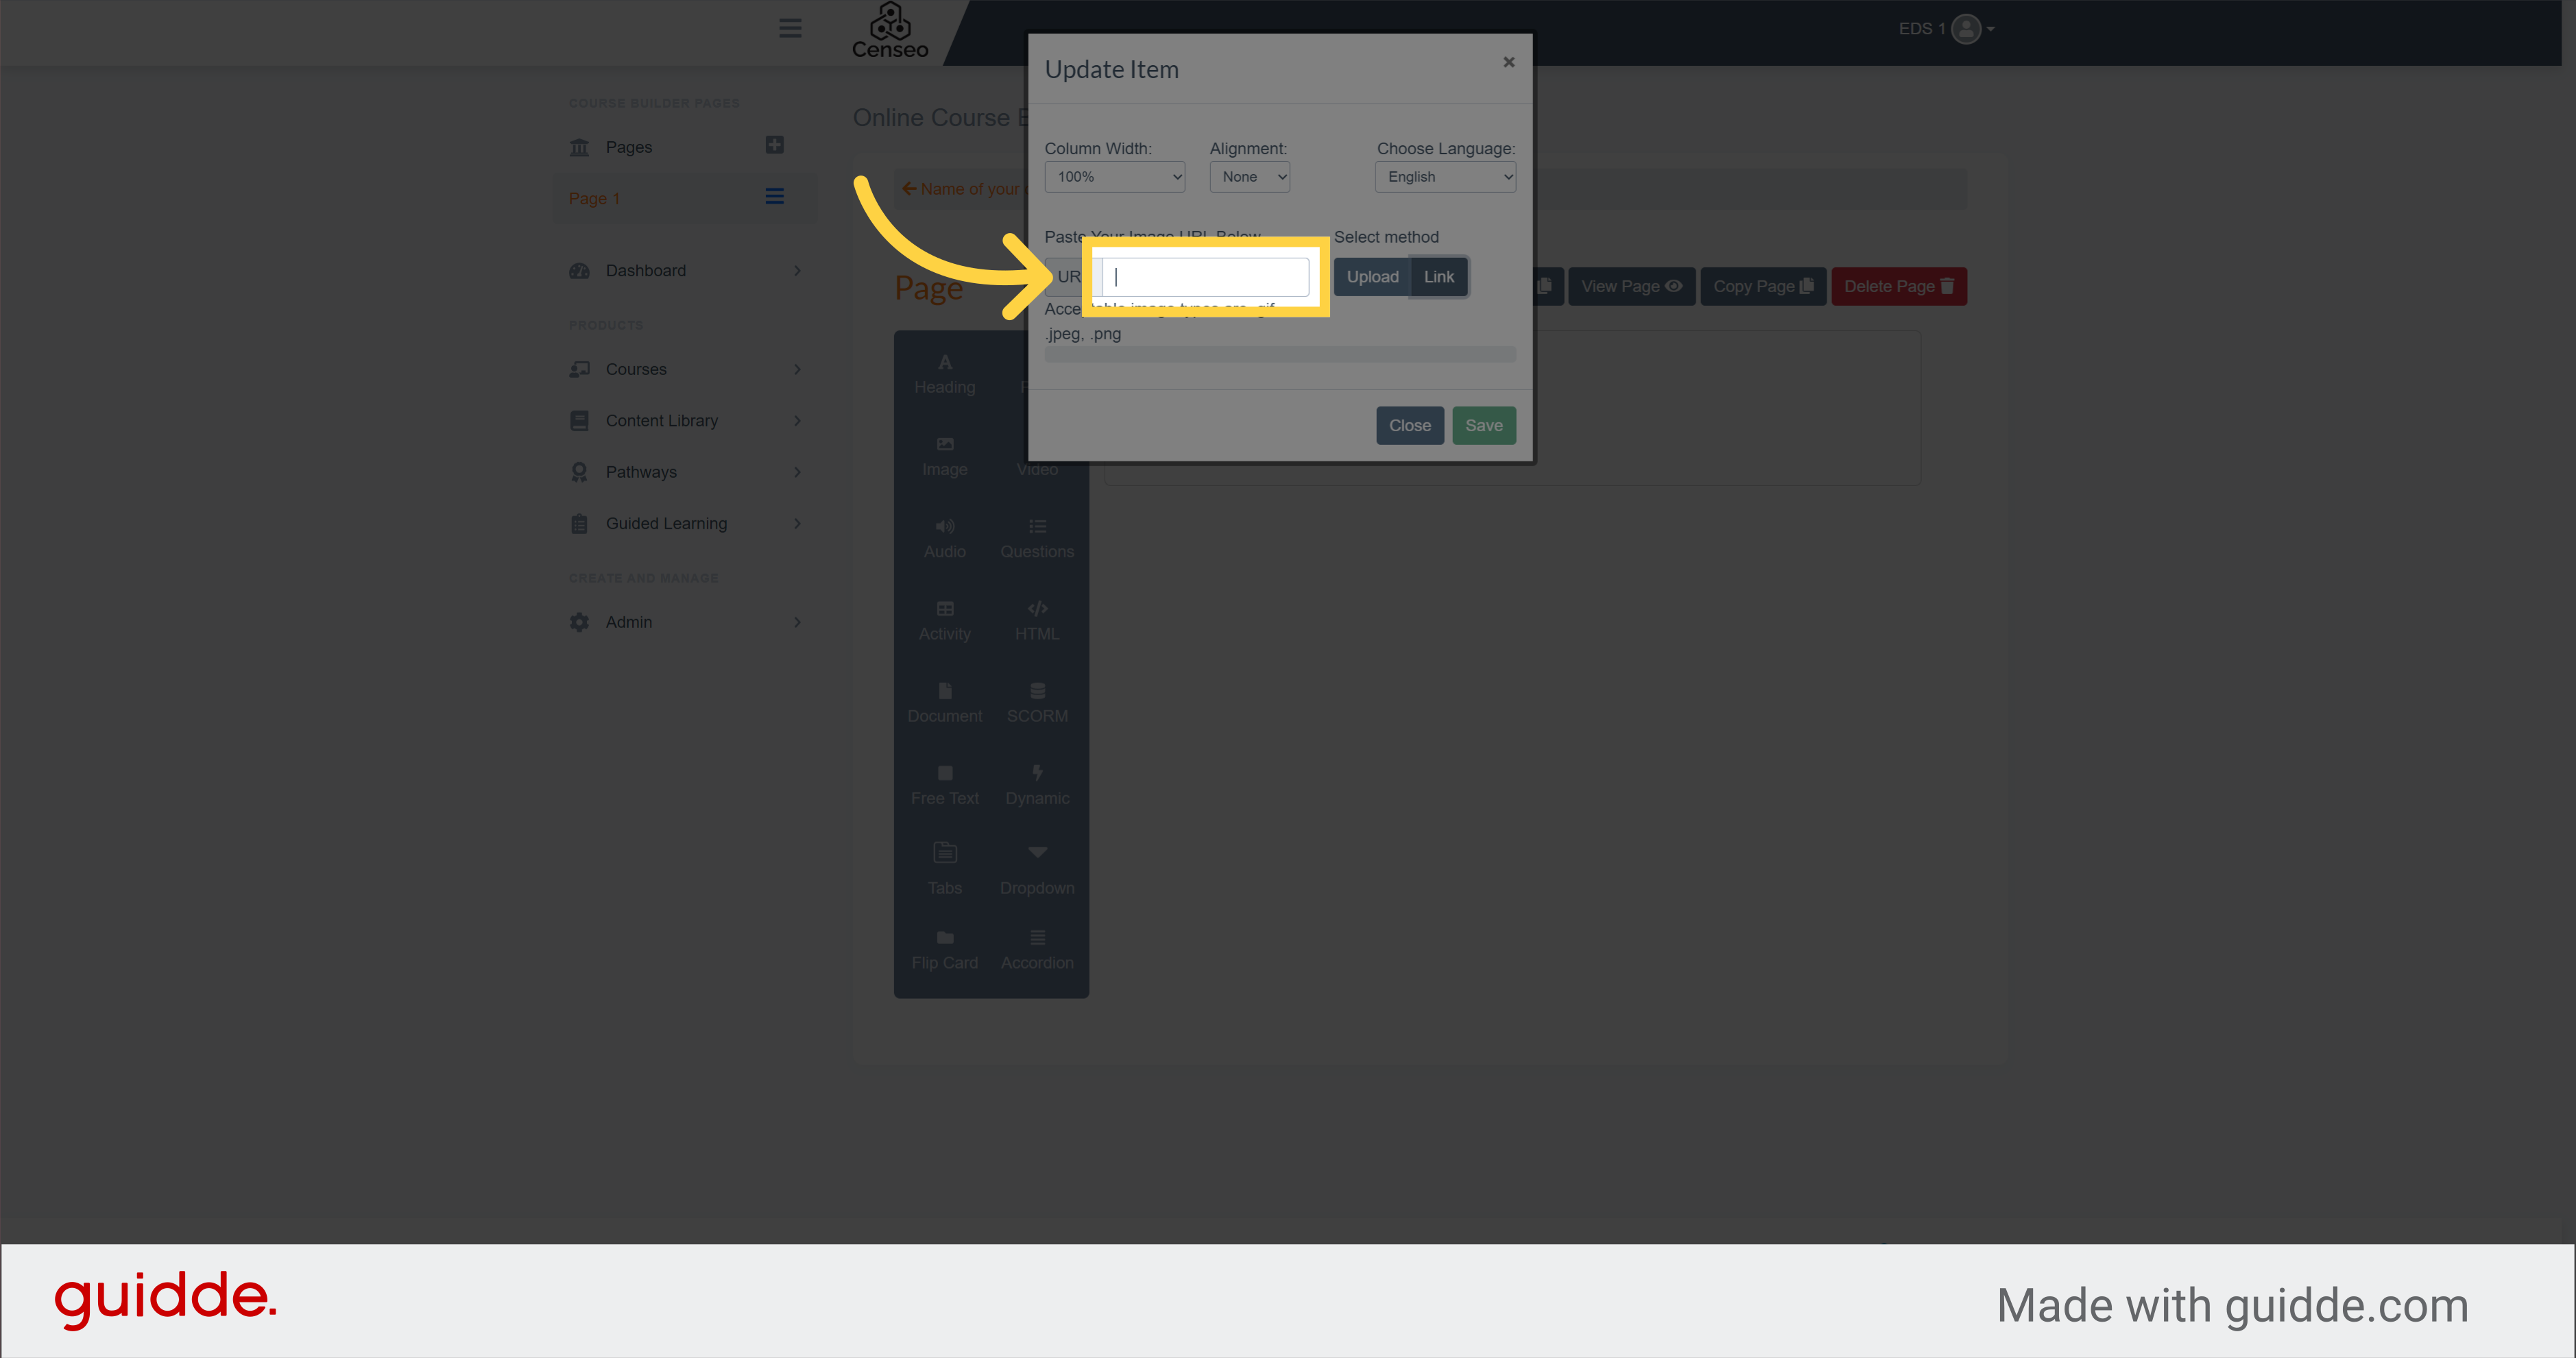
10. Click here
Please enter your image link here
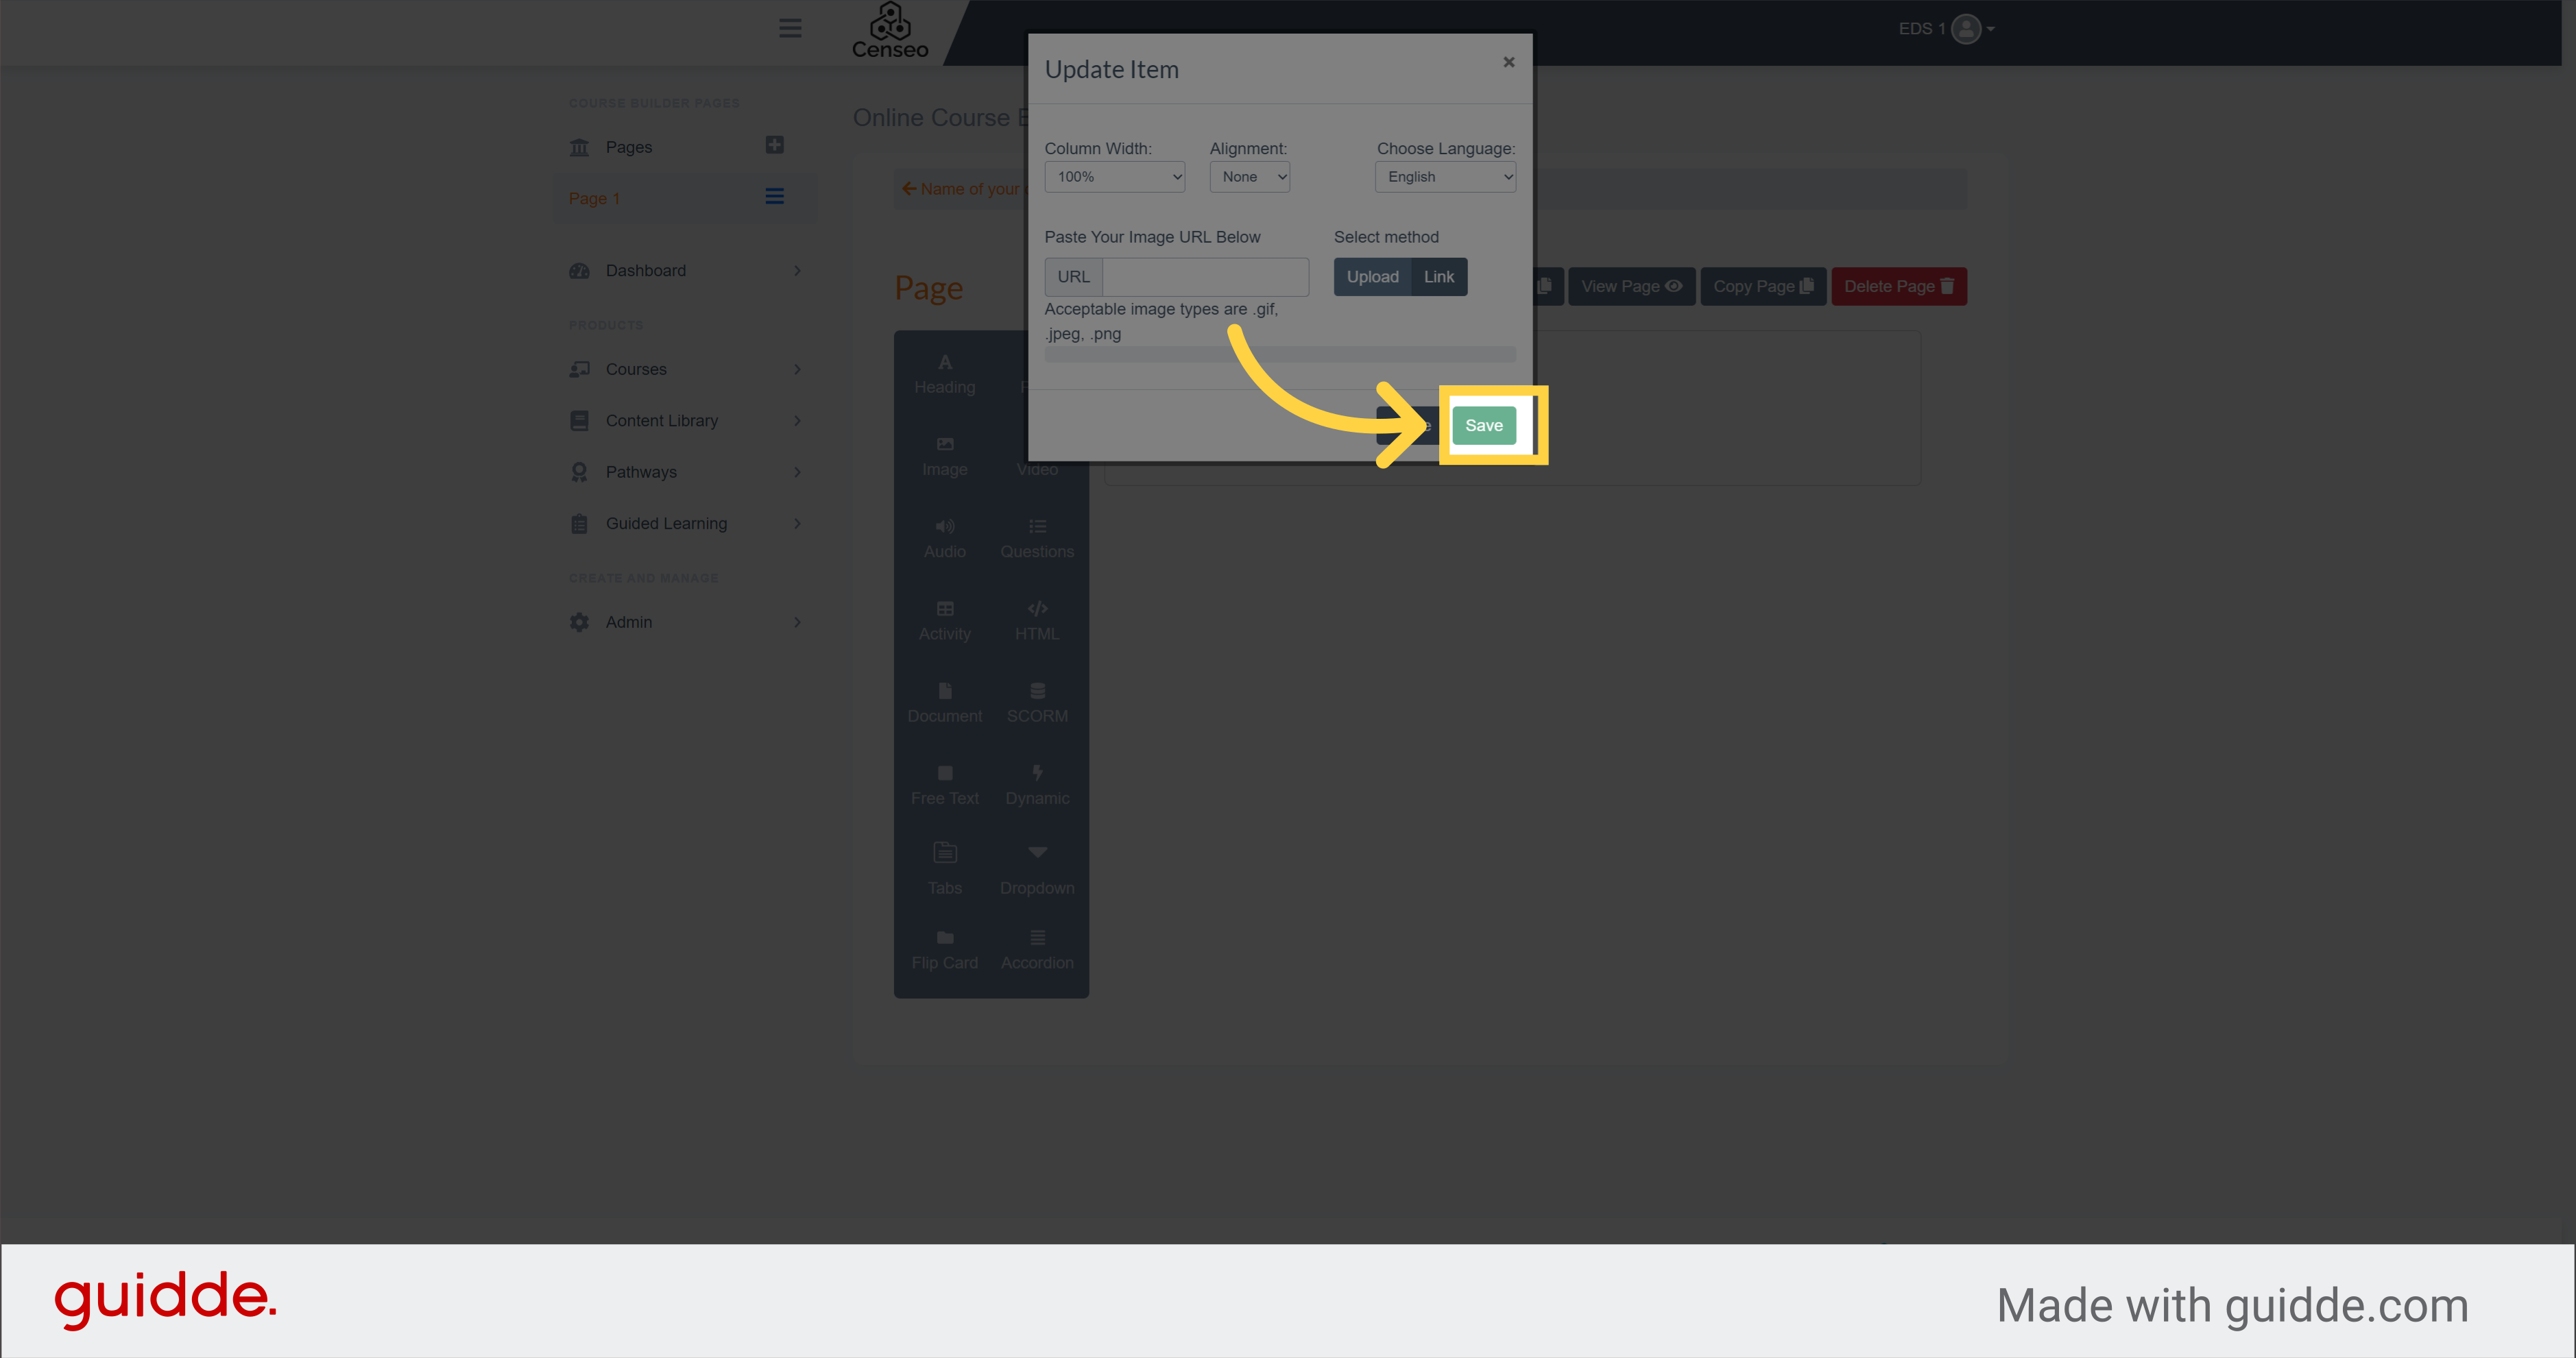
11. Click "Save"
Your image will be downloaded and will appear on the page. Click the Save button to validate
You now know how to add images to your course. If you want to know how to upload a video to your course, I invite you to see the others videos.