Follow these instructions and let's learn how to easily create and customize flip cards for your course
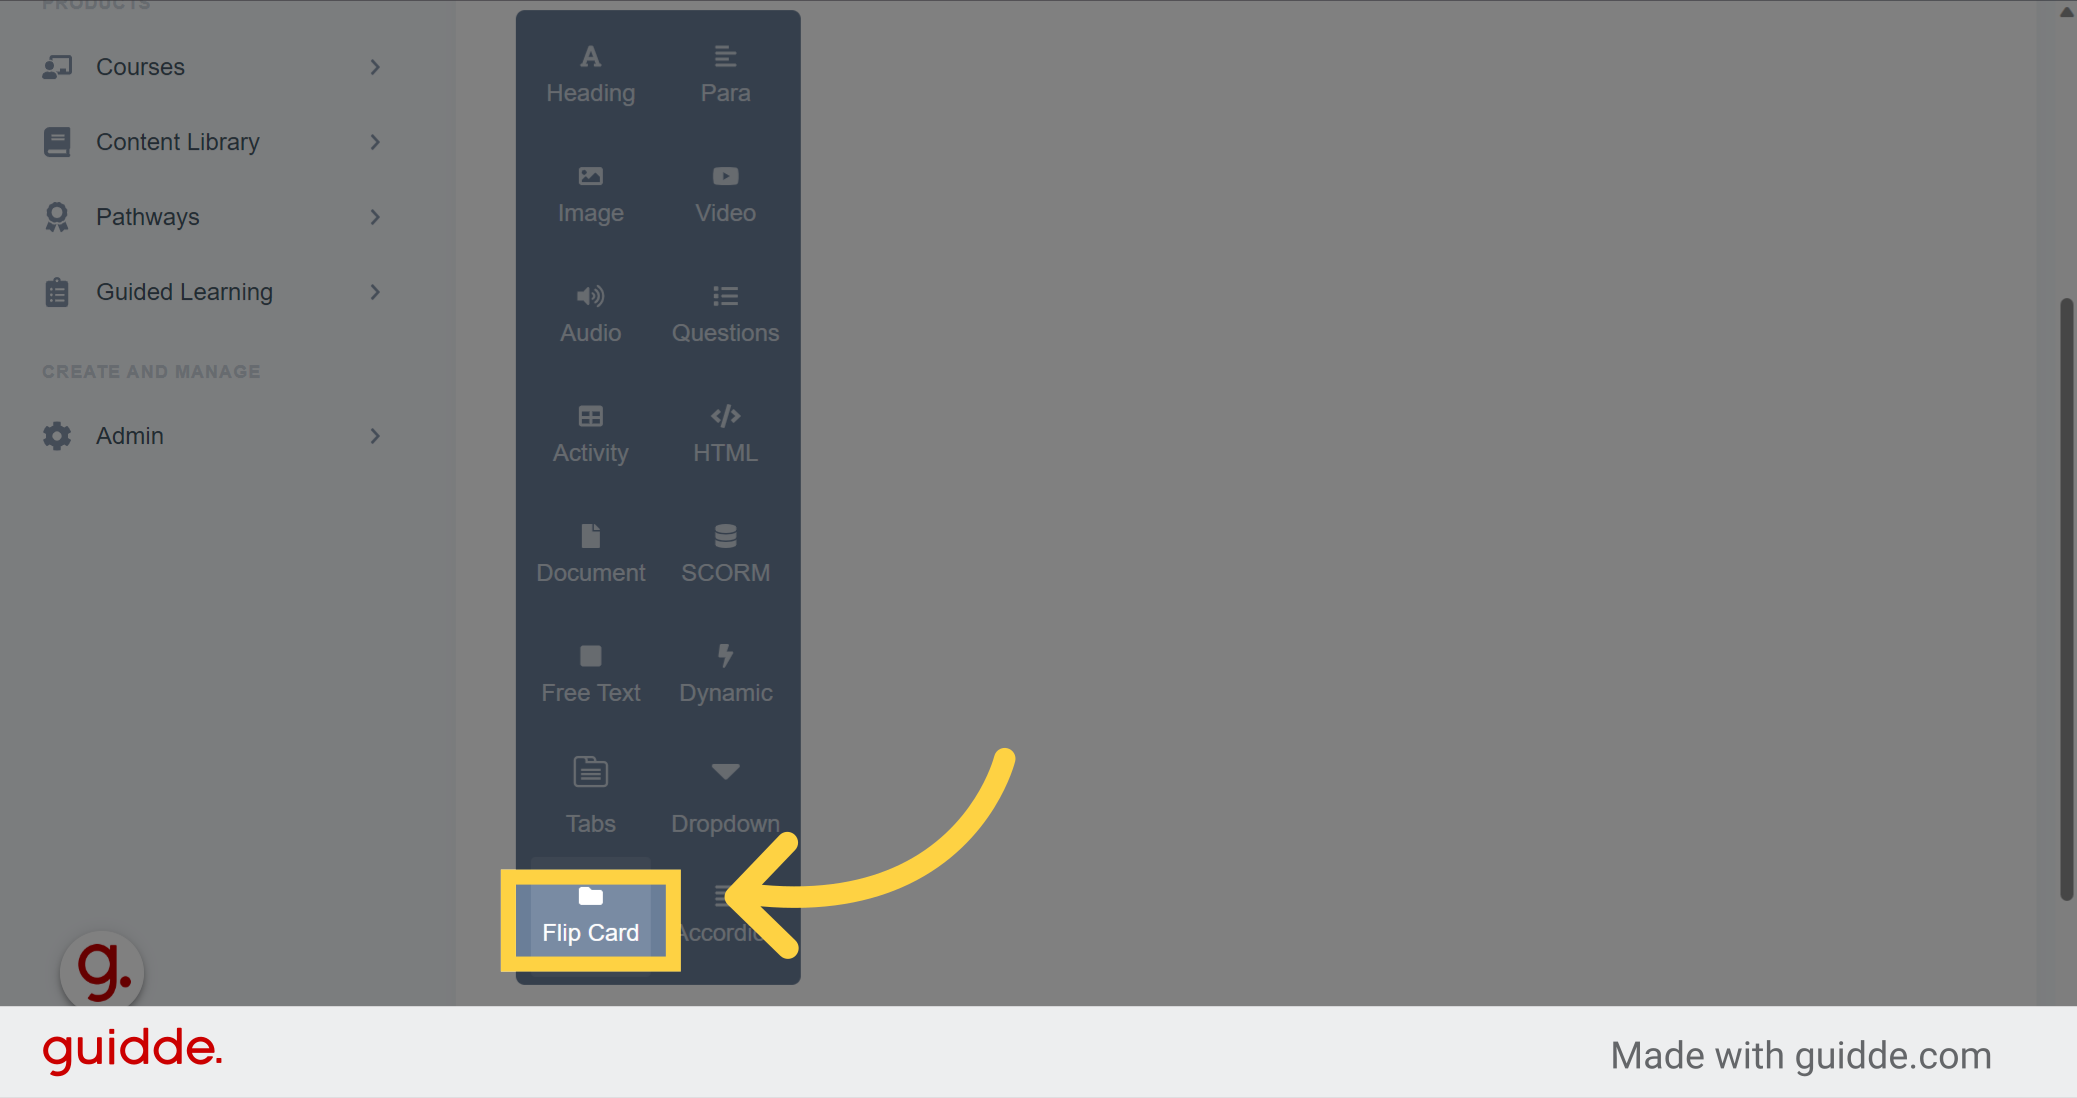
1. Click here
The first step is to click on Flip Card and drag it onto the page
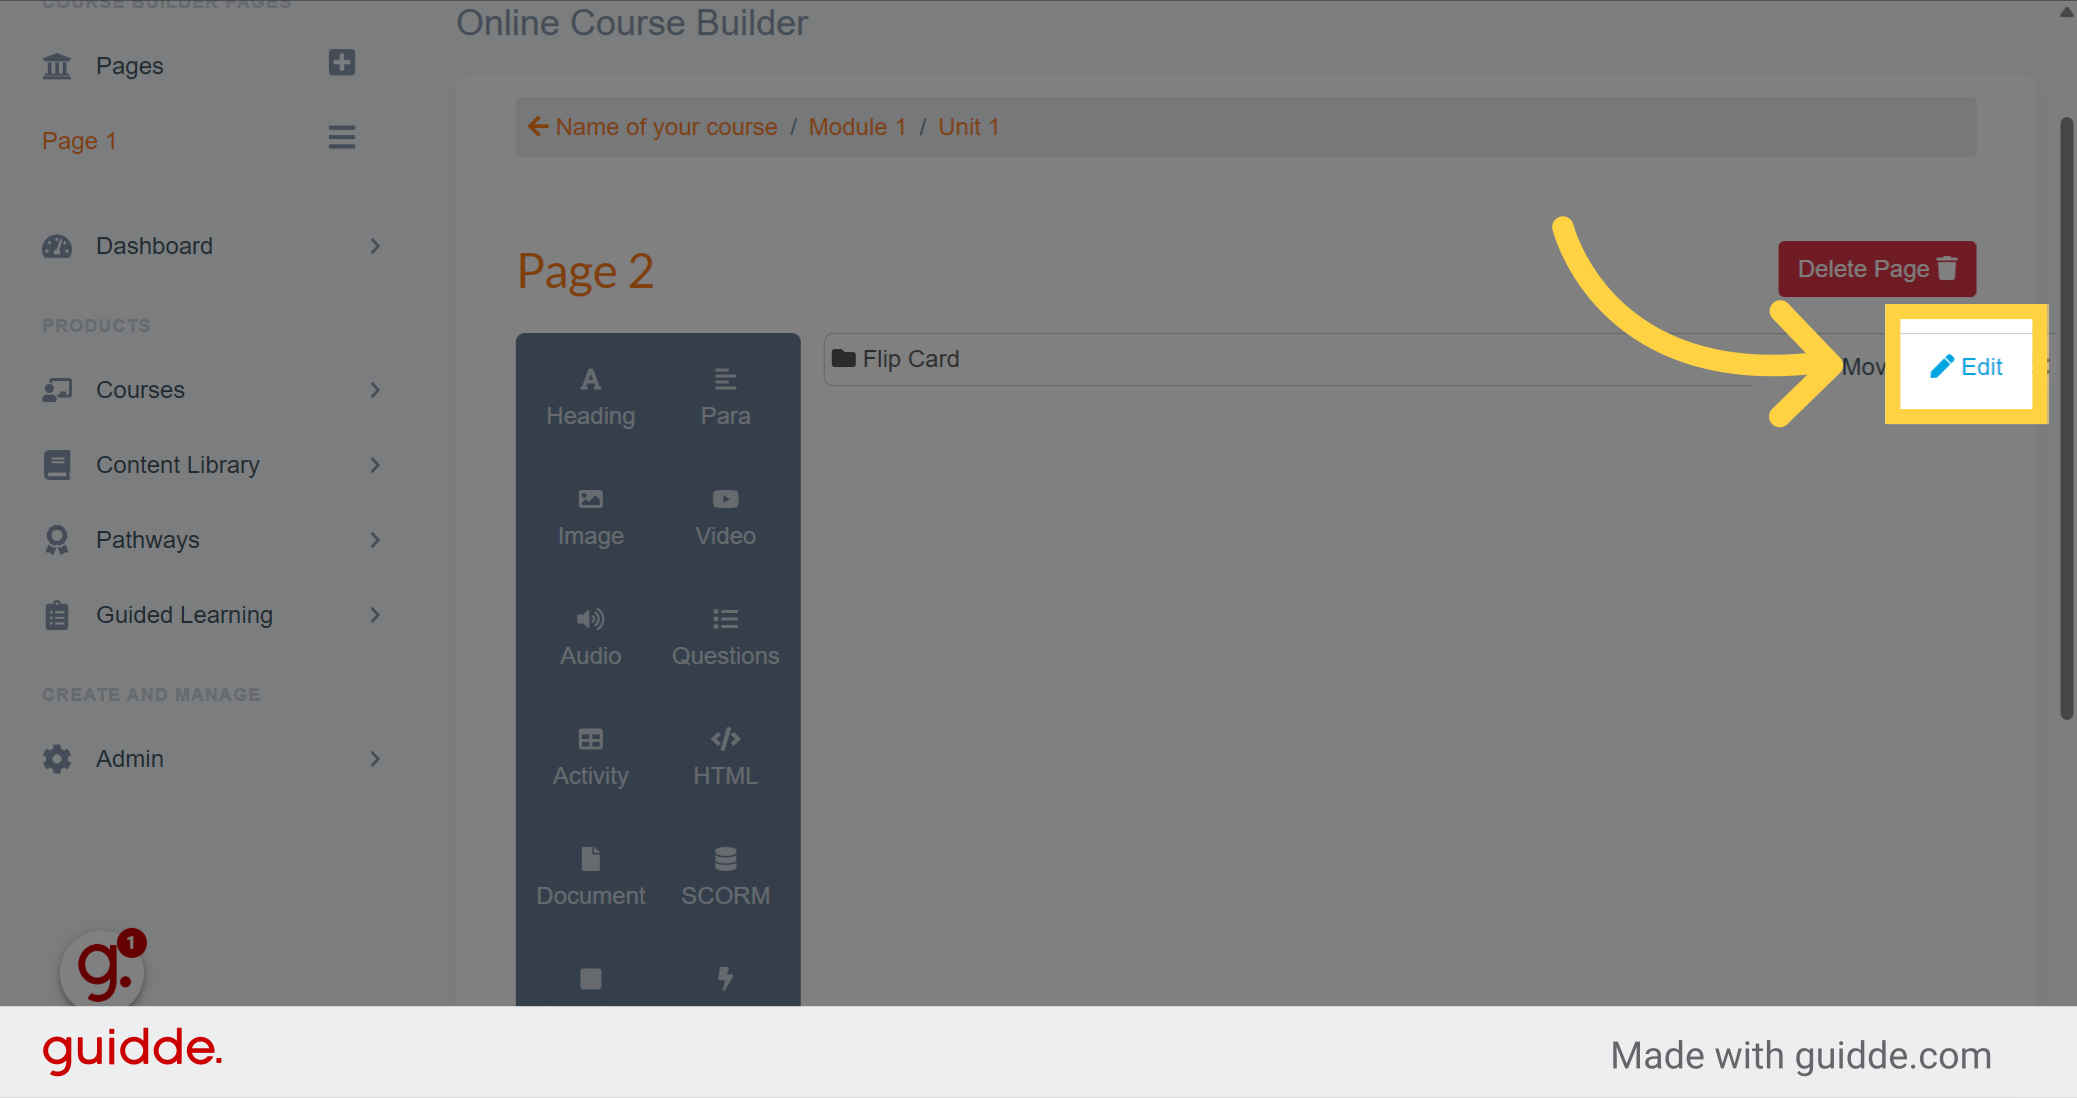
2. Click "Edit"
Click on edit to edit the content of the flip card
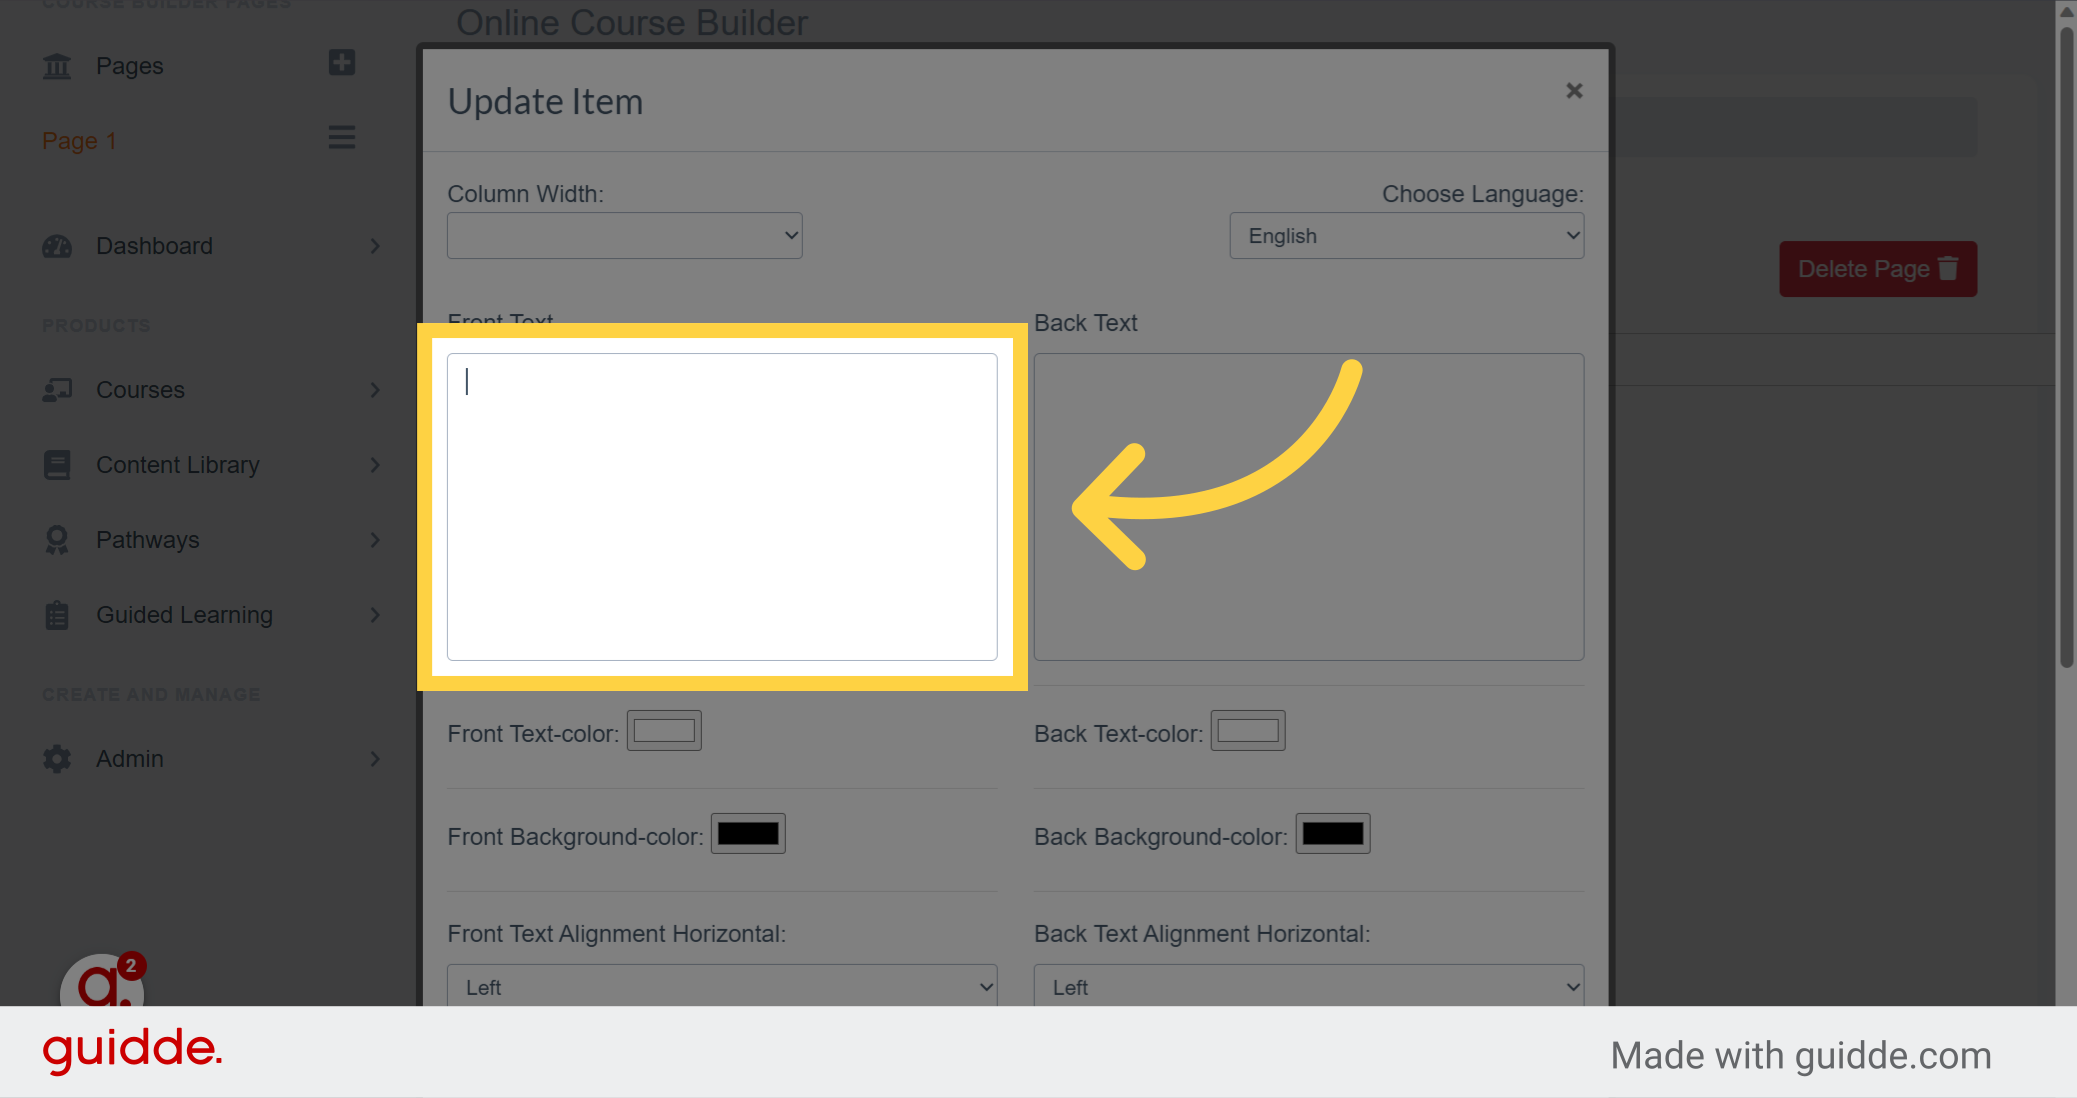
3. Click here
In this box, it is the front of your card. If you want to make questions answer, write the question of this side
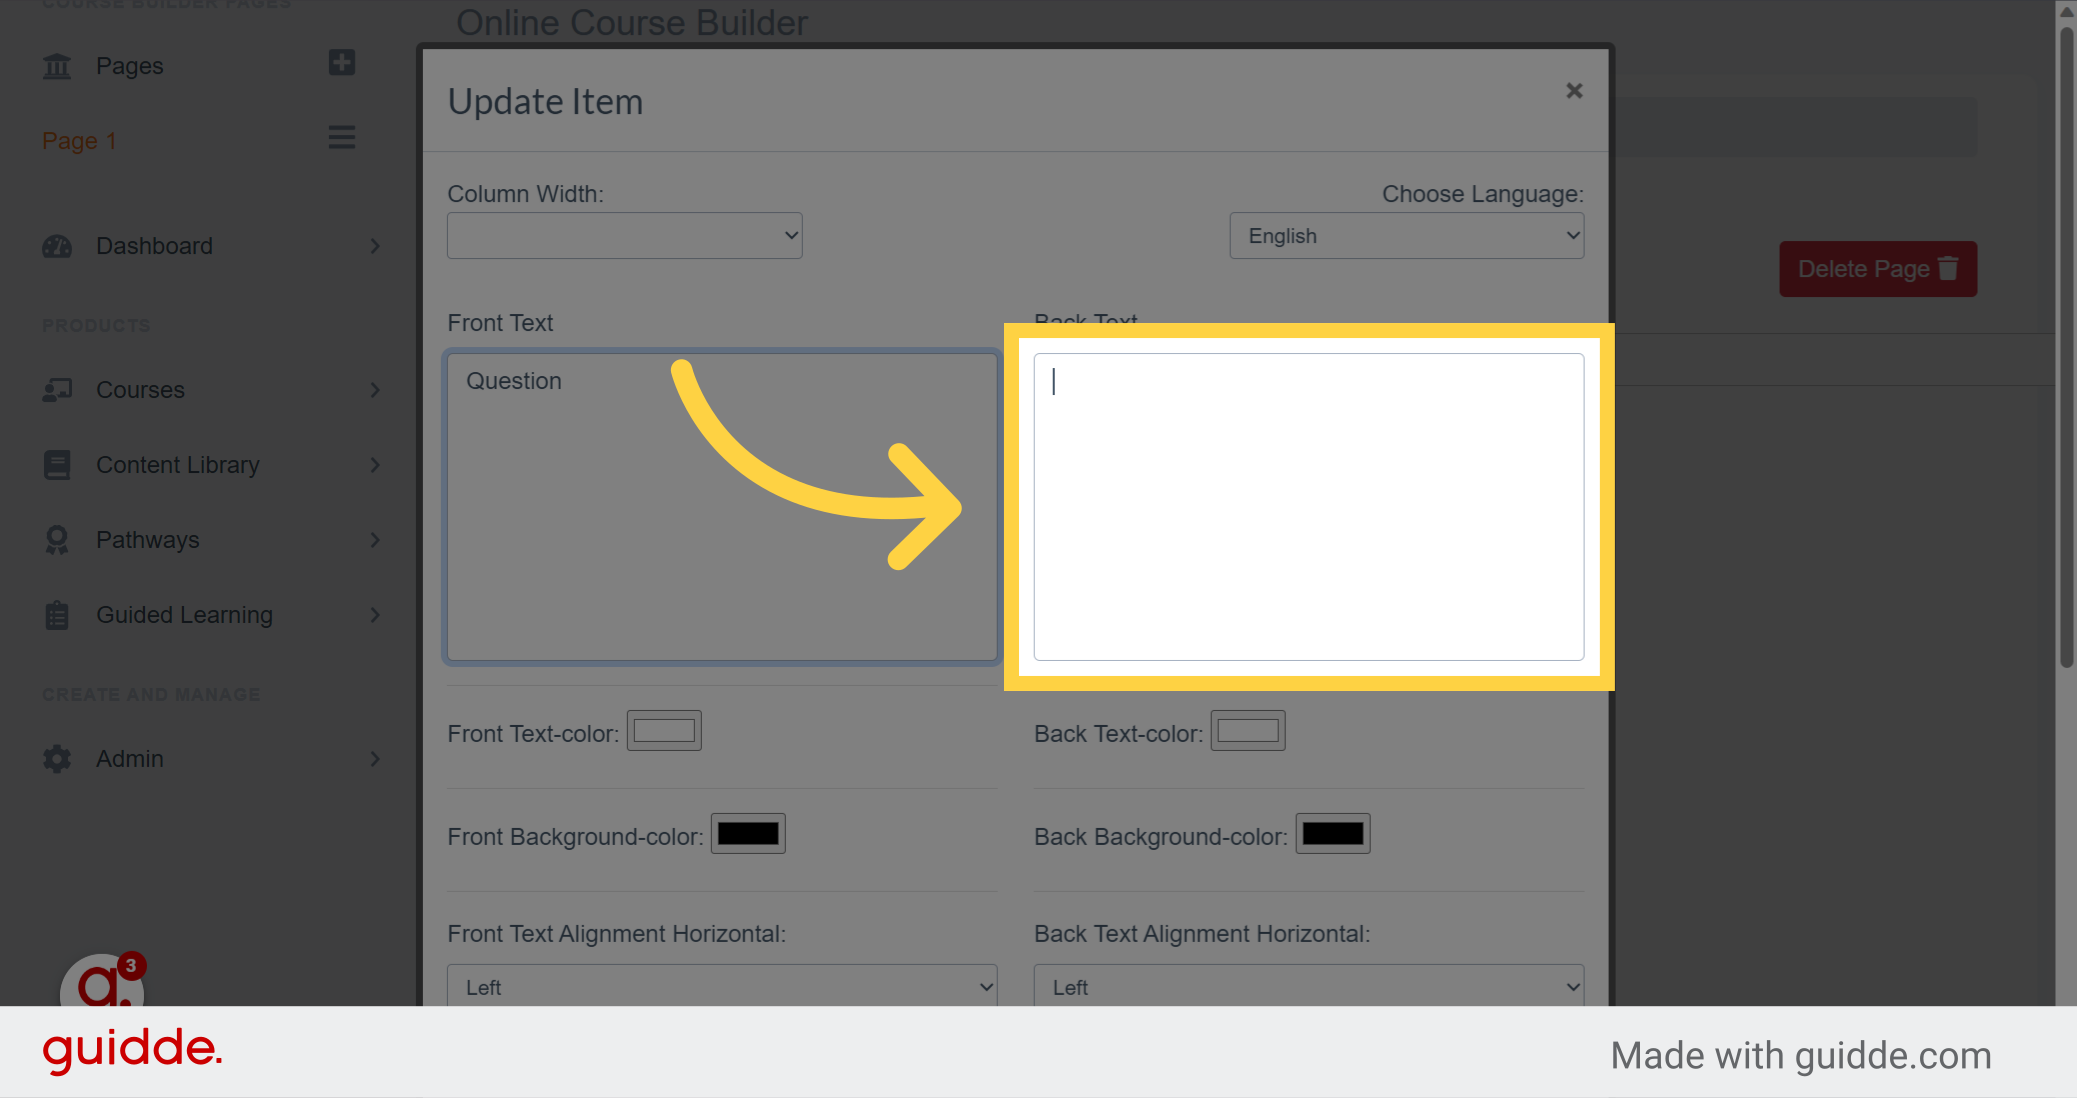
4. Click here
And here is the back of your card where you can write the answer to the question
5.
Select those cases to choose the desired colour for the text
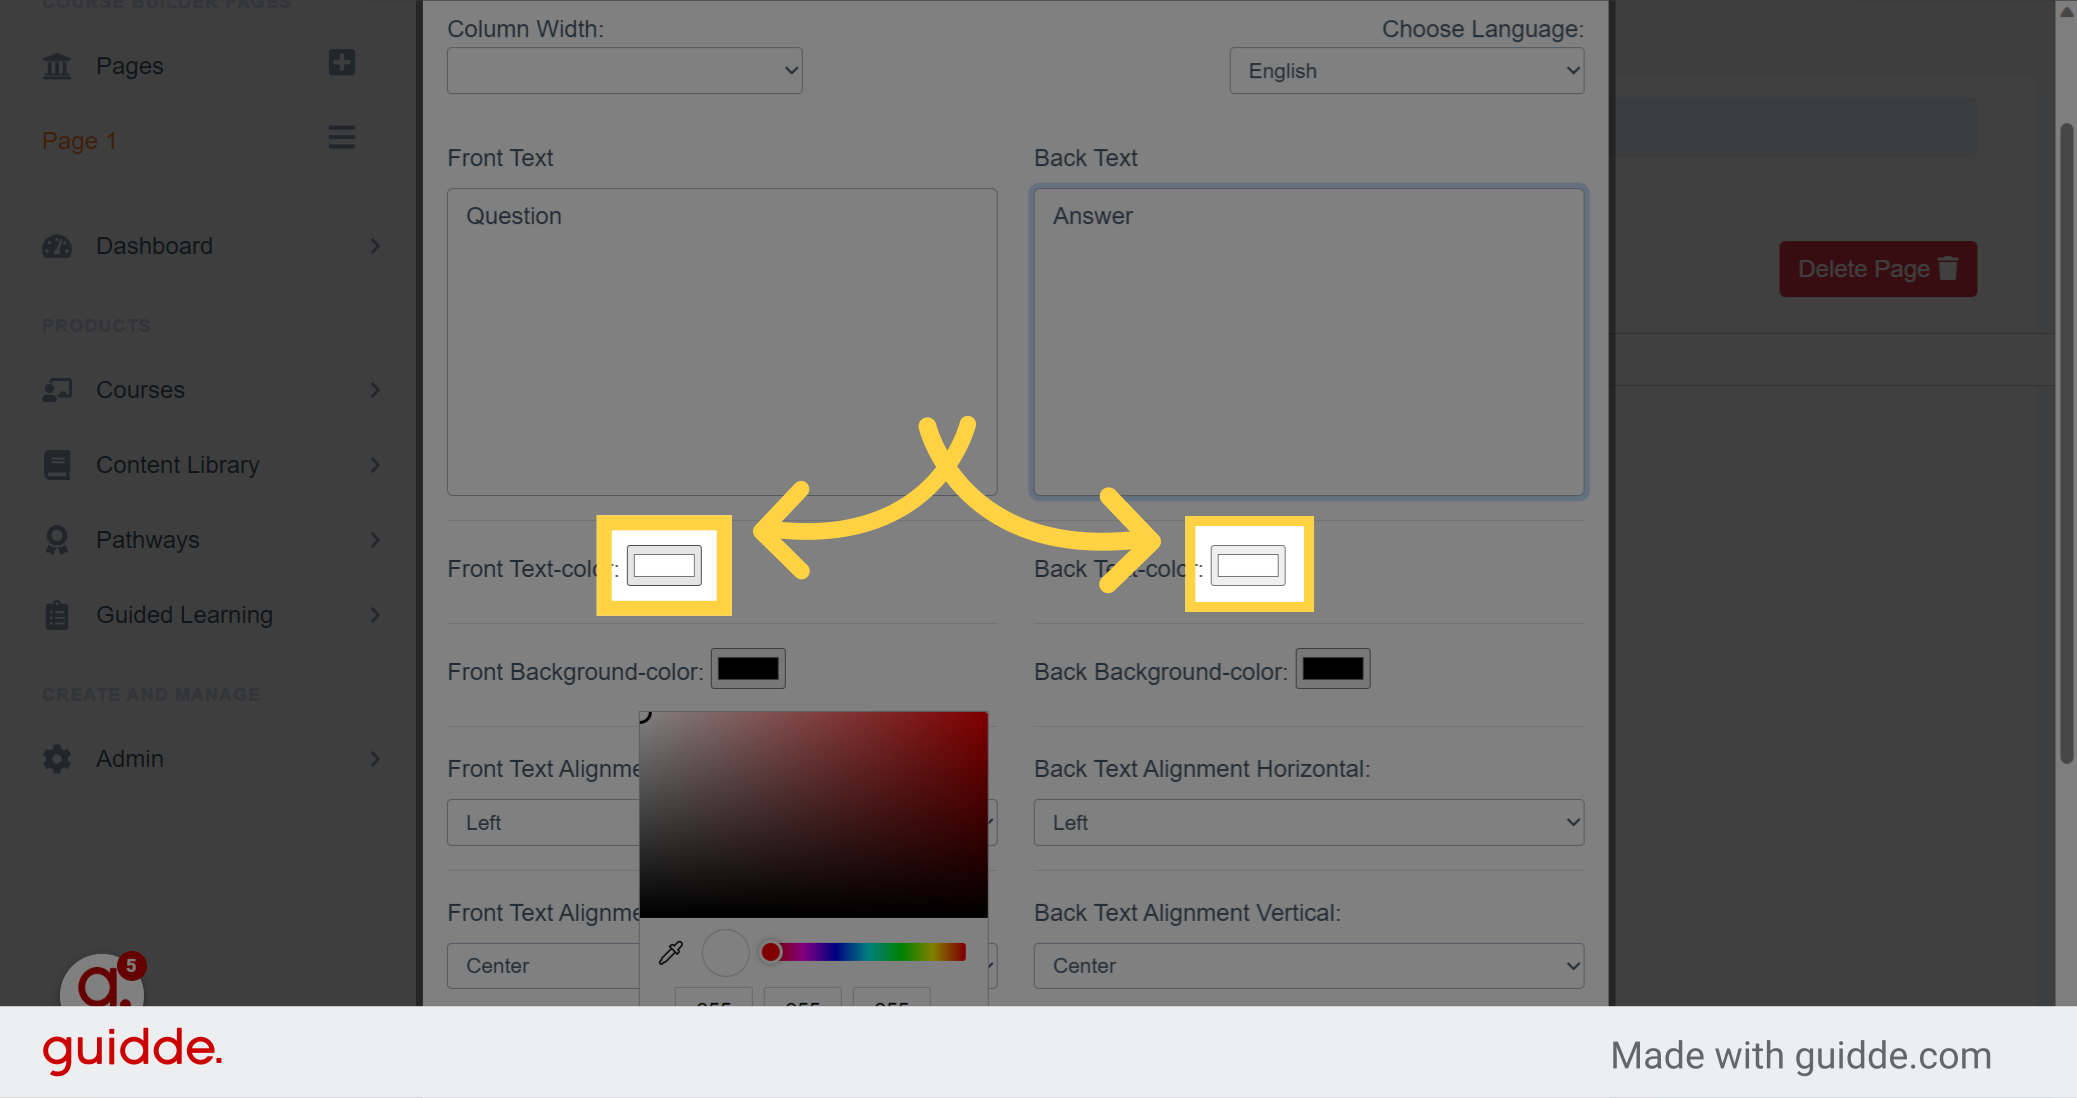
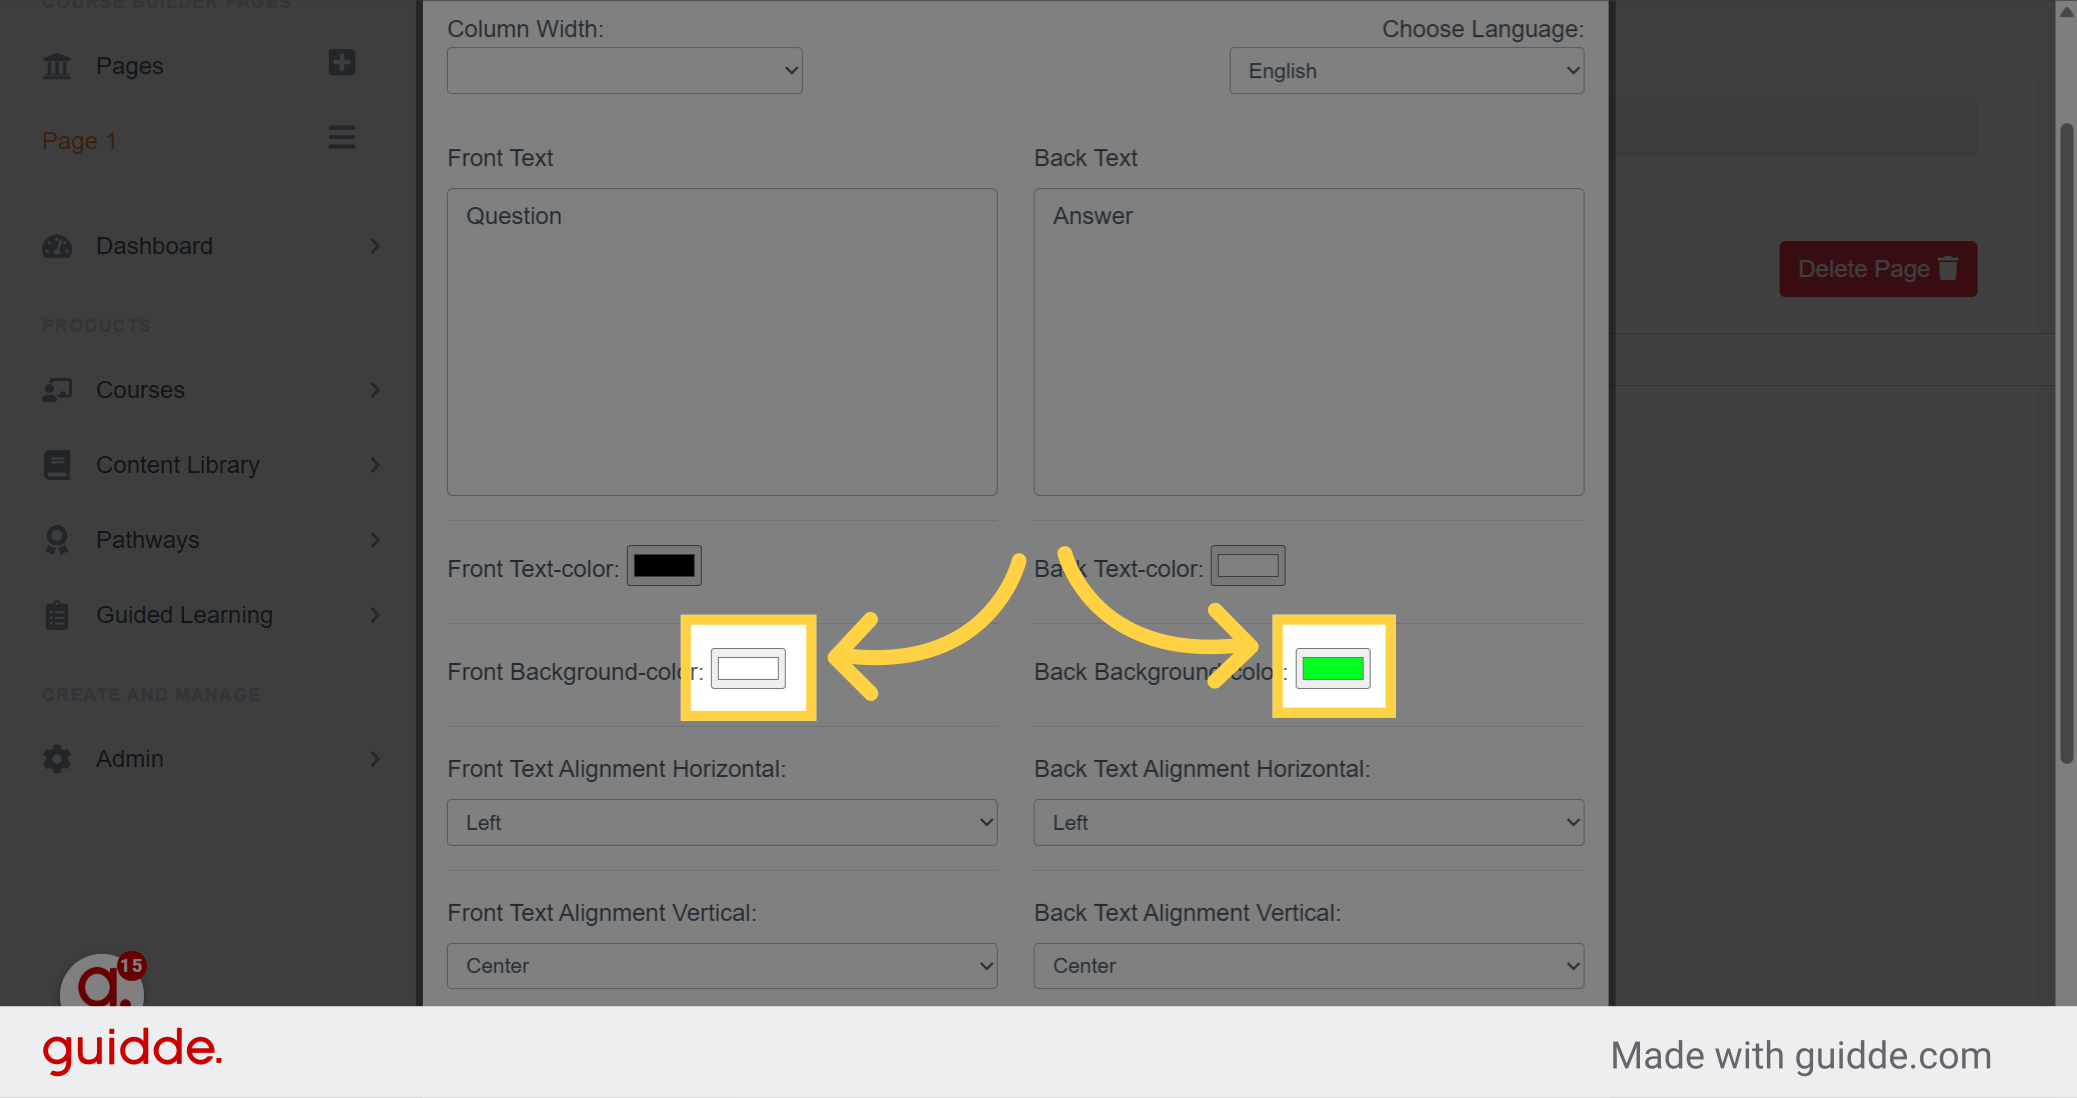
6.
And click on those boxes to change the background colour of your card
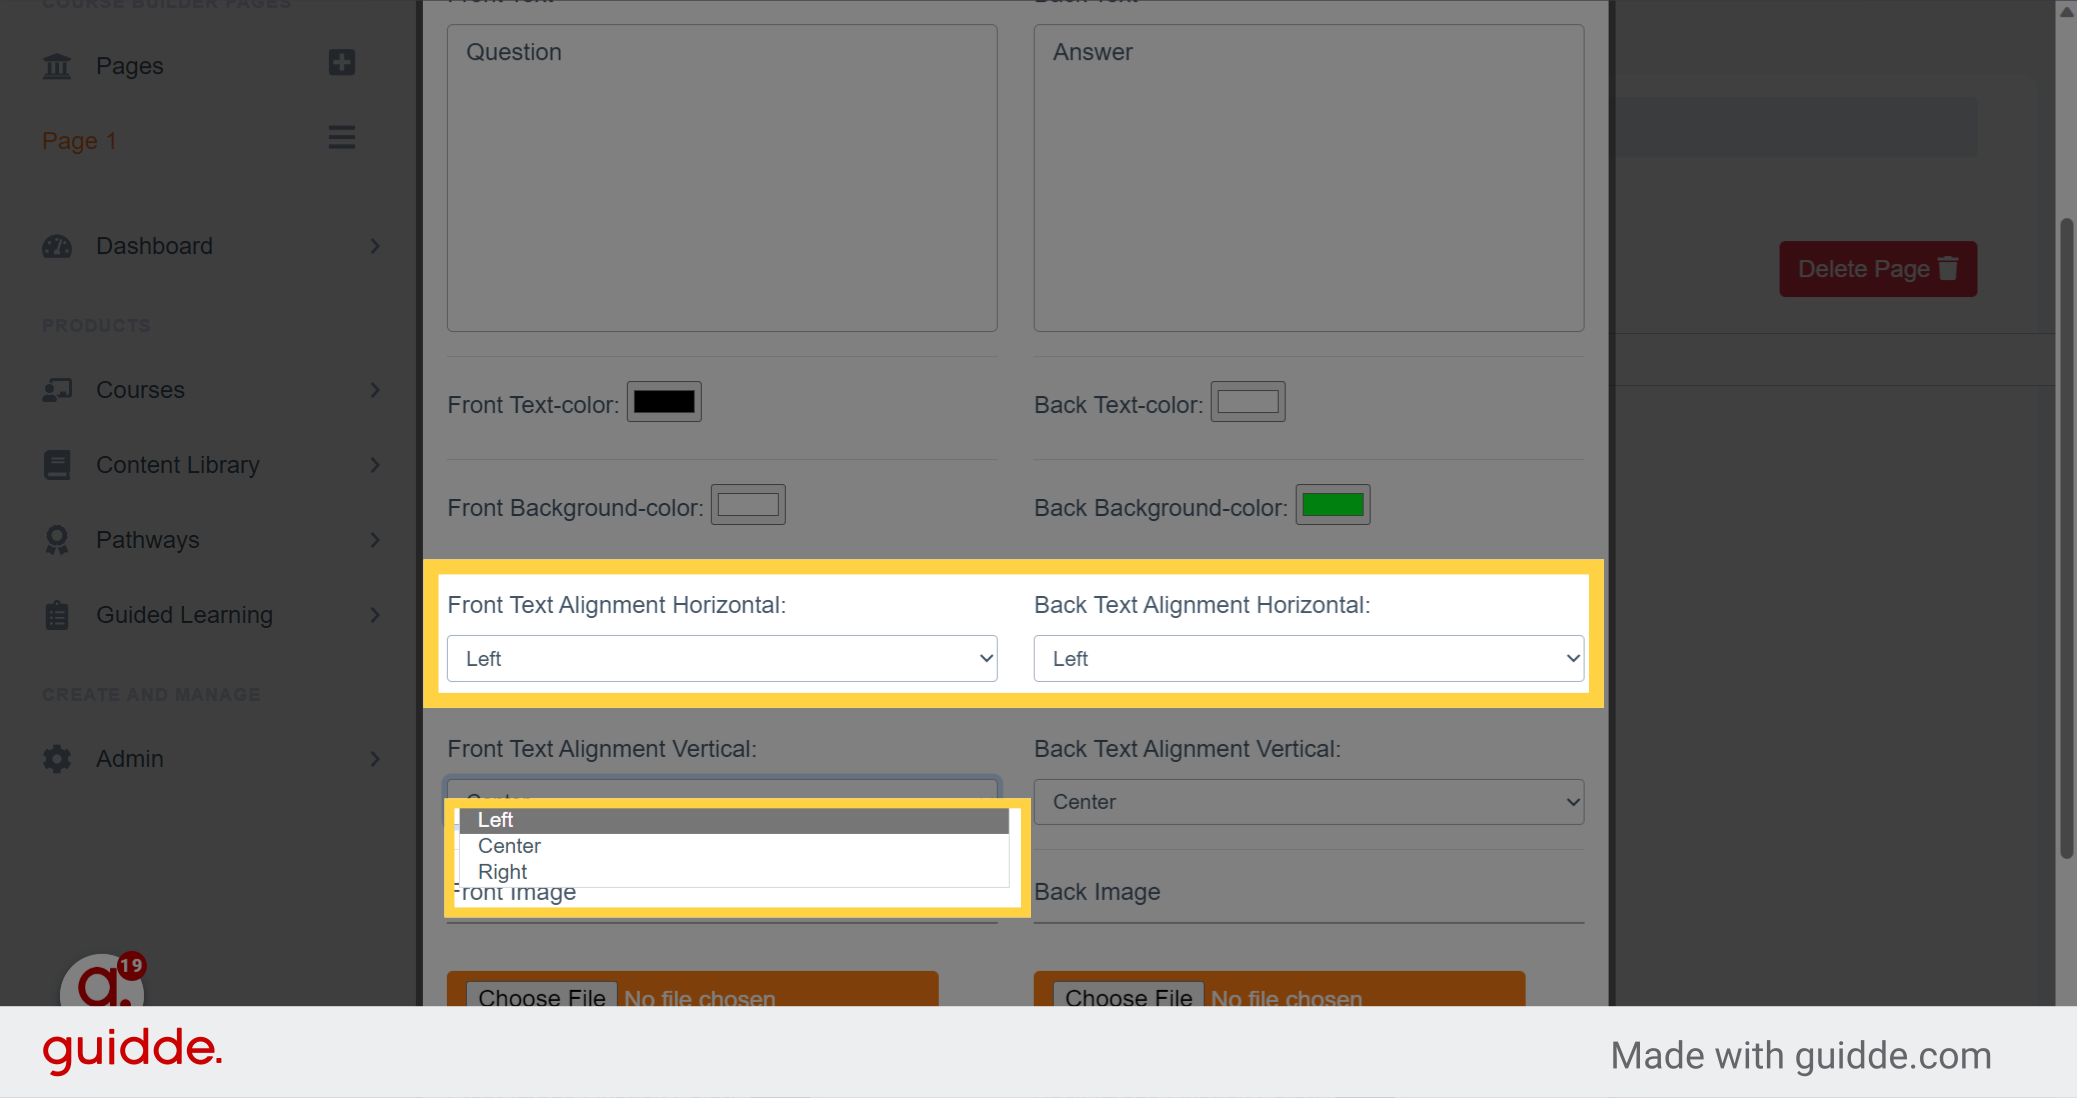
7.
Here you can choose the horizontal position of the text on the card
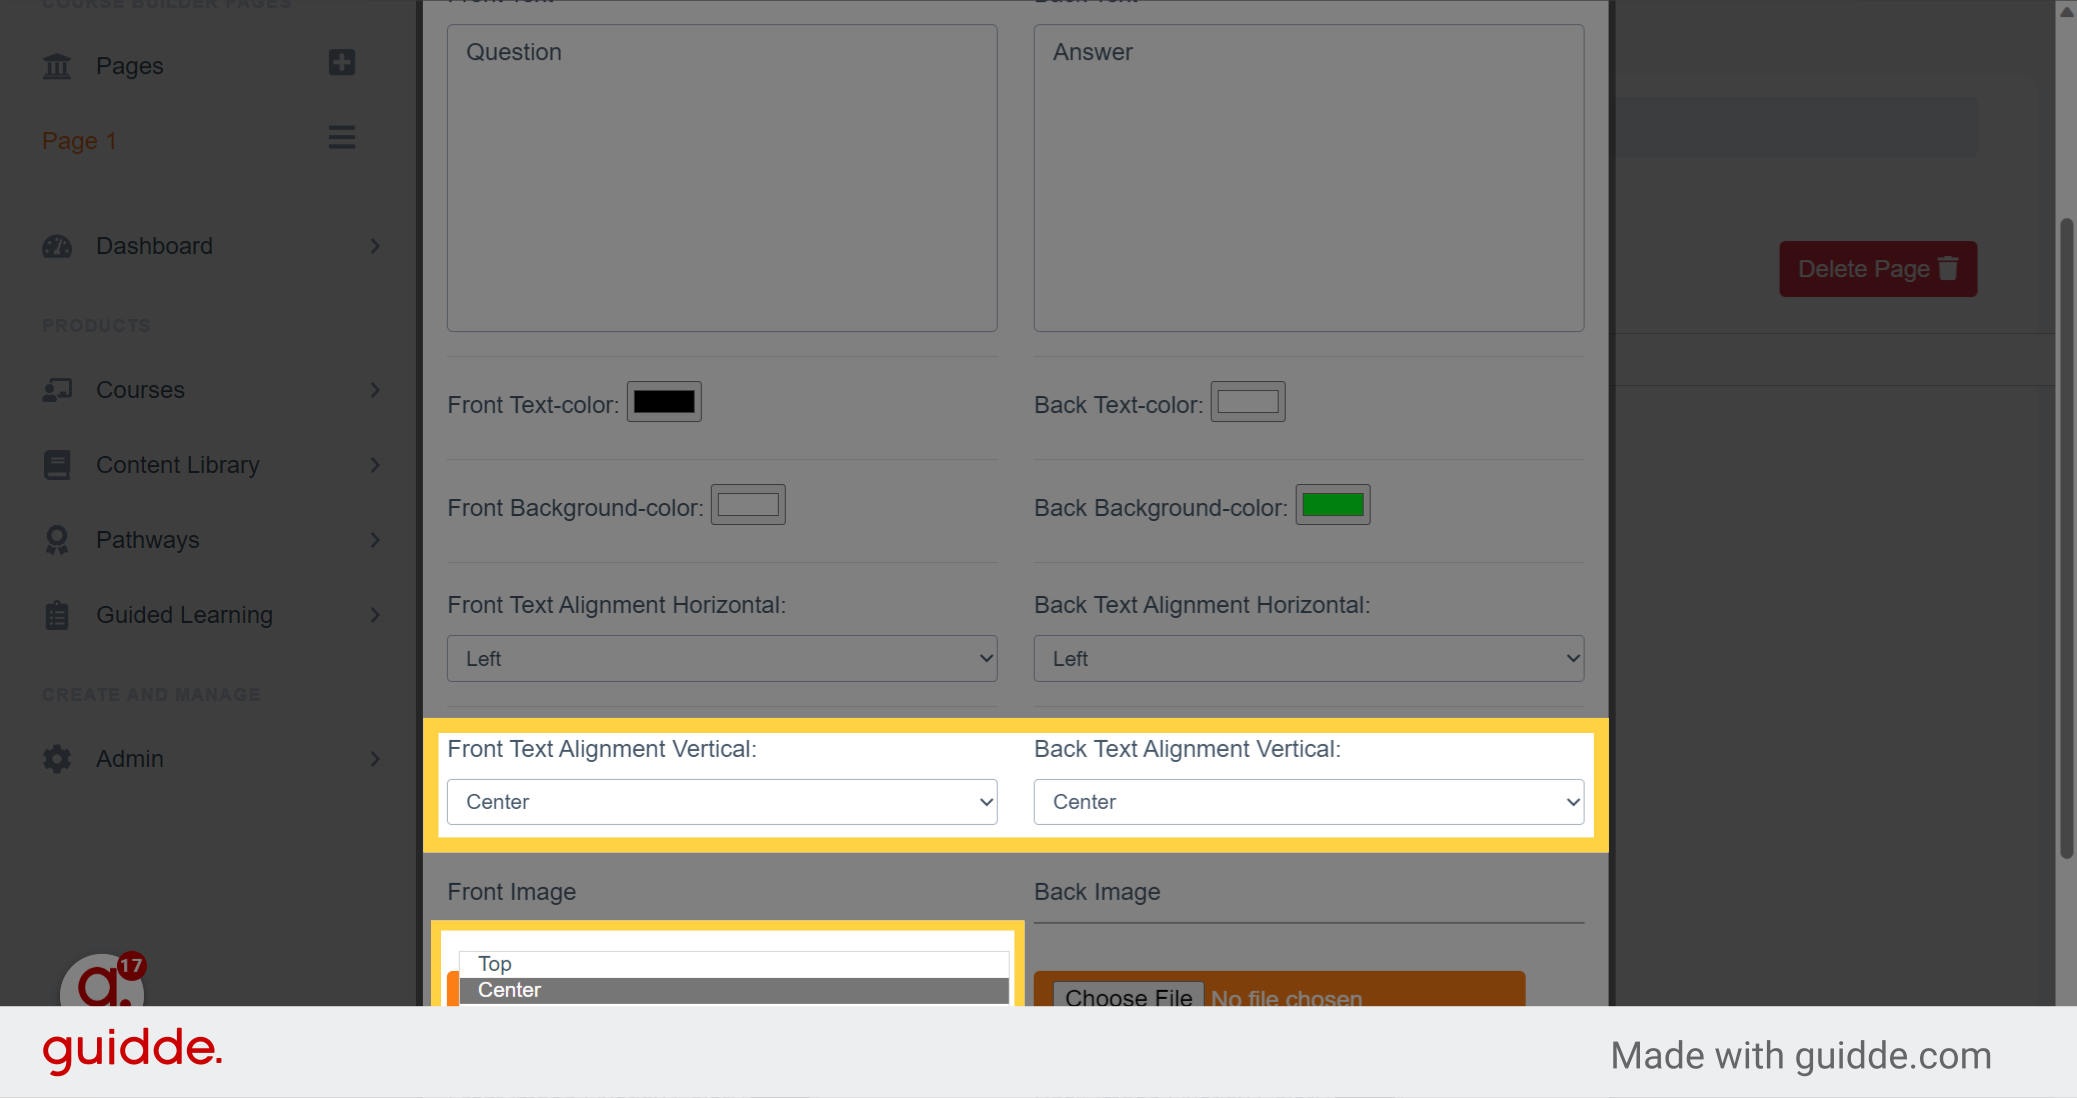
8.
And here, you can do the same for the vertical position of the text on the card
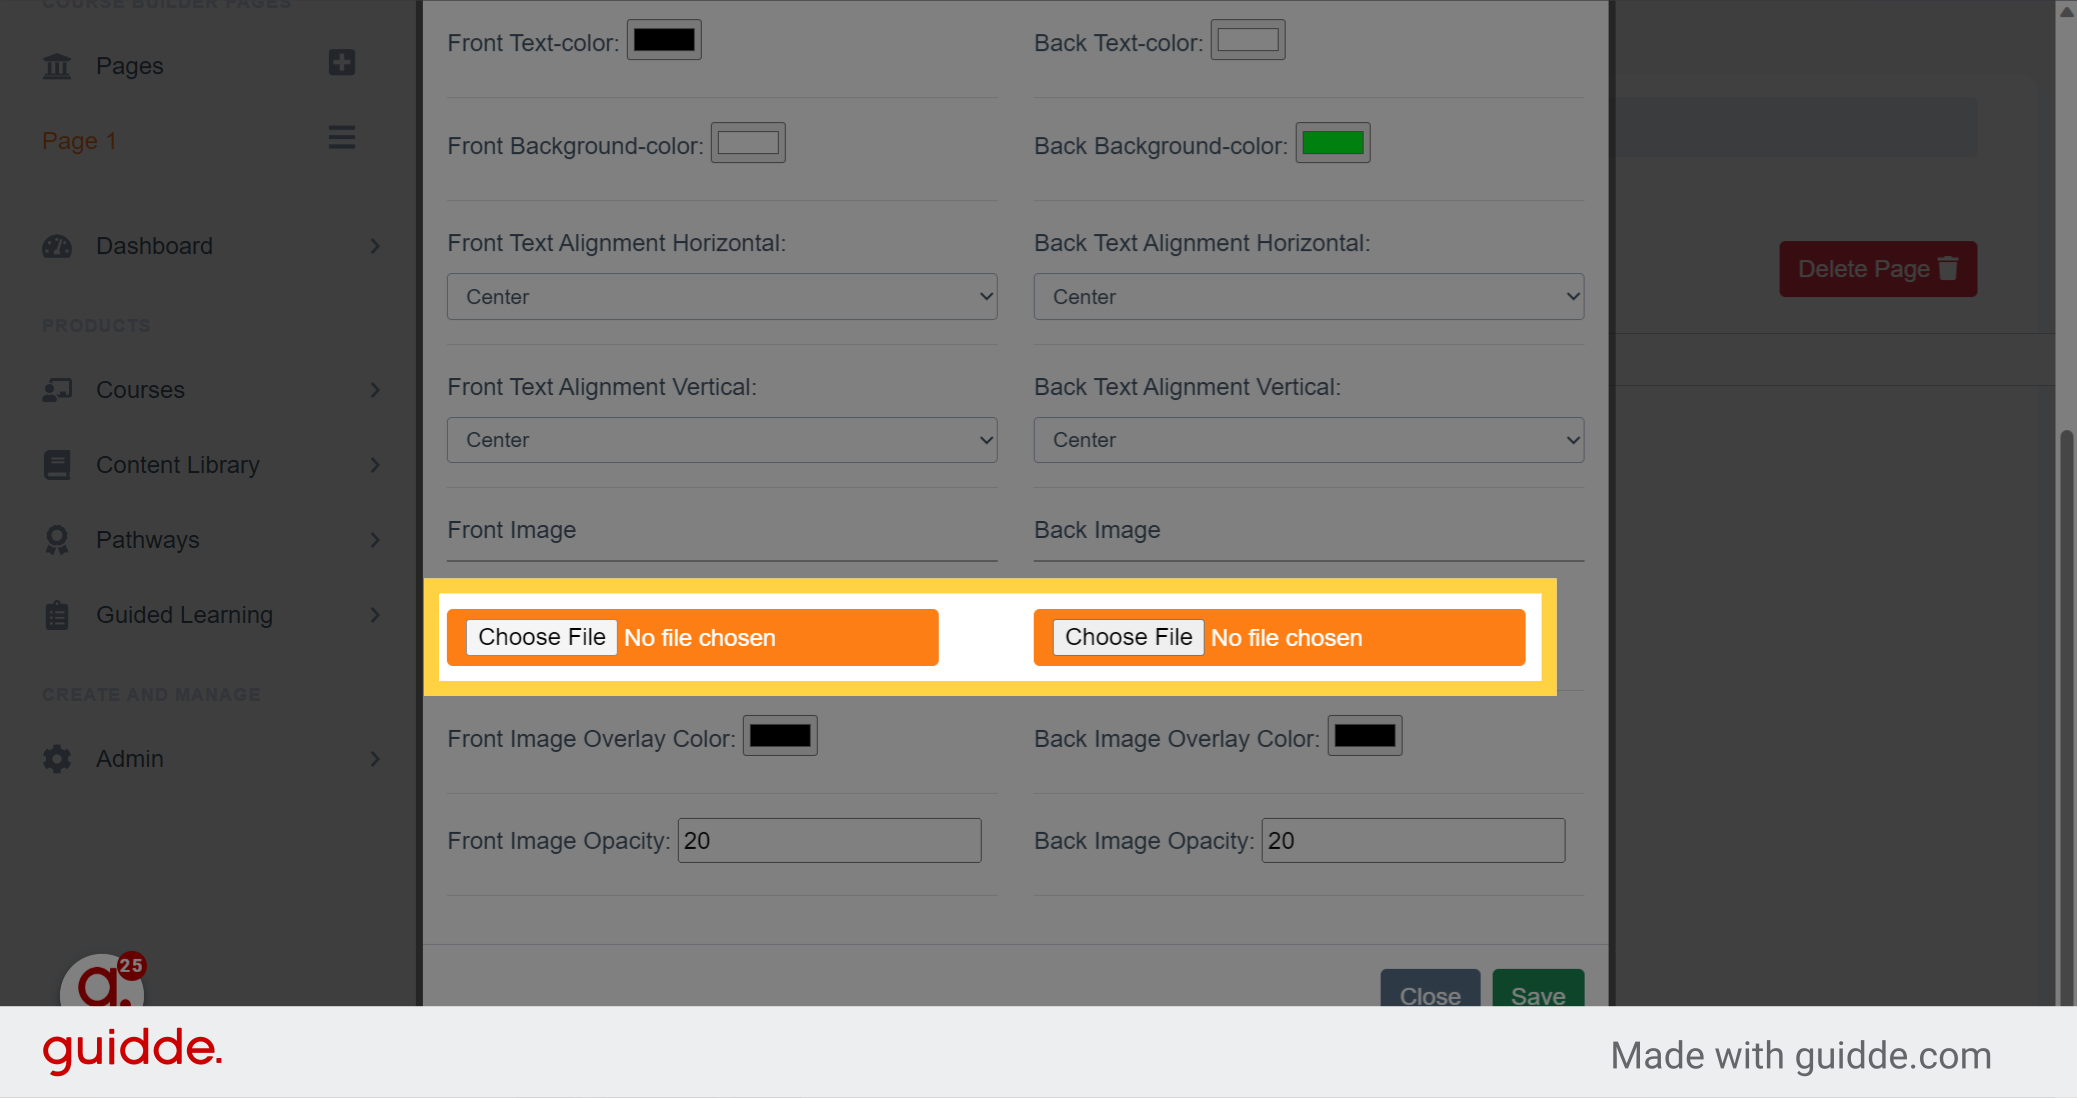
9. Click here
Then, if you want to put a photo as background of your card, please select this box that will take you to your files or you will choose your photo
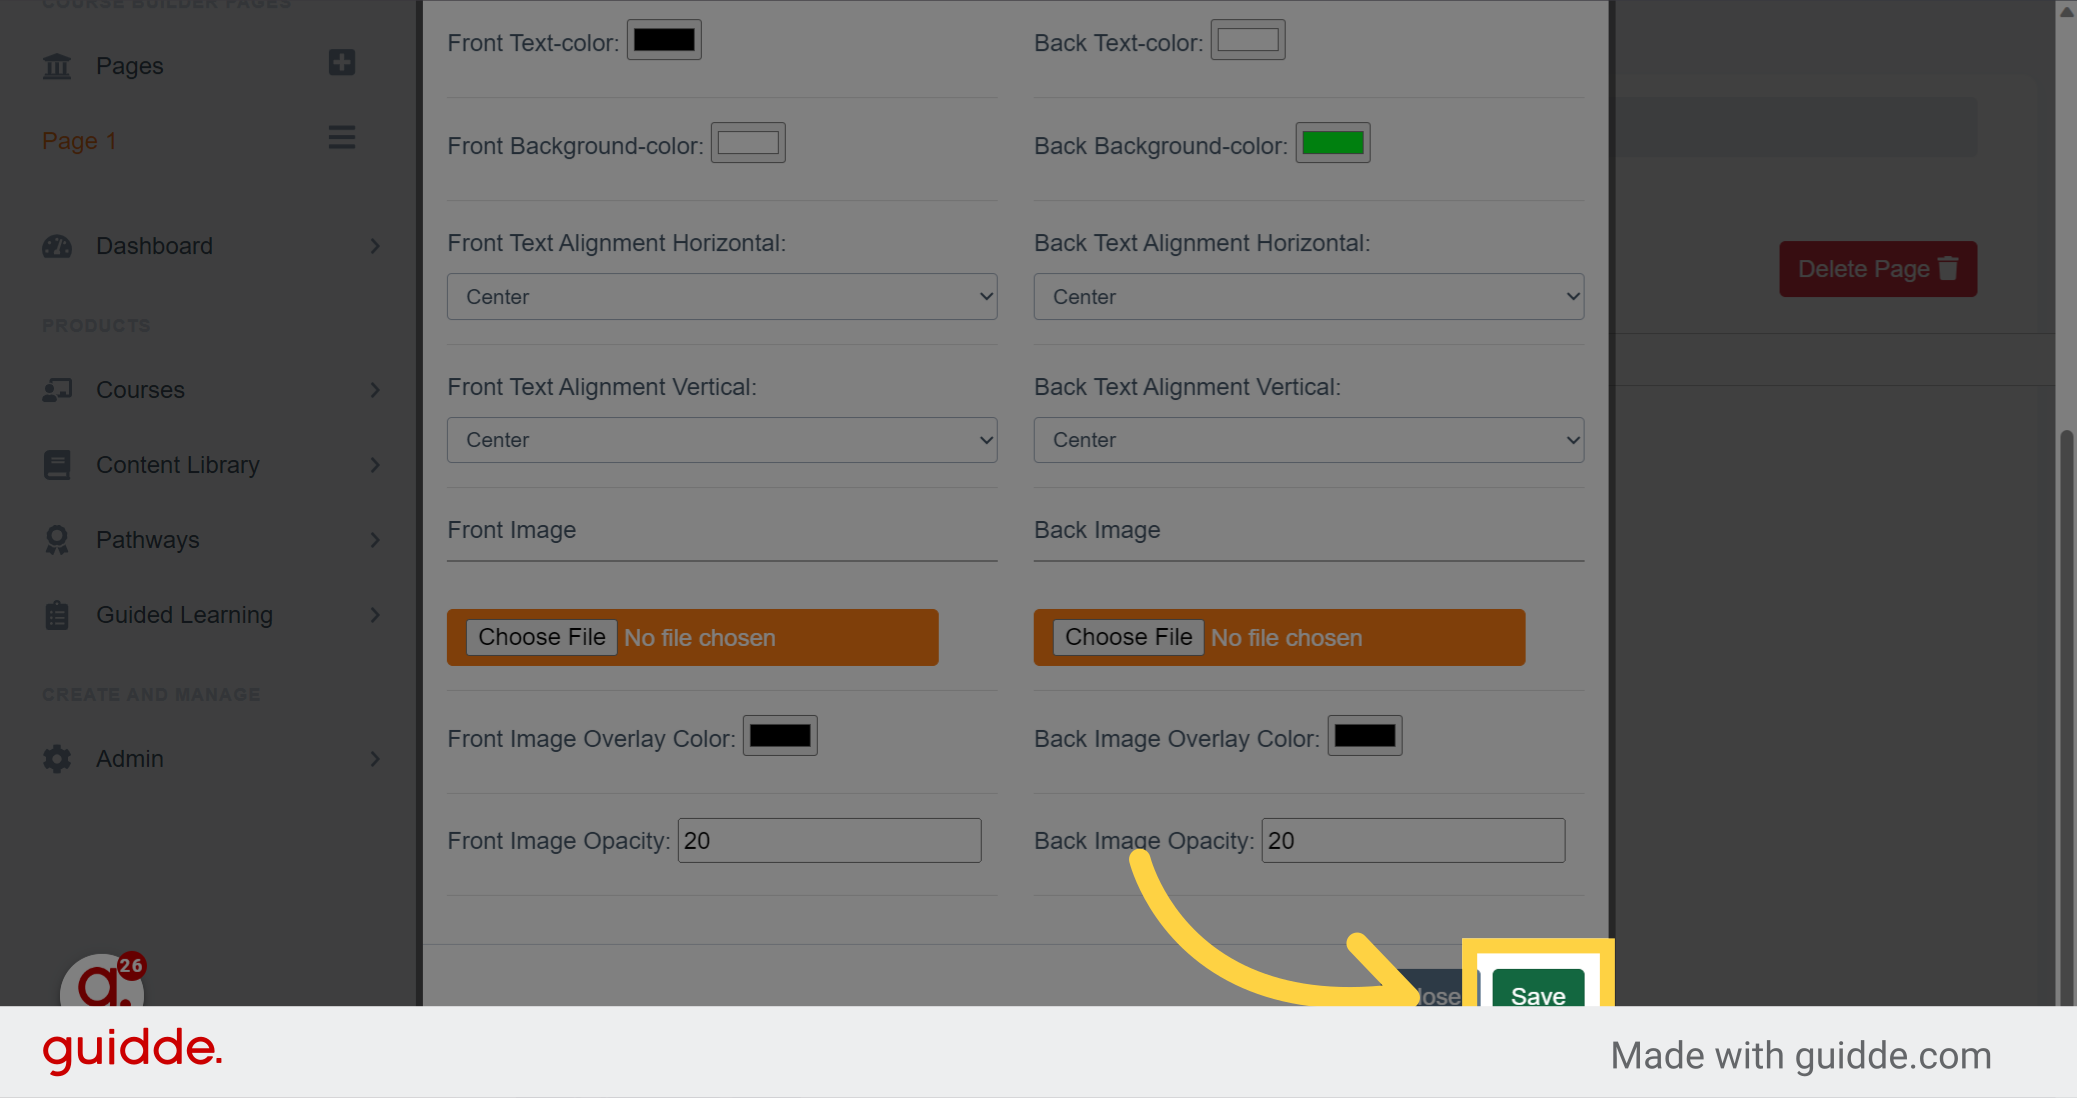
10. Click "Save"
Click on the green save button to save the changes made to your flip card
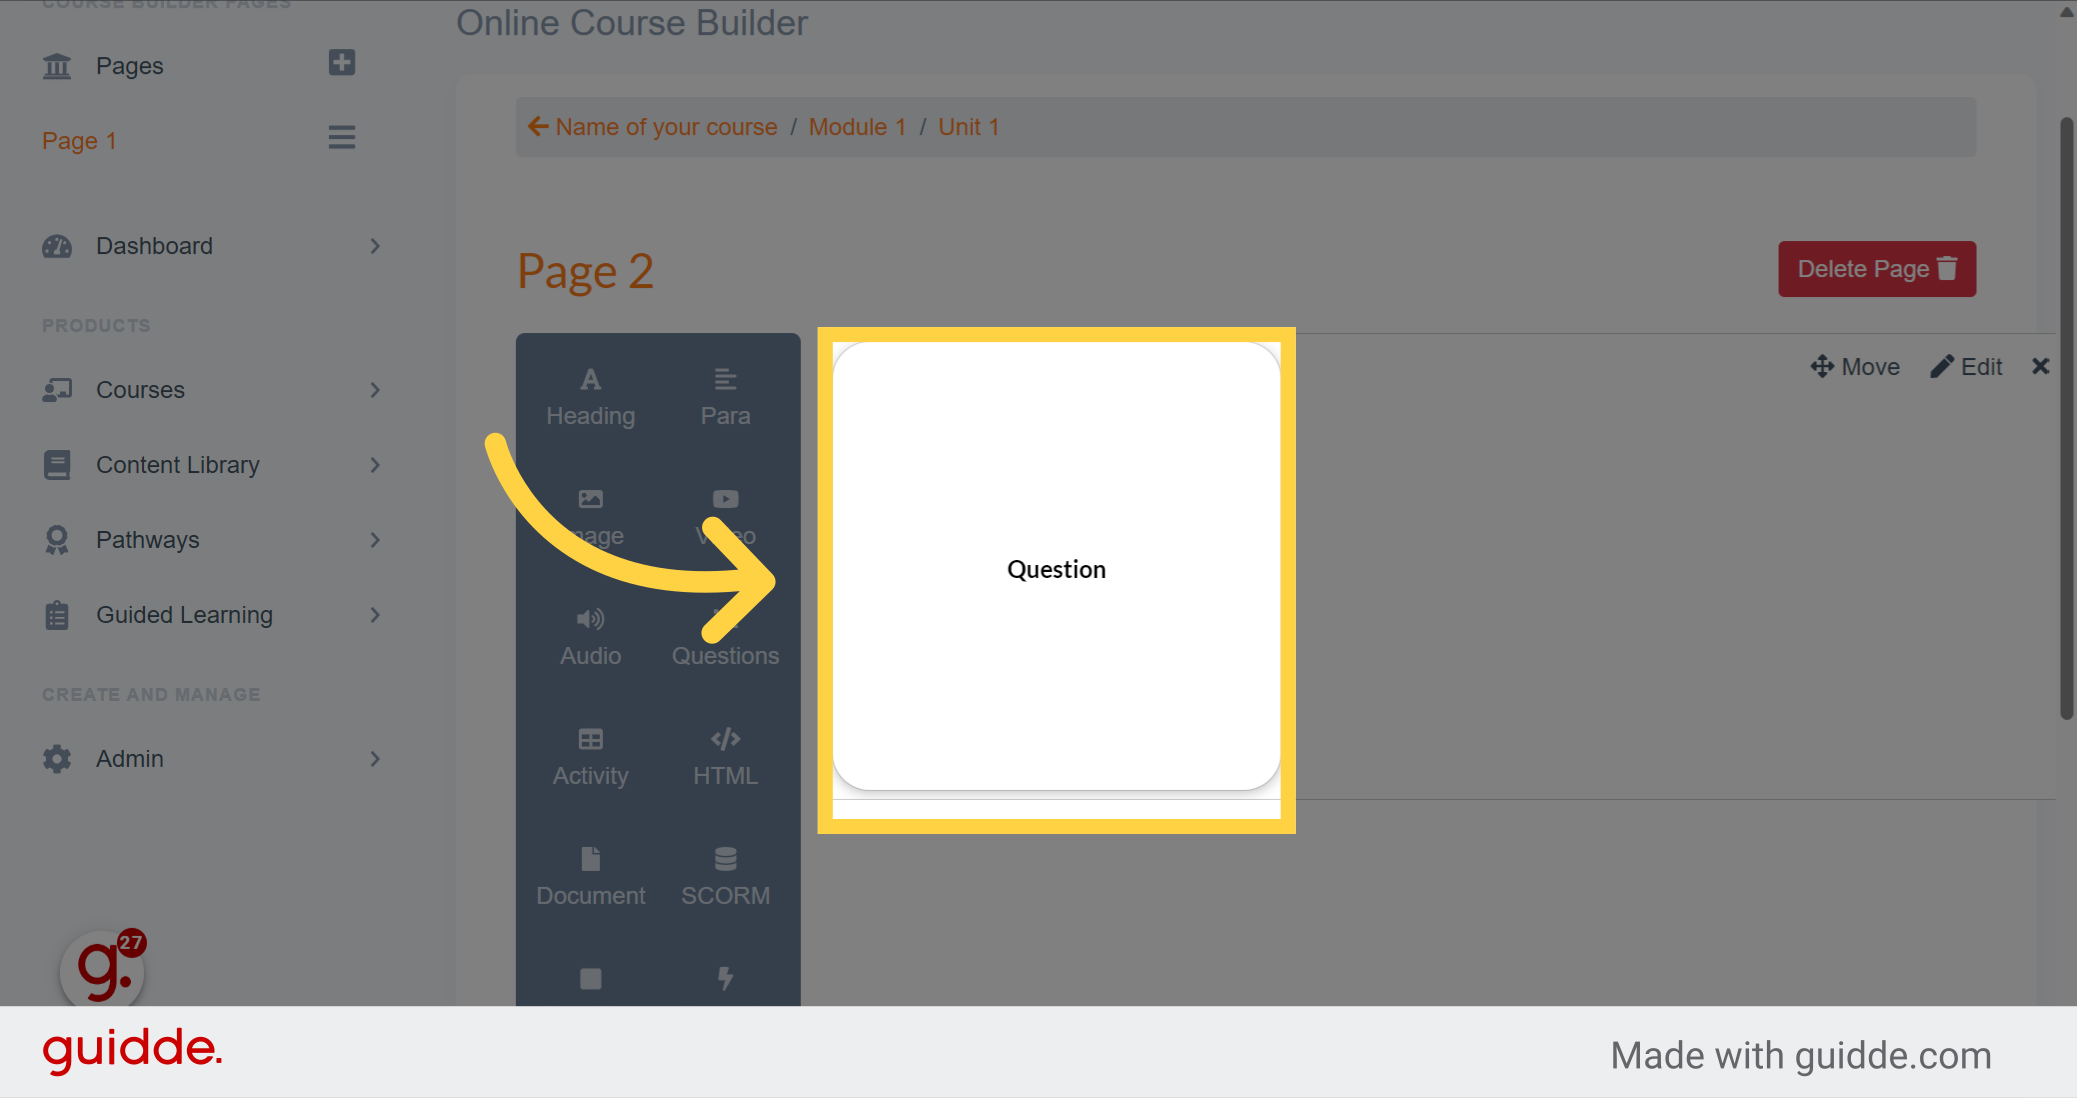
11. Click "Question"
Here is your flip card. Click on it to see the answer to the question
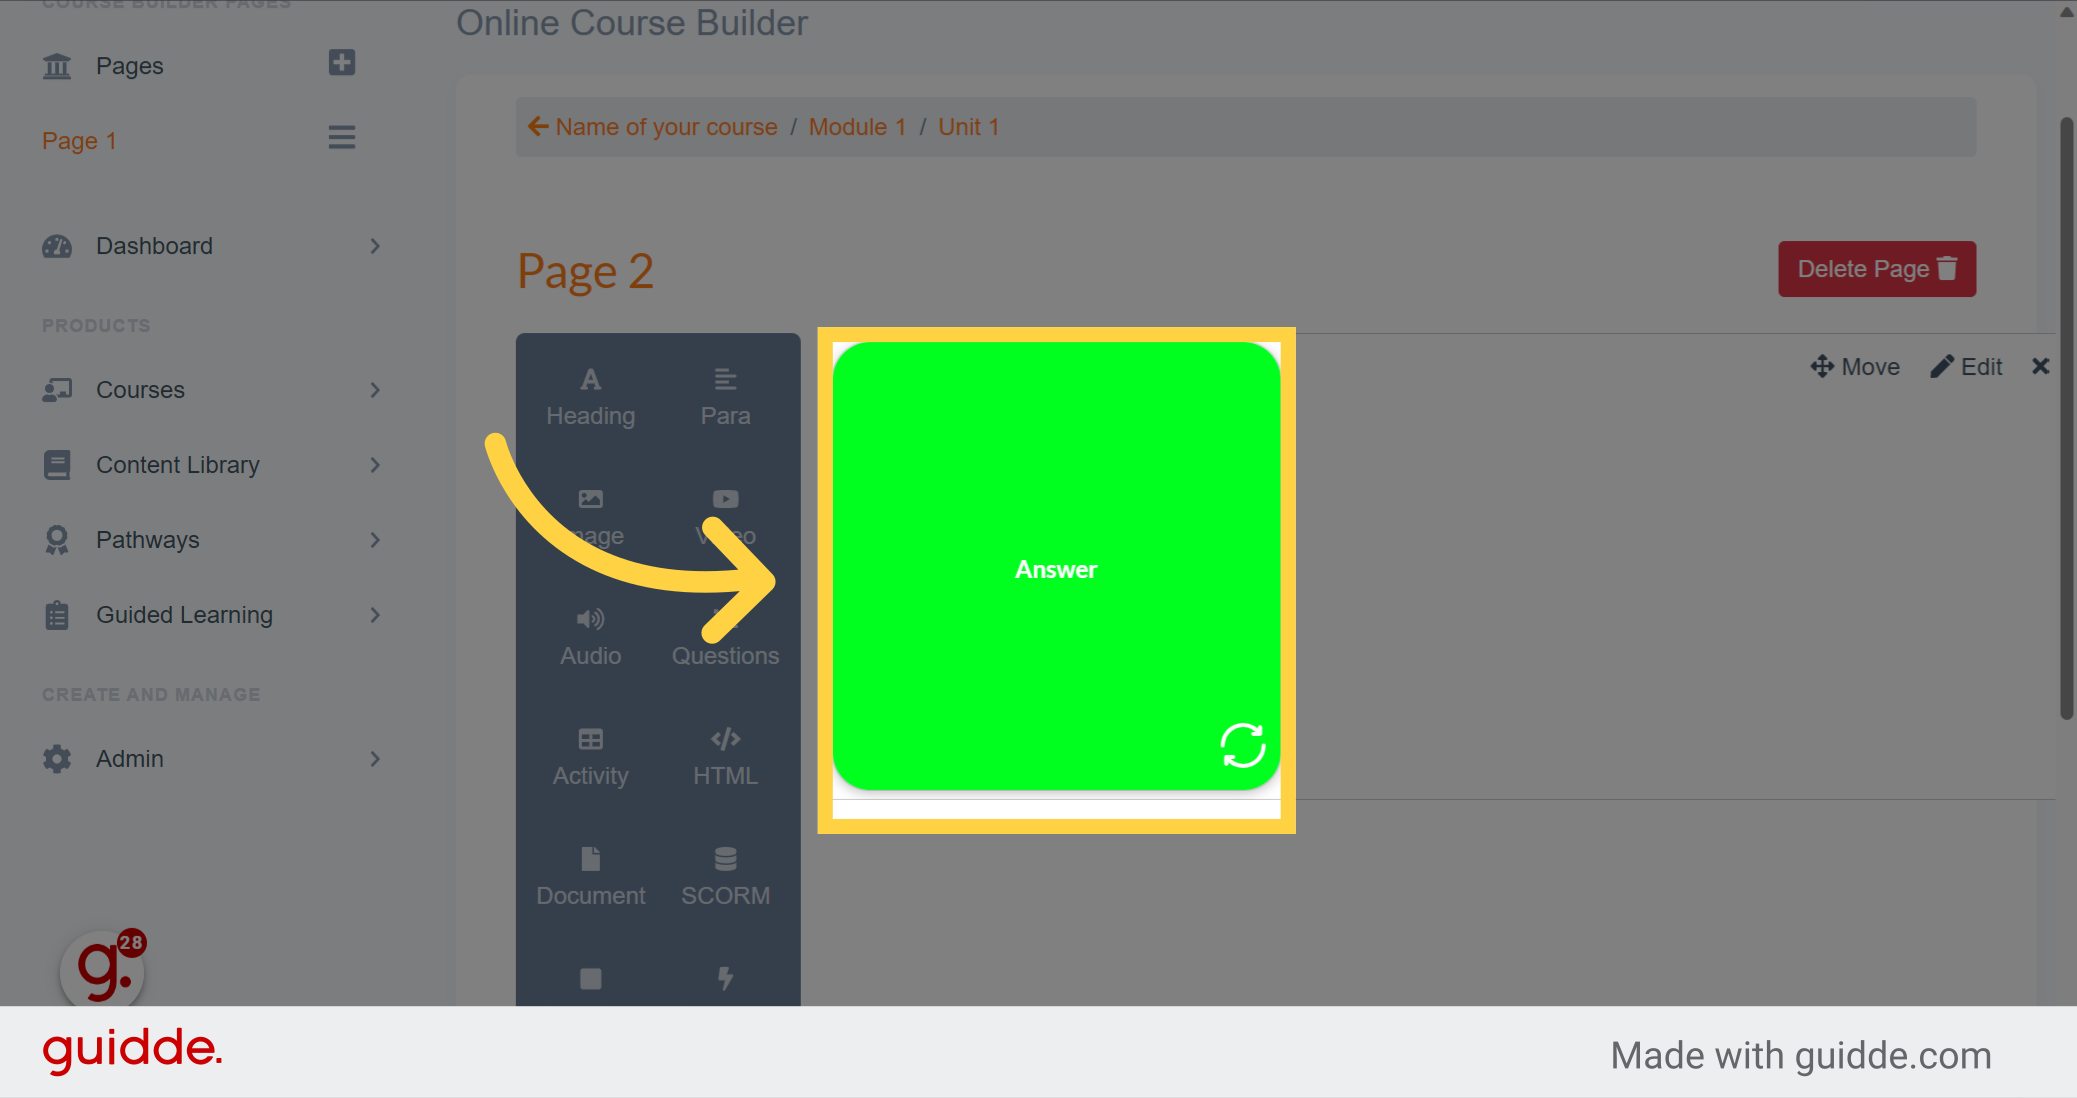
12. Click "Answer"
And there is the answer!
In this guide, you learned how to add and customize flip cards. You now have the knowledge to create engaging and interactive learning materials using flip cards. If you want to learn more tricks, please watch the others videos.