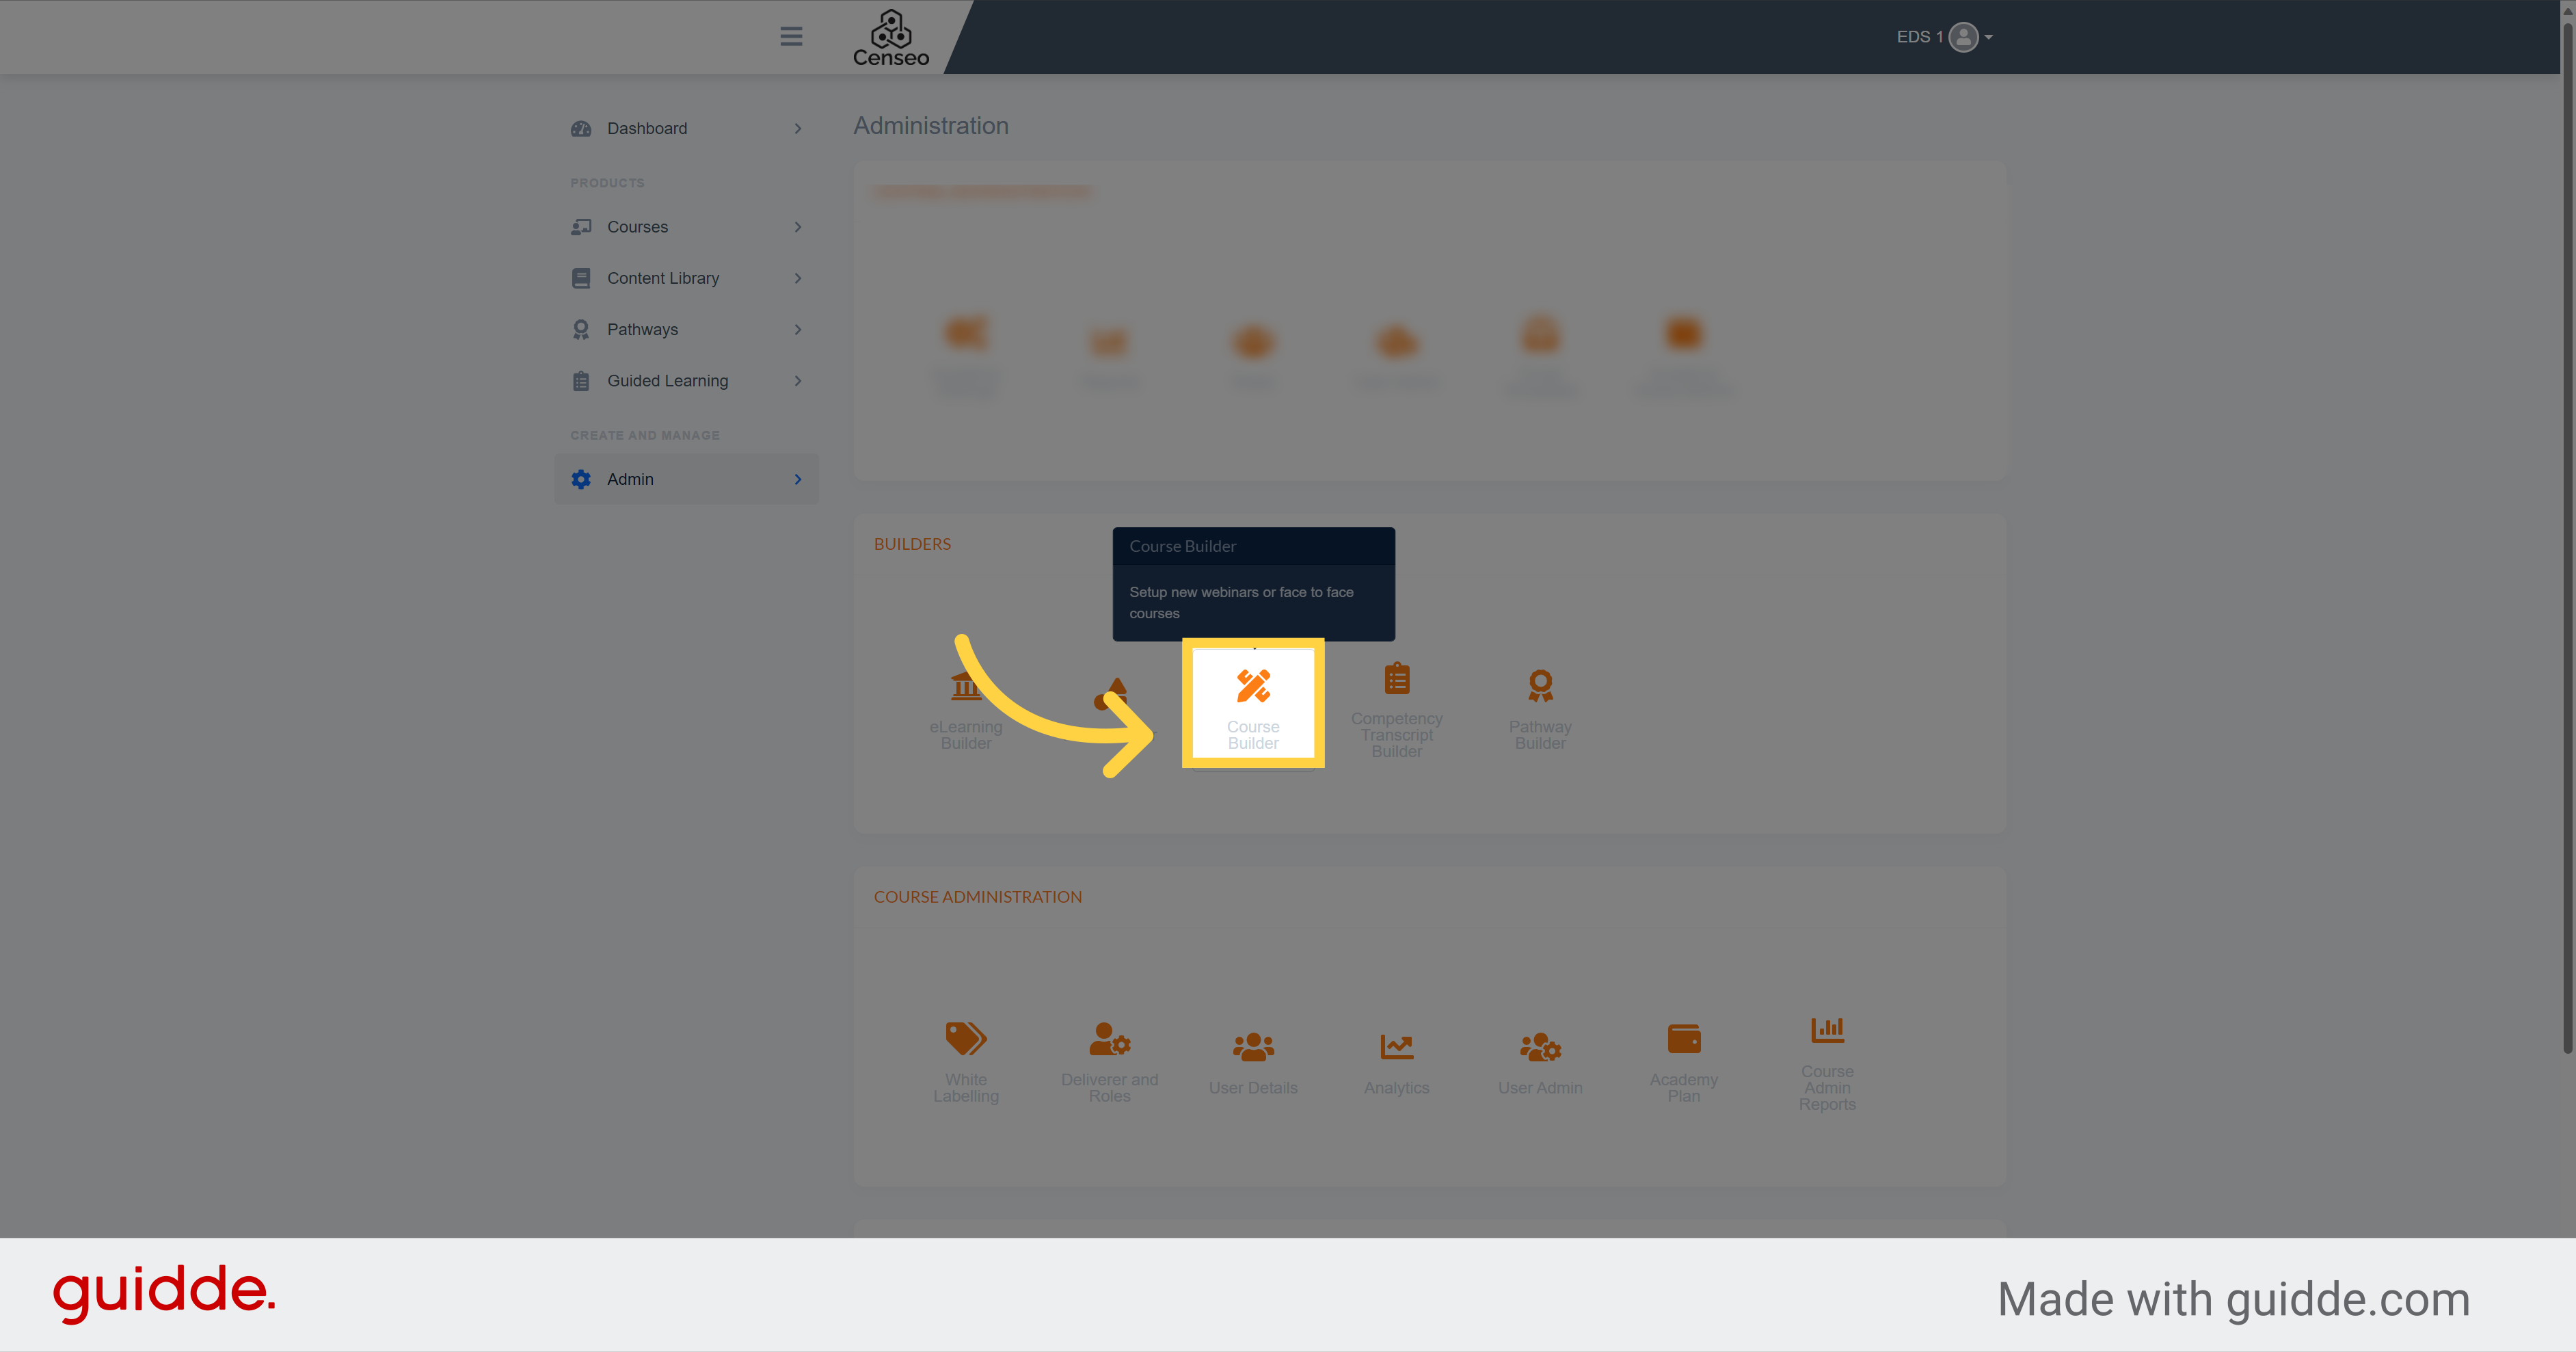
The first step is to go to the admin section and click on Course Builder
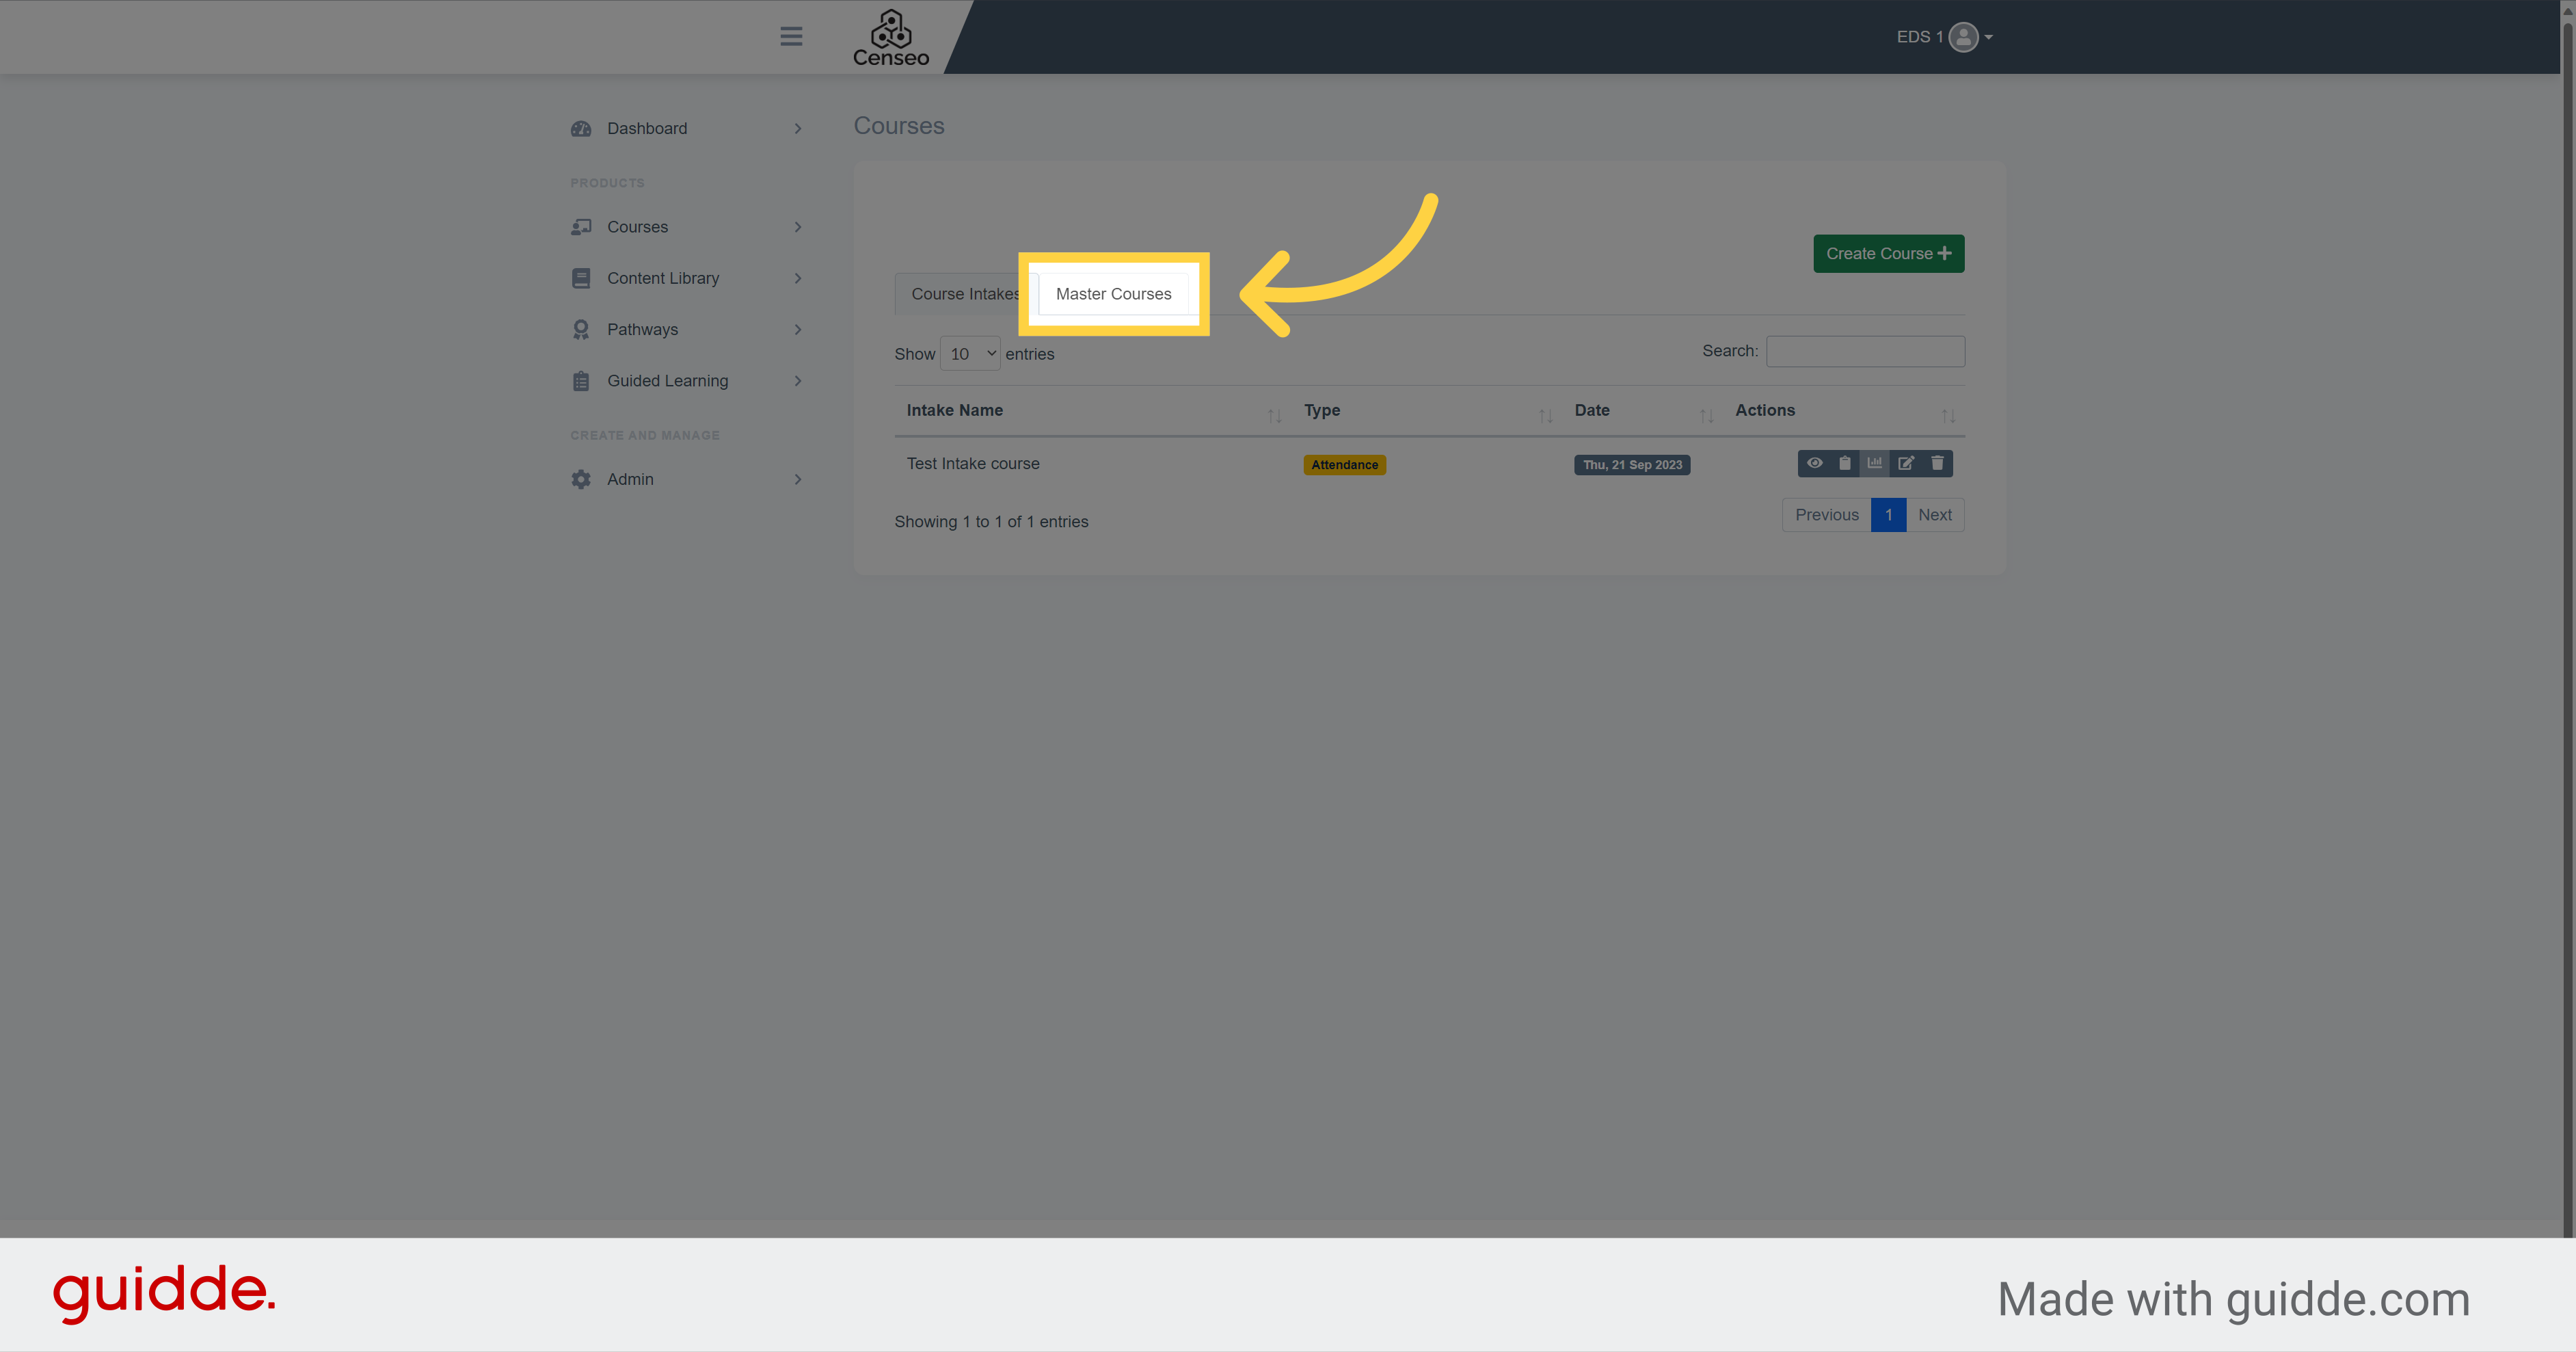
2. Click "Master Courses"
Then, click on the master courses section.
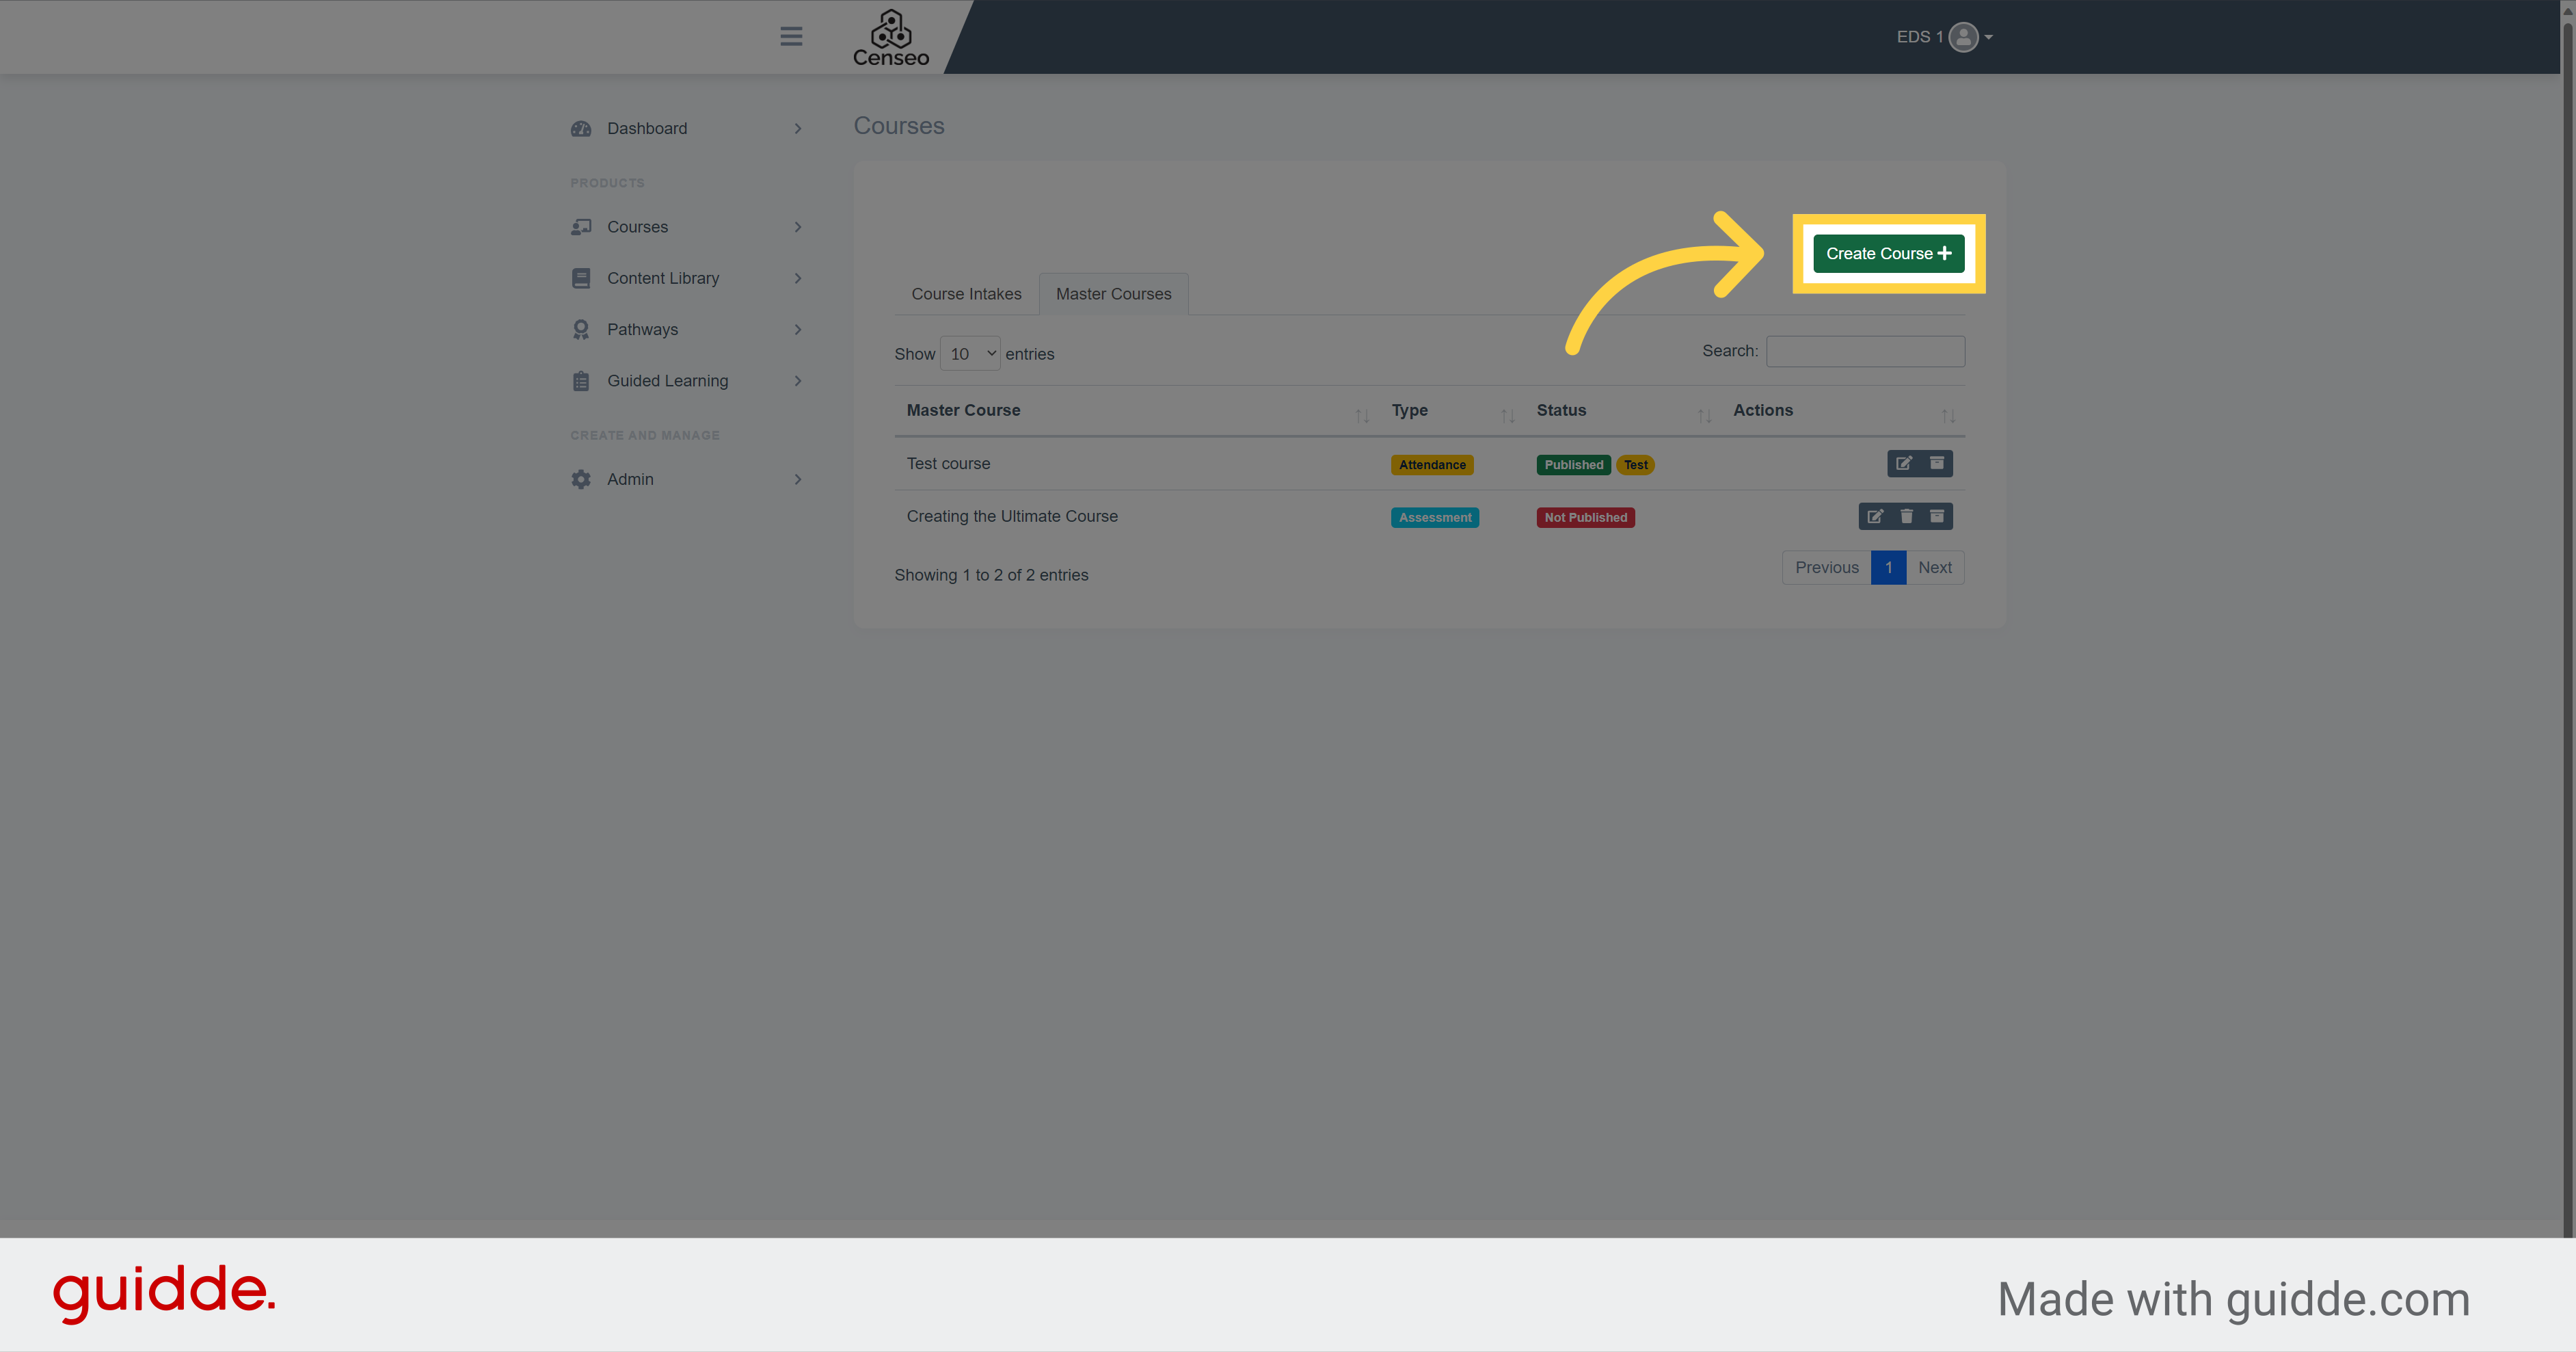
3. Click "Create Course"
There is the list of all the Master Course already created. To create yours, select this green button.
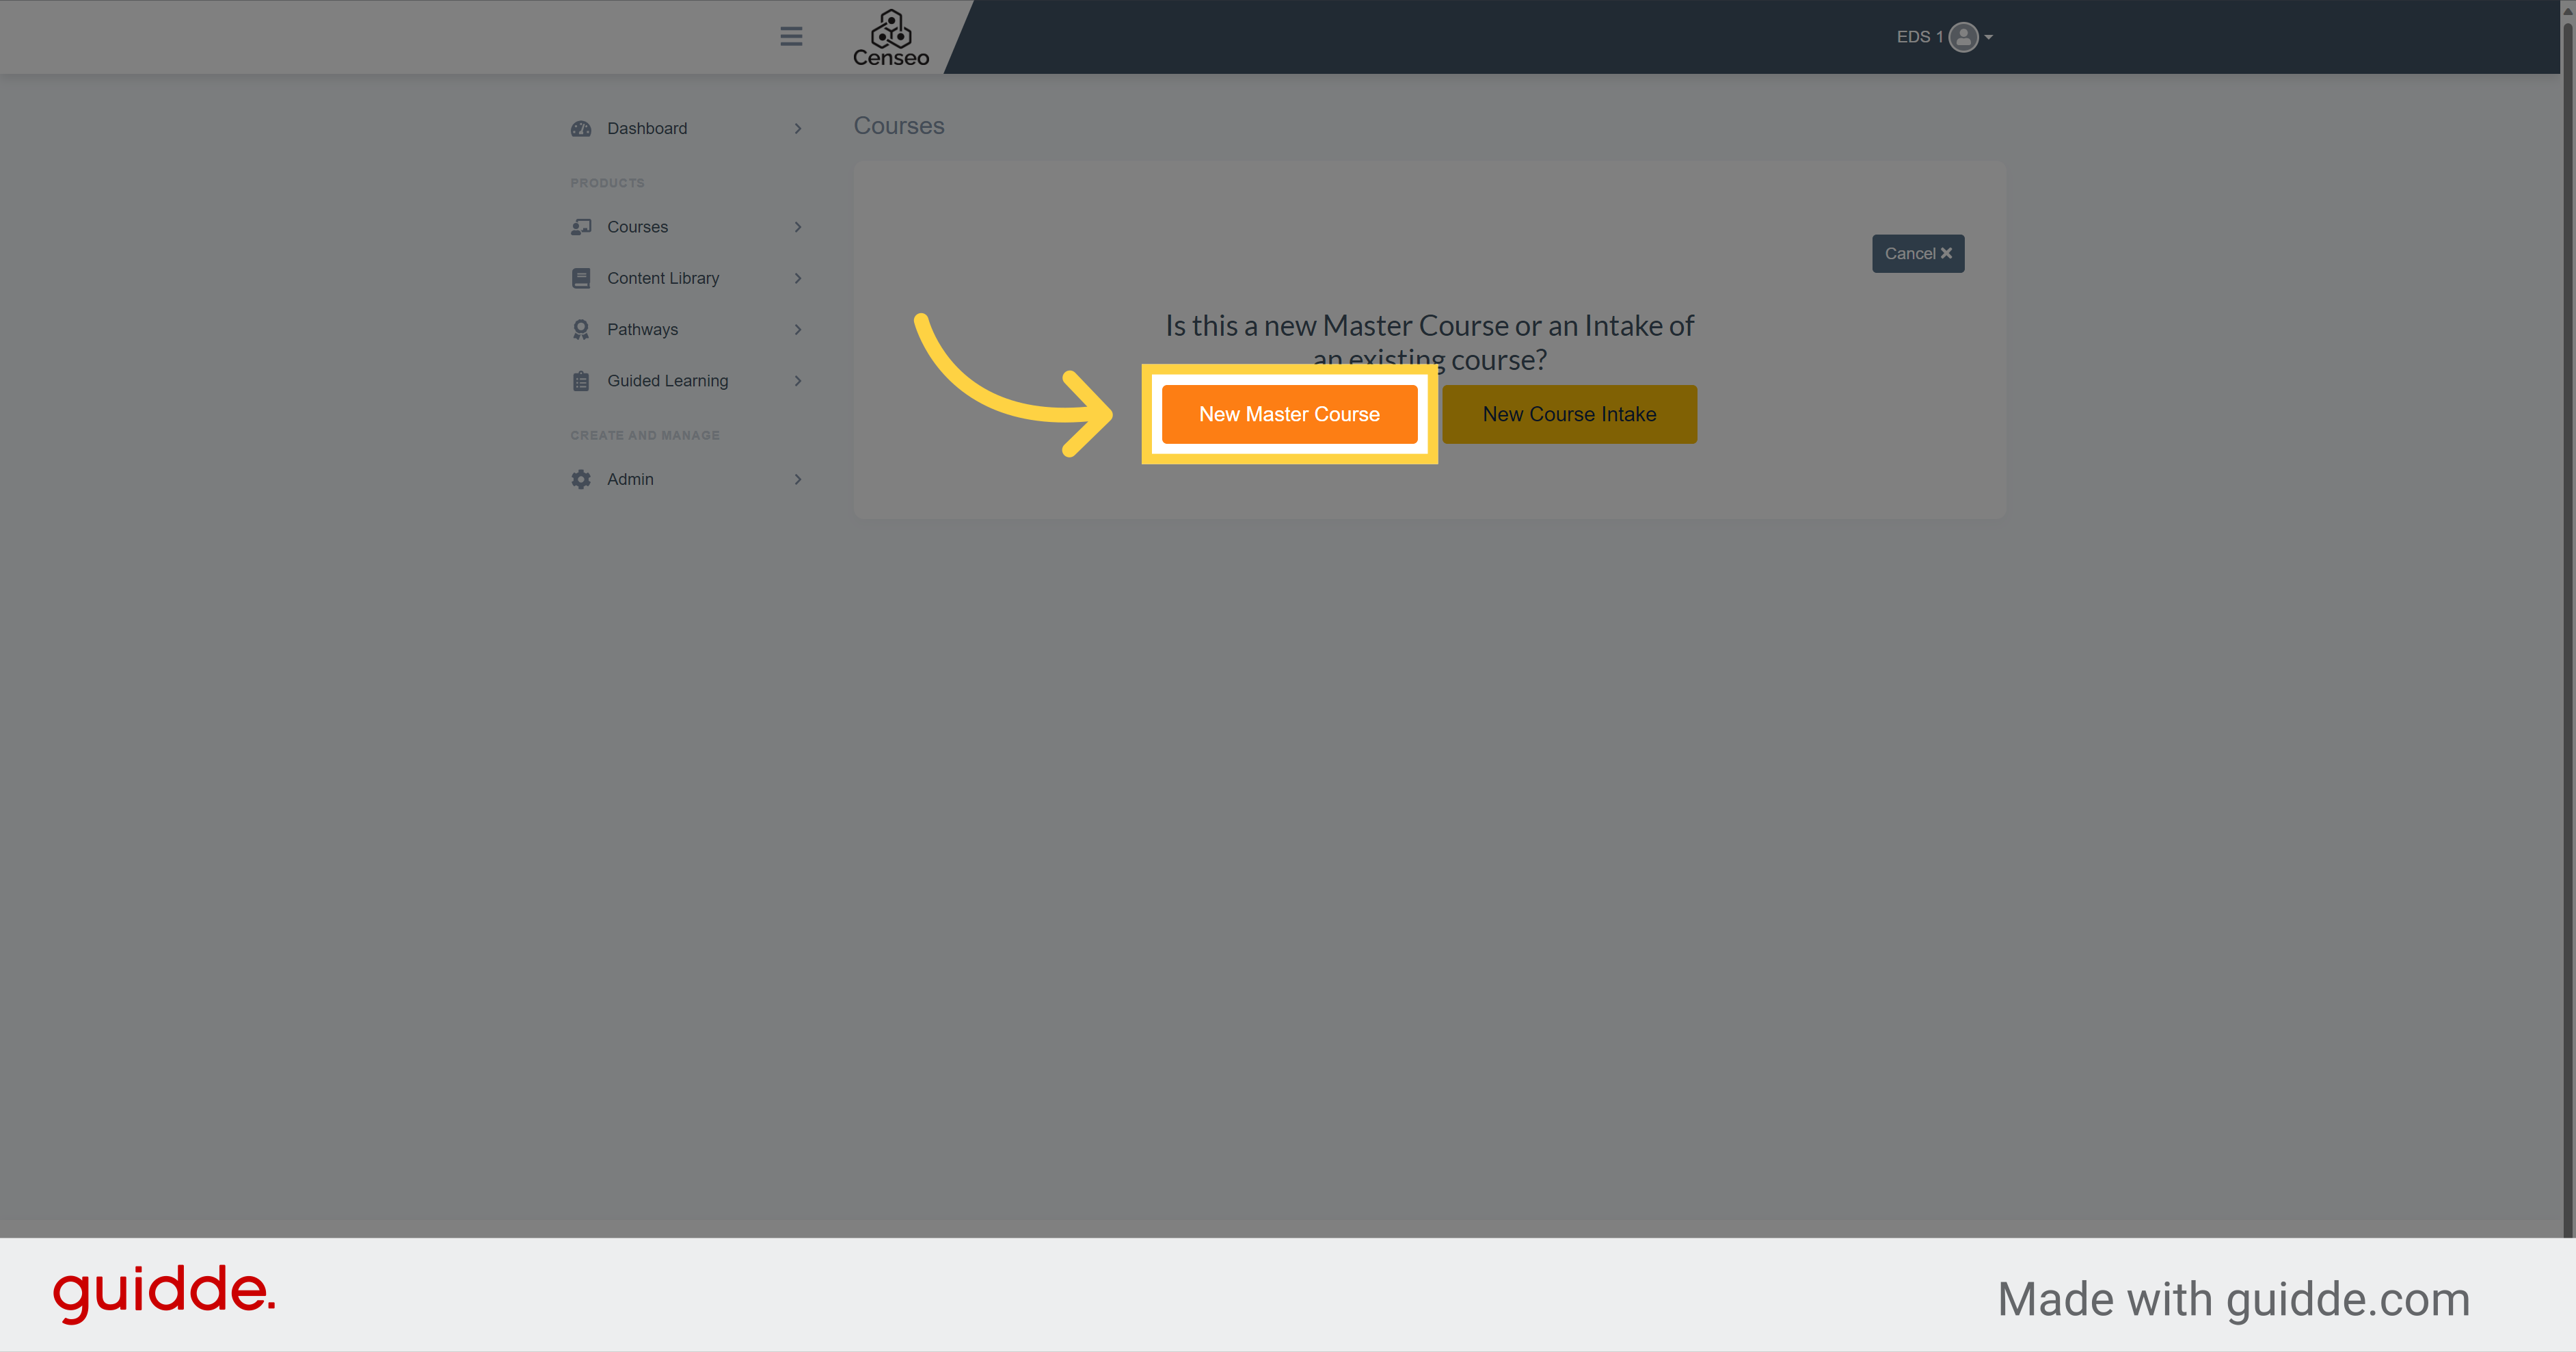
4. Click "New Master Course"
Click on "New Master Course"
5. Click here
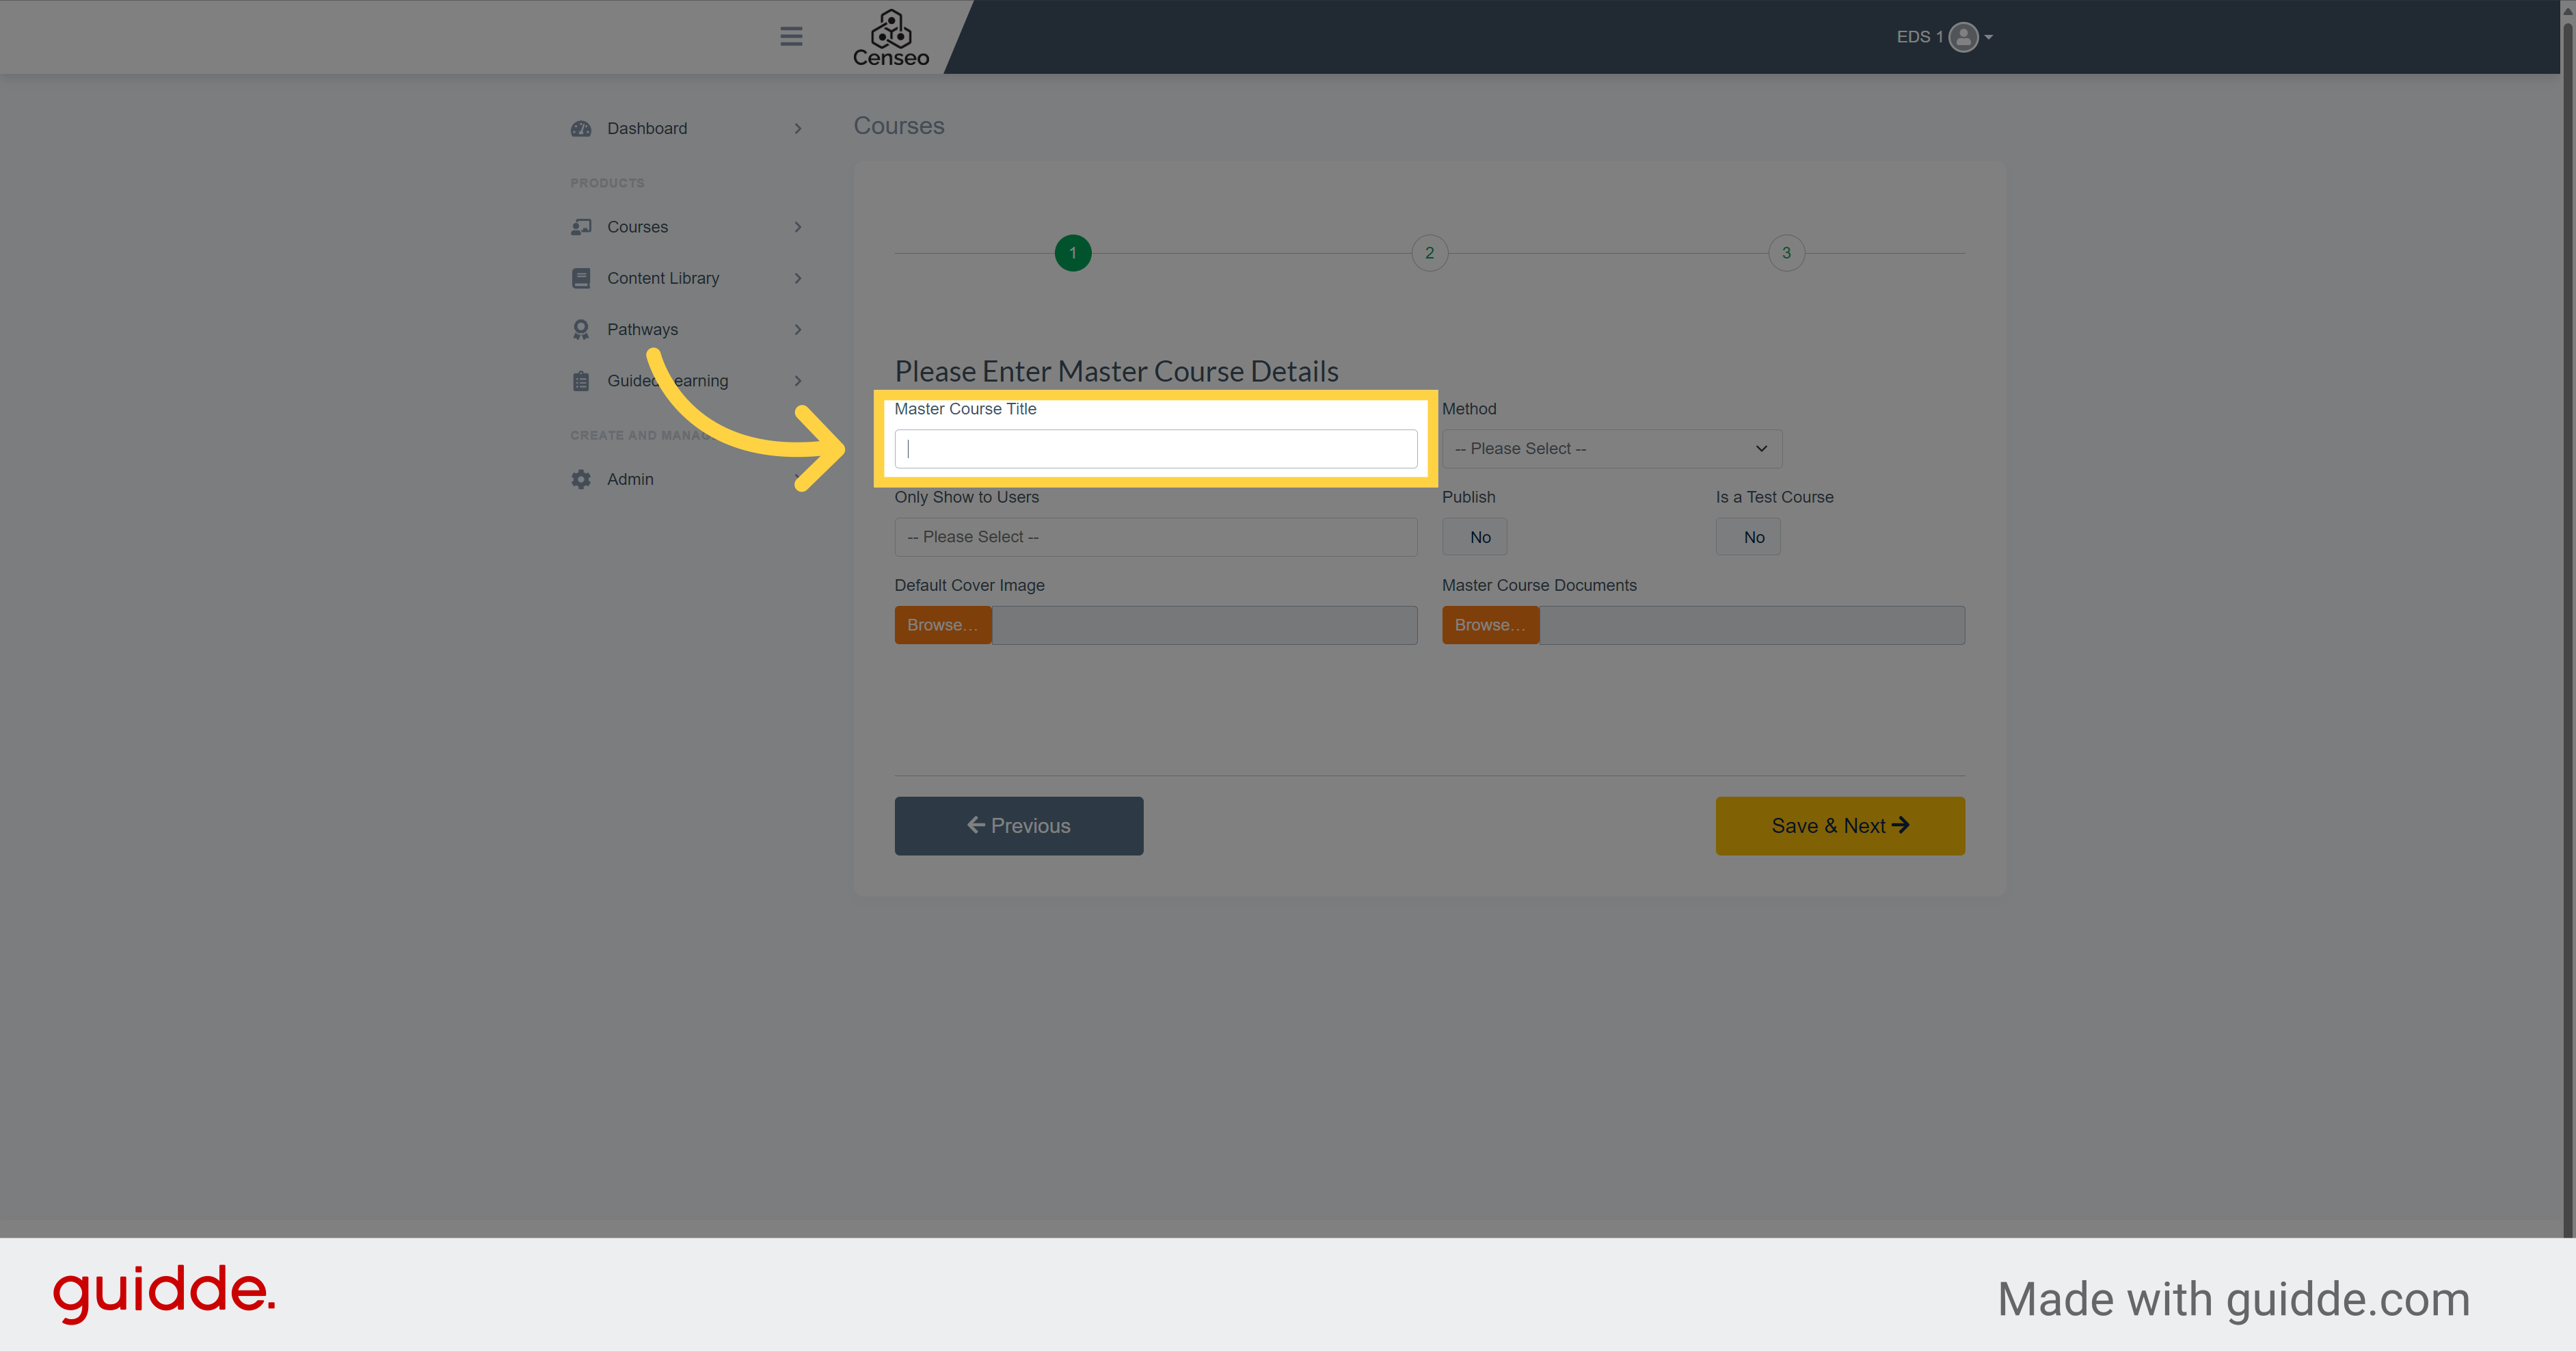
You are at the first step of creation. Select this box and enter the title of your master course that will appear in the list of master courses.
6. Click "-- Please Select --"
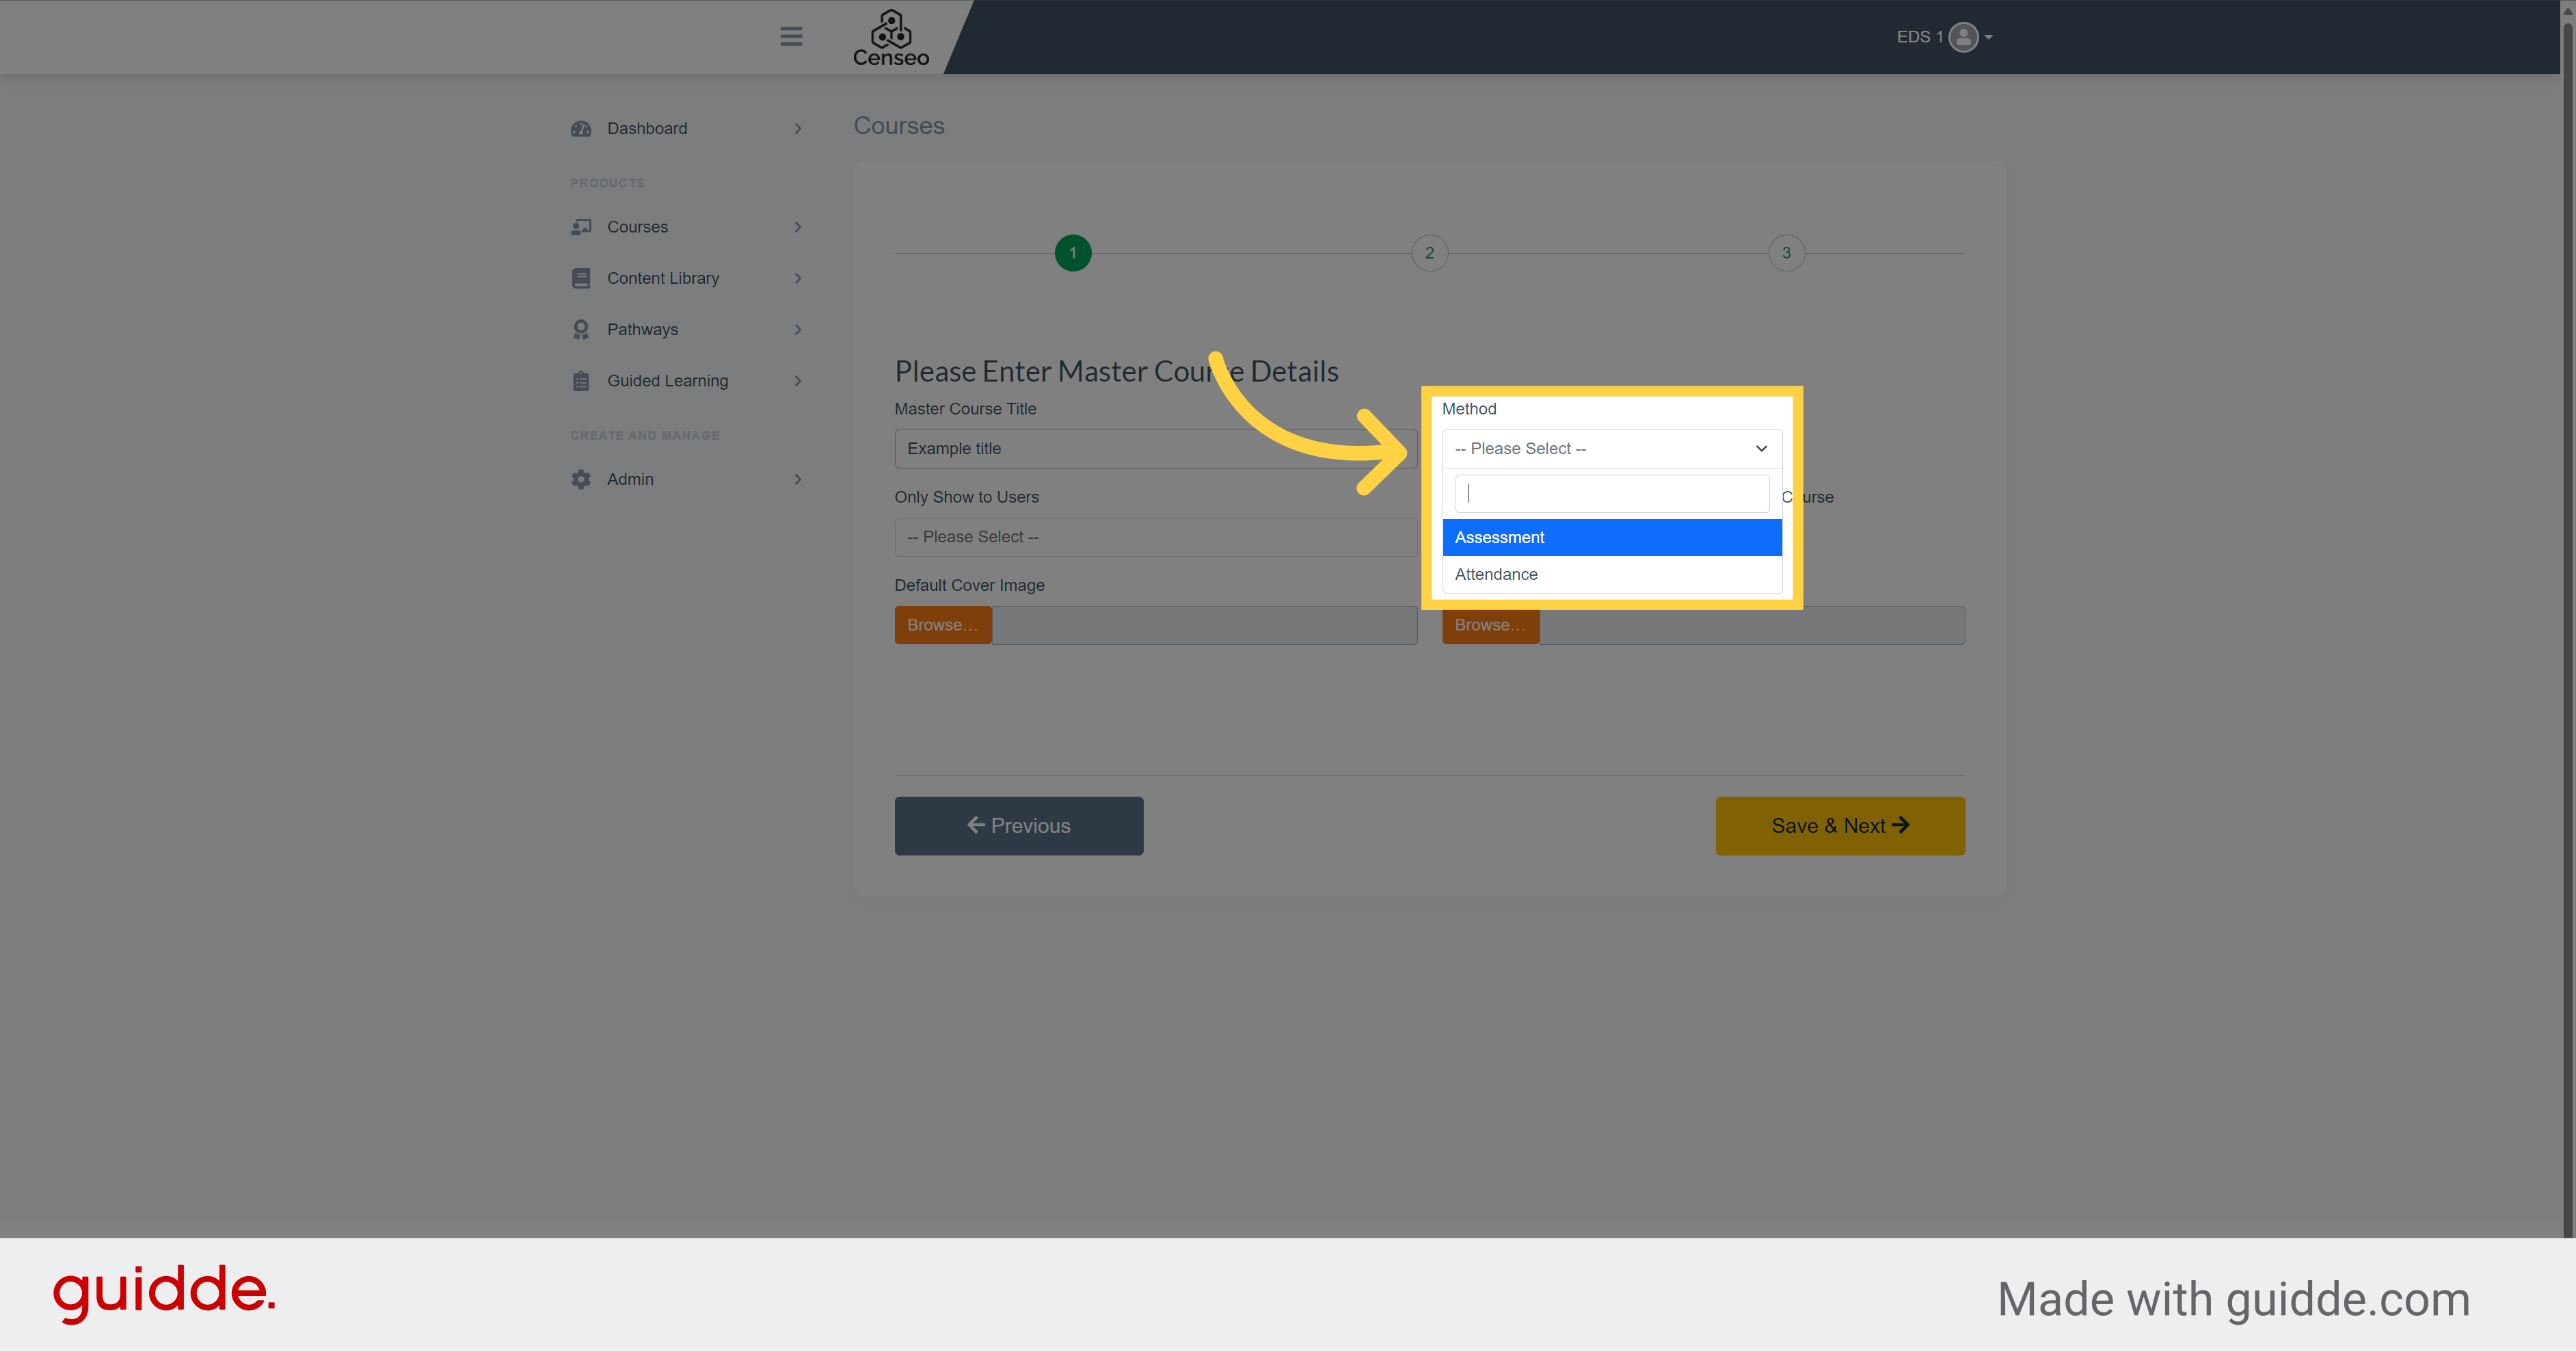
By clicking here, you choose the method of your Master Course. There are two methods. "Assessment", which corresponds to a course with an evaluation, a grade. While "Attendance" only means that we expect a presence without evaluating the performance
7. Click "-- Please Select --"
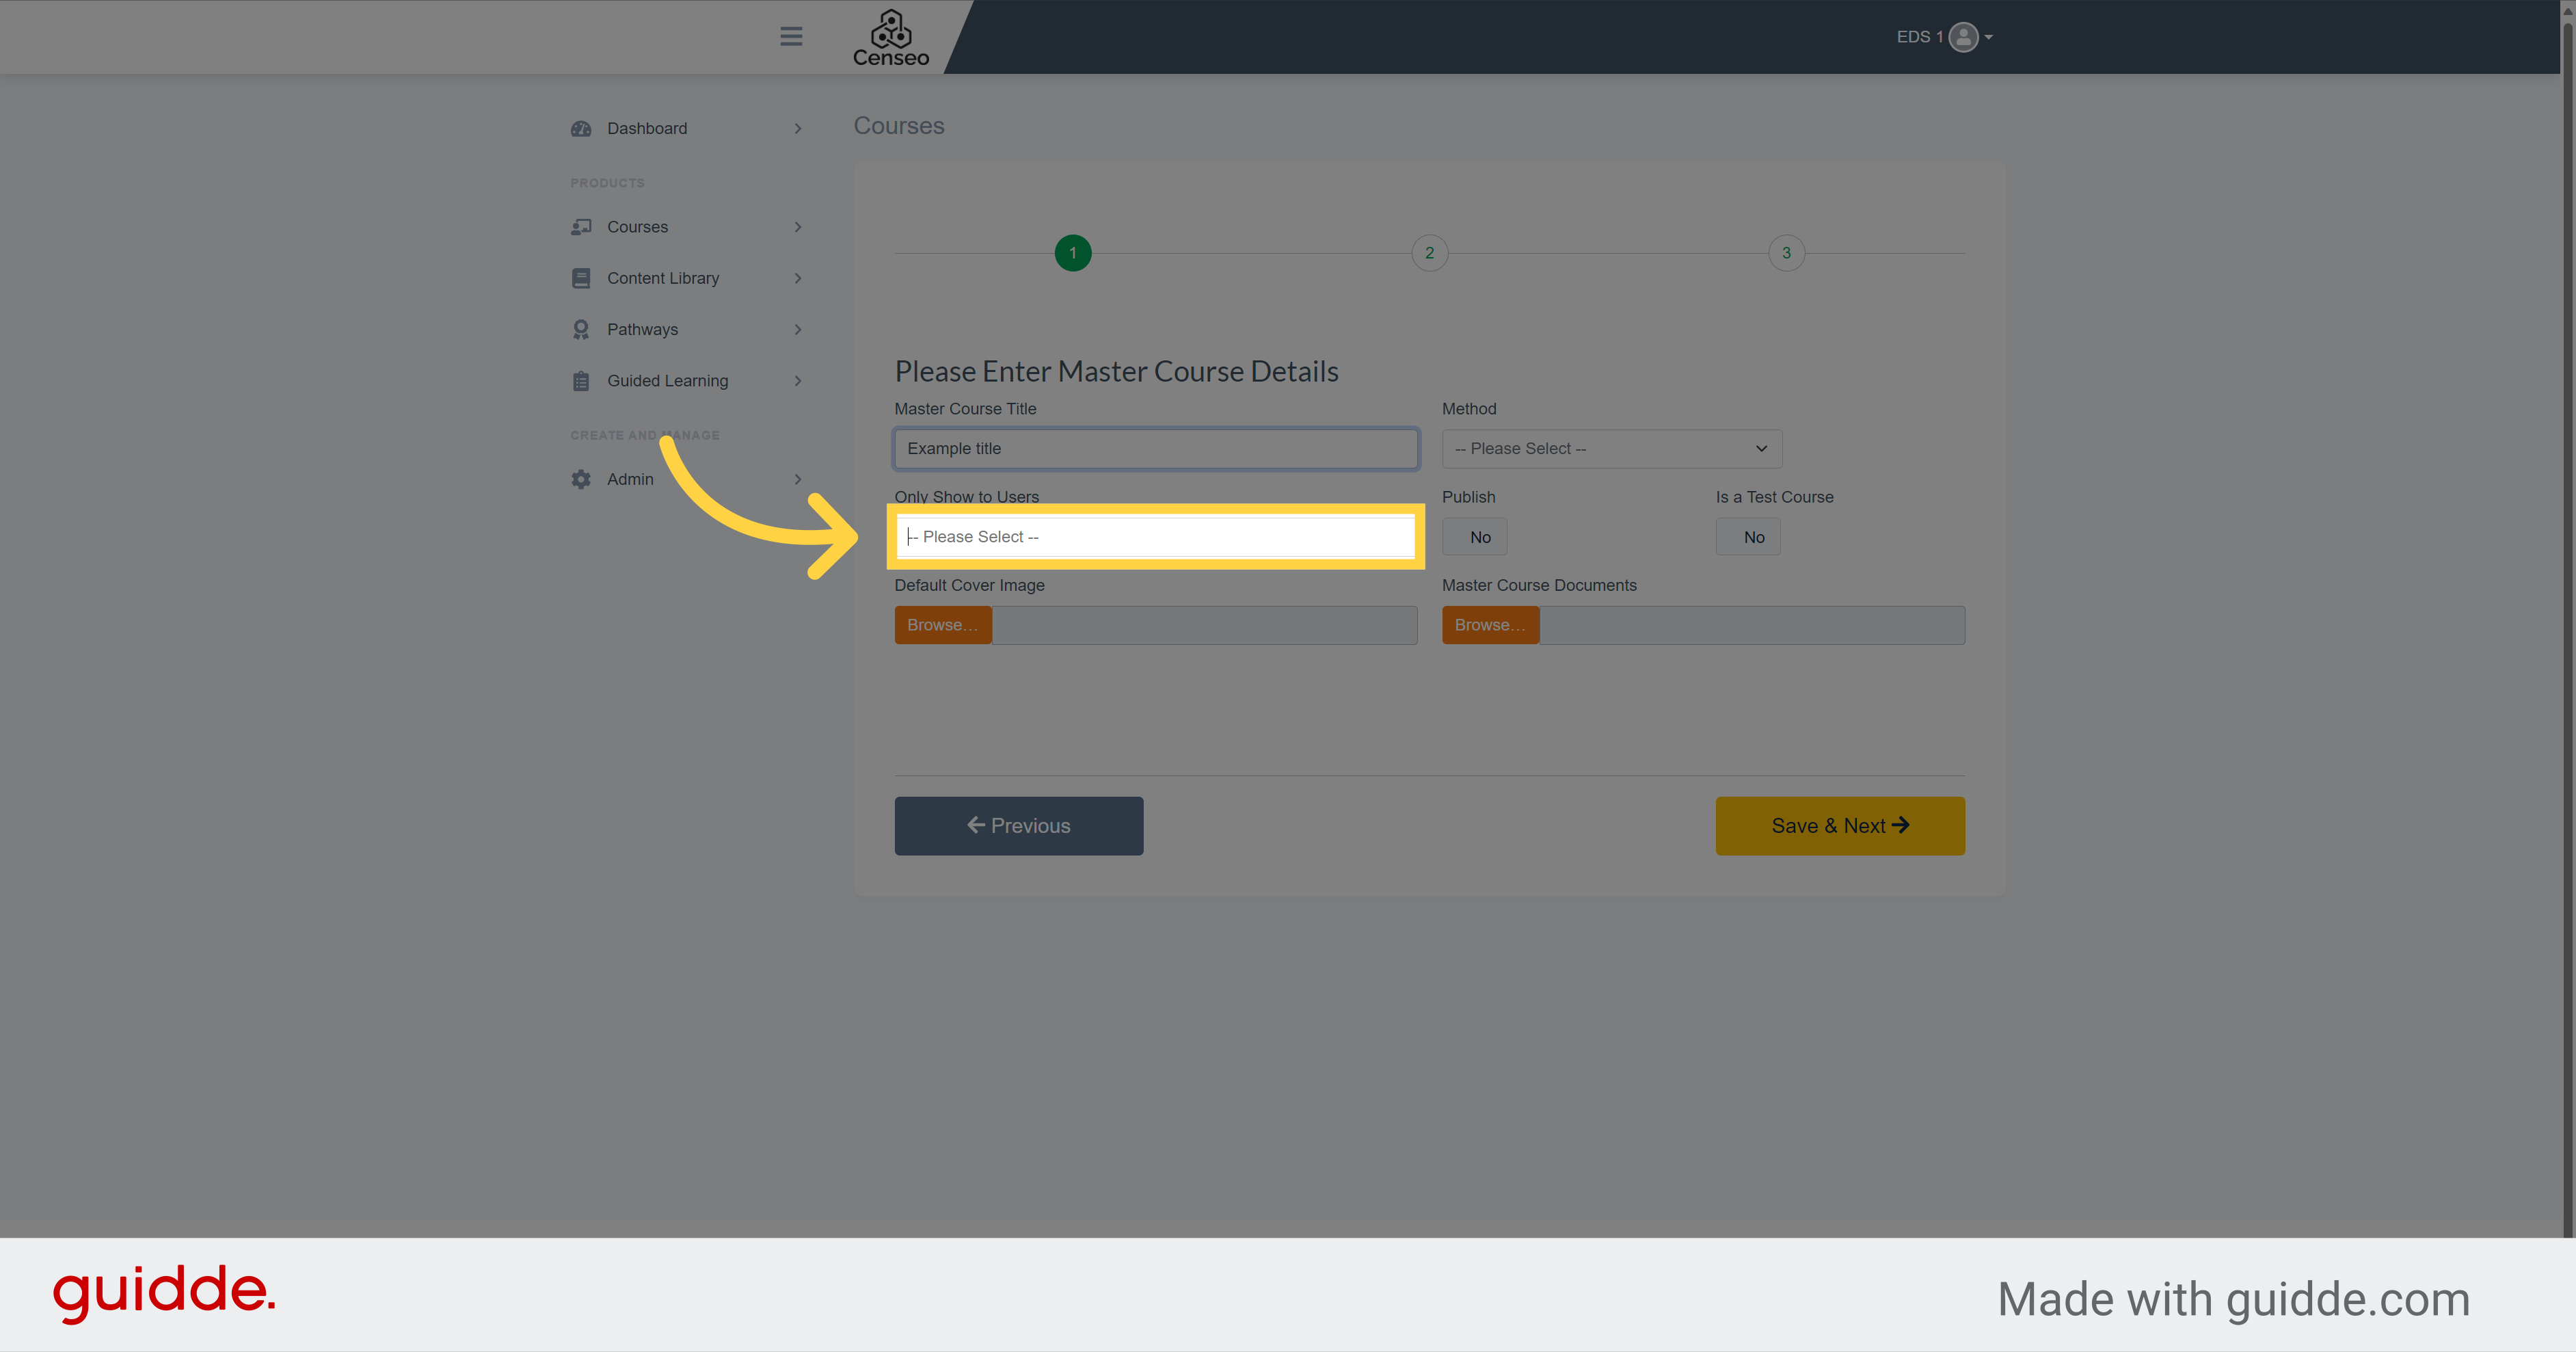
If you want to restrict your course to a certain list of people, here you can choose the users who have access to your course
8. Click "Master Course Title Method Assessment Attendance -- Please Select -- Only Show to..."
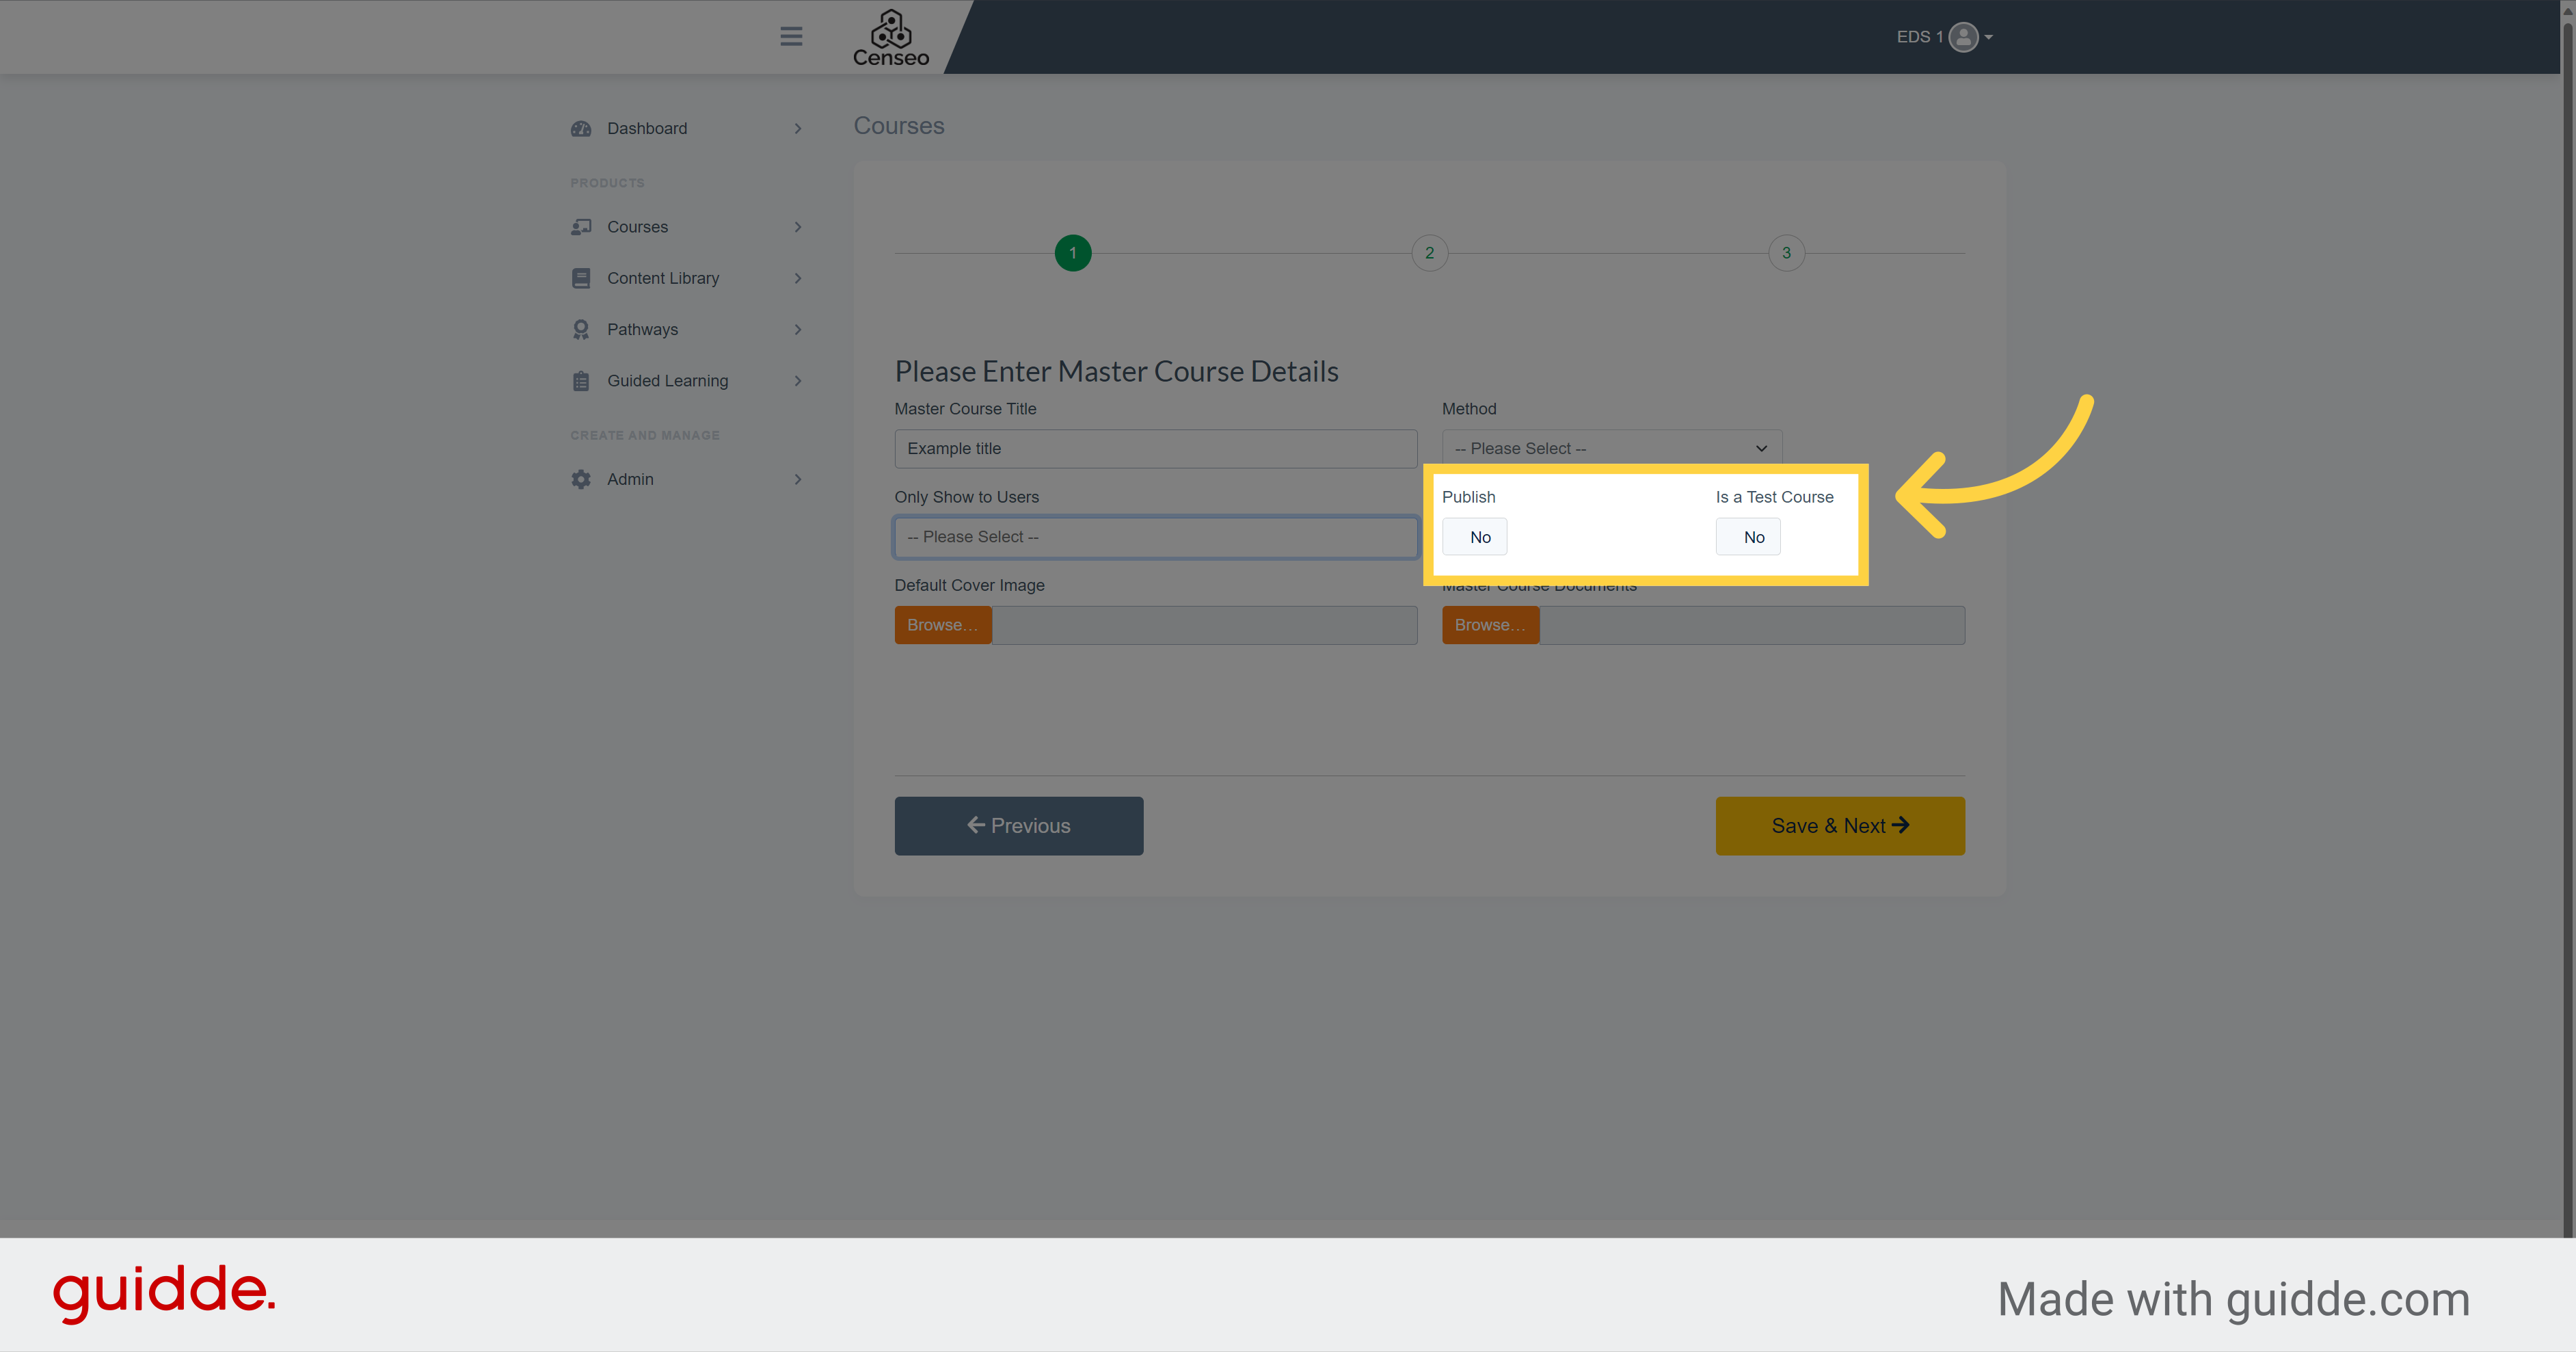
You can choose here if you want to publish your course and if it's a test course
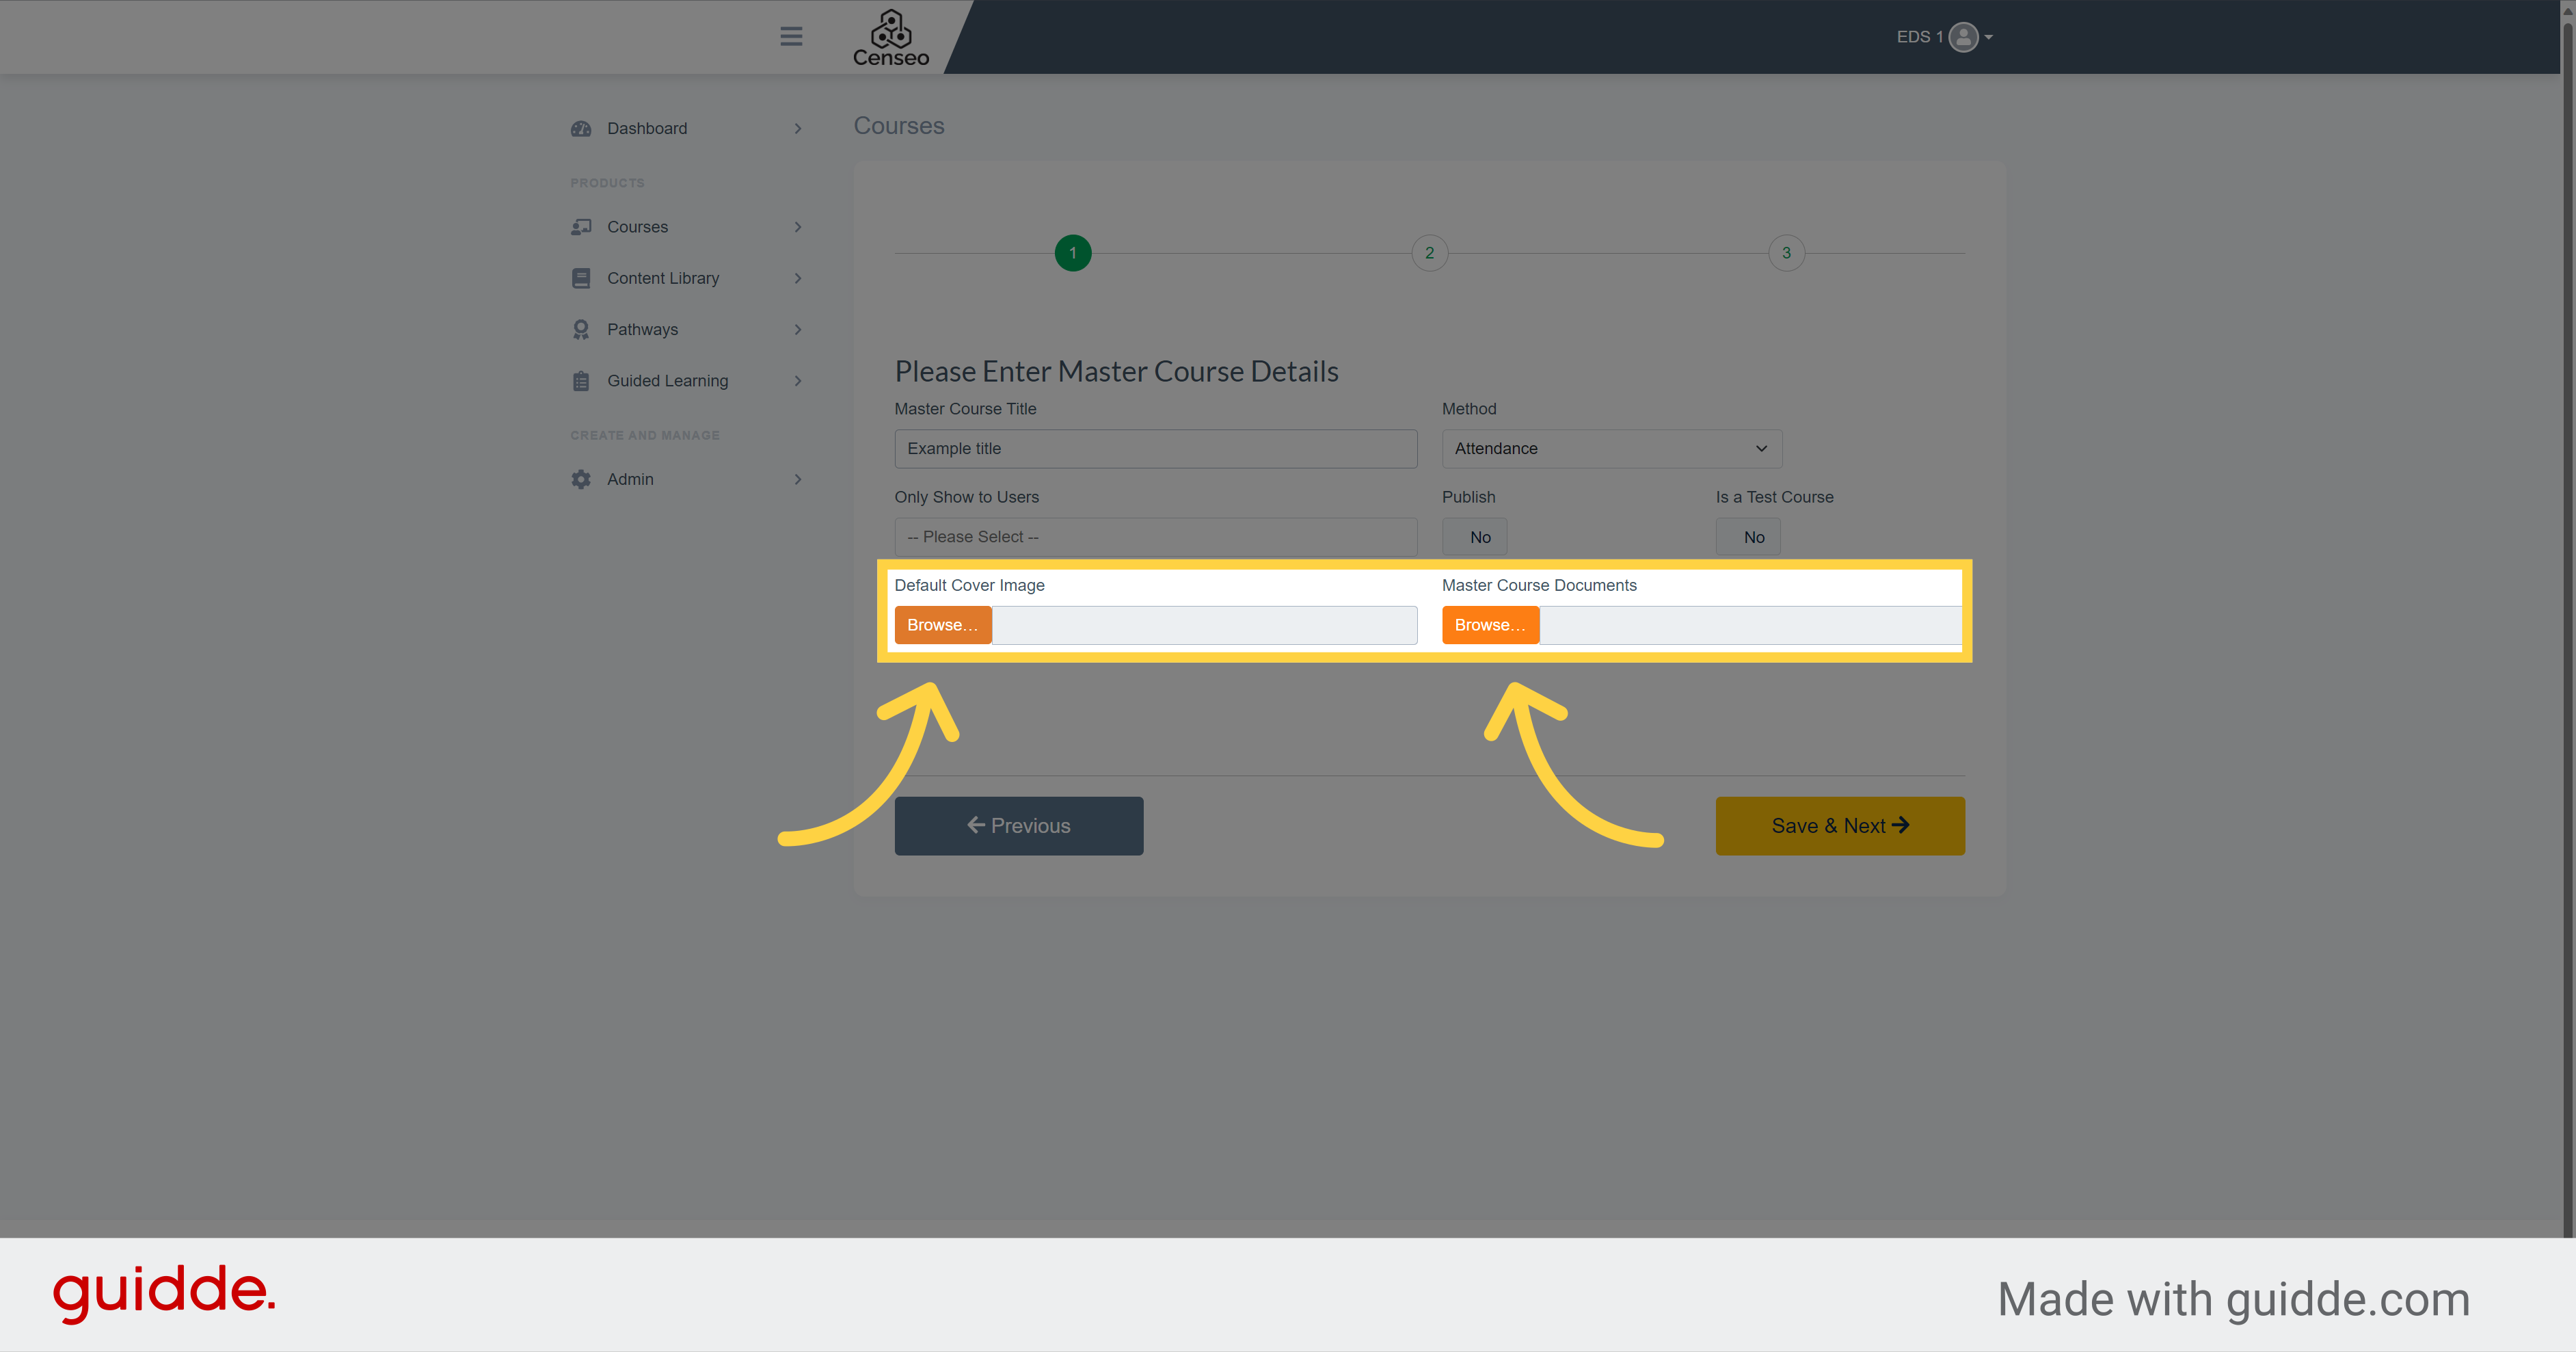
9. Click "Browse…"
By clicking on the orange browse buttons, you have the choice to add an image on the cover page or to attach a document such as a pre reading required before starting the course
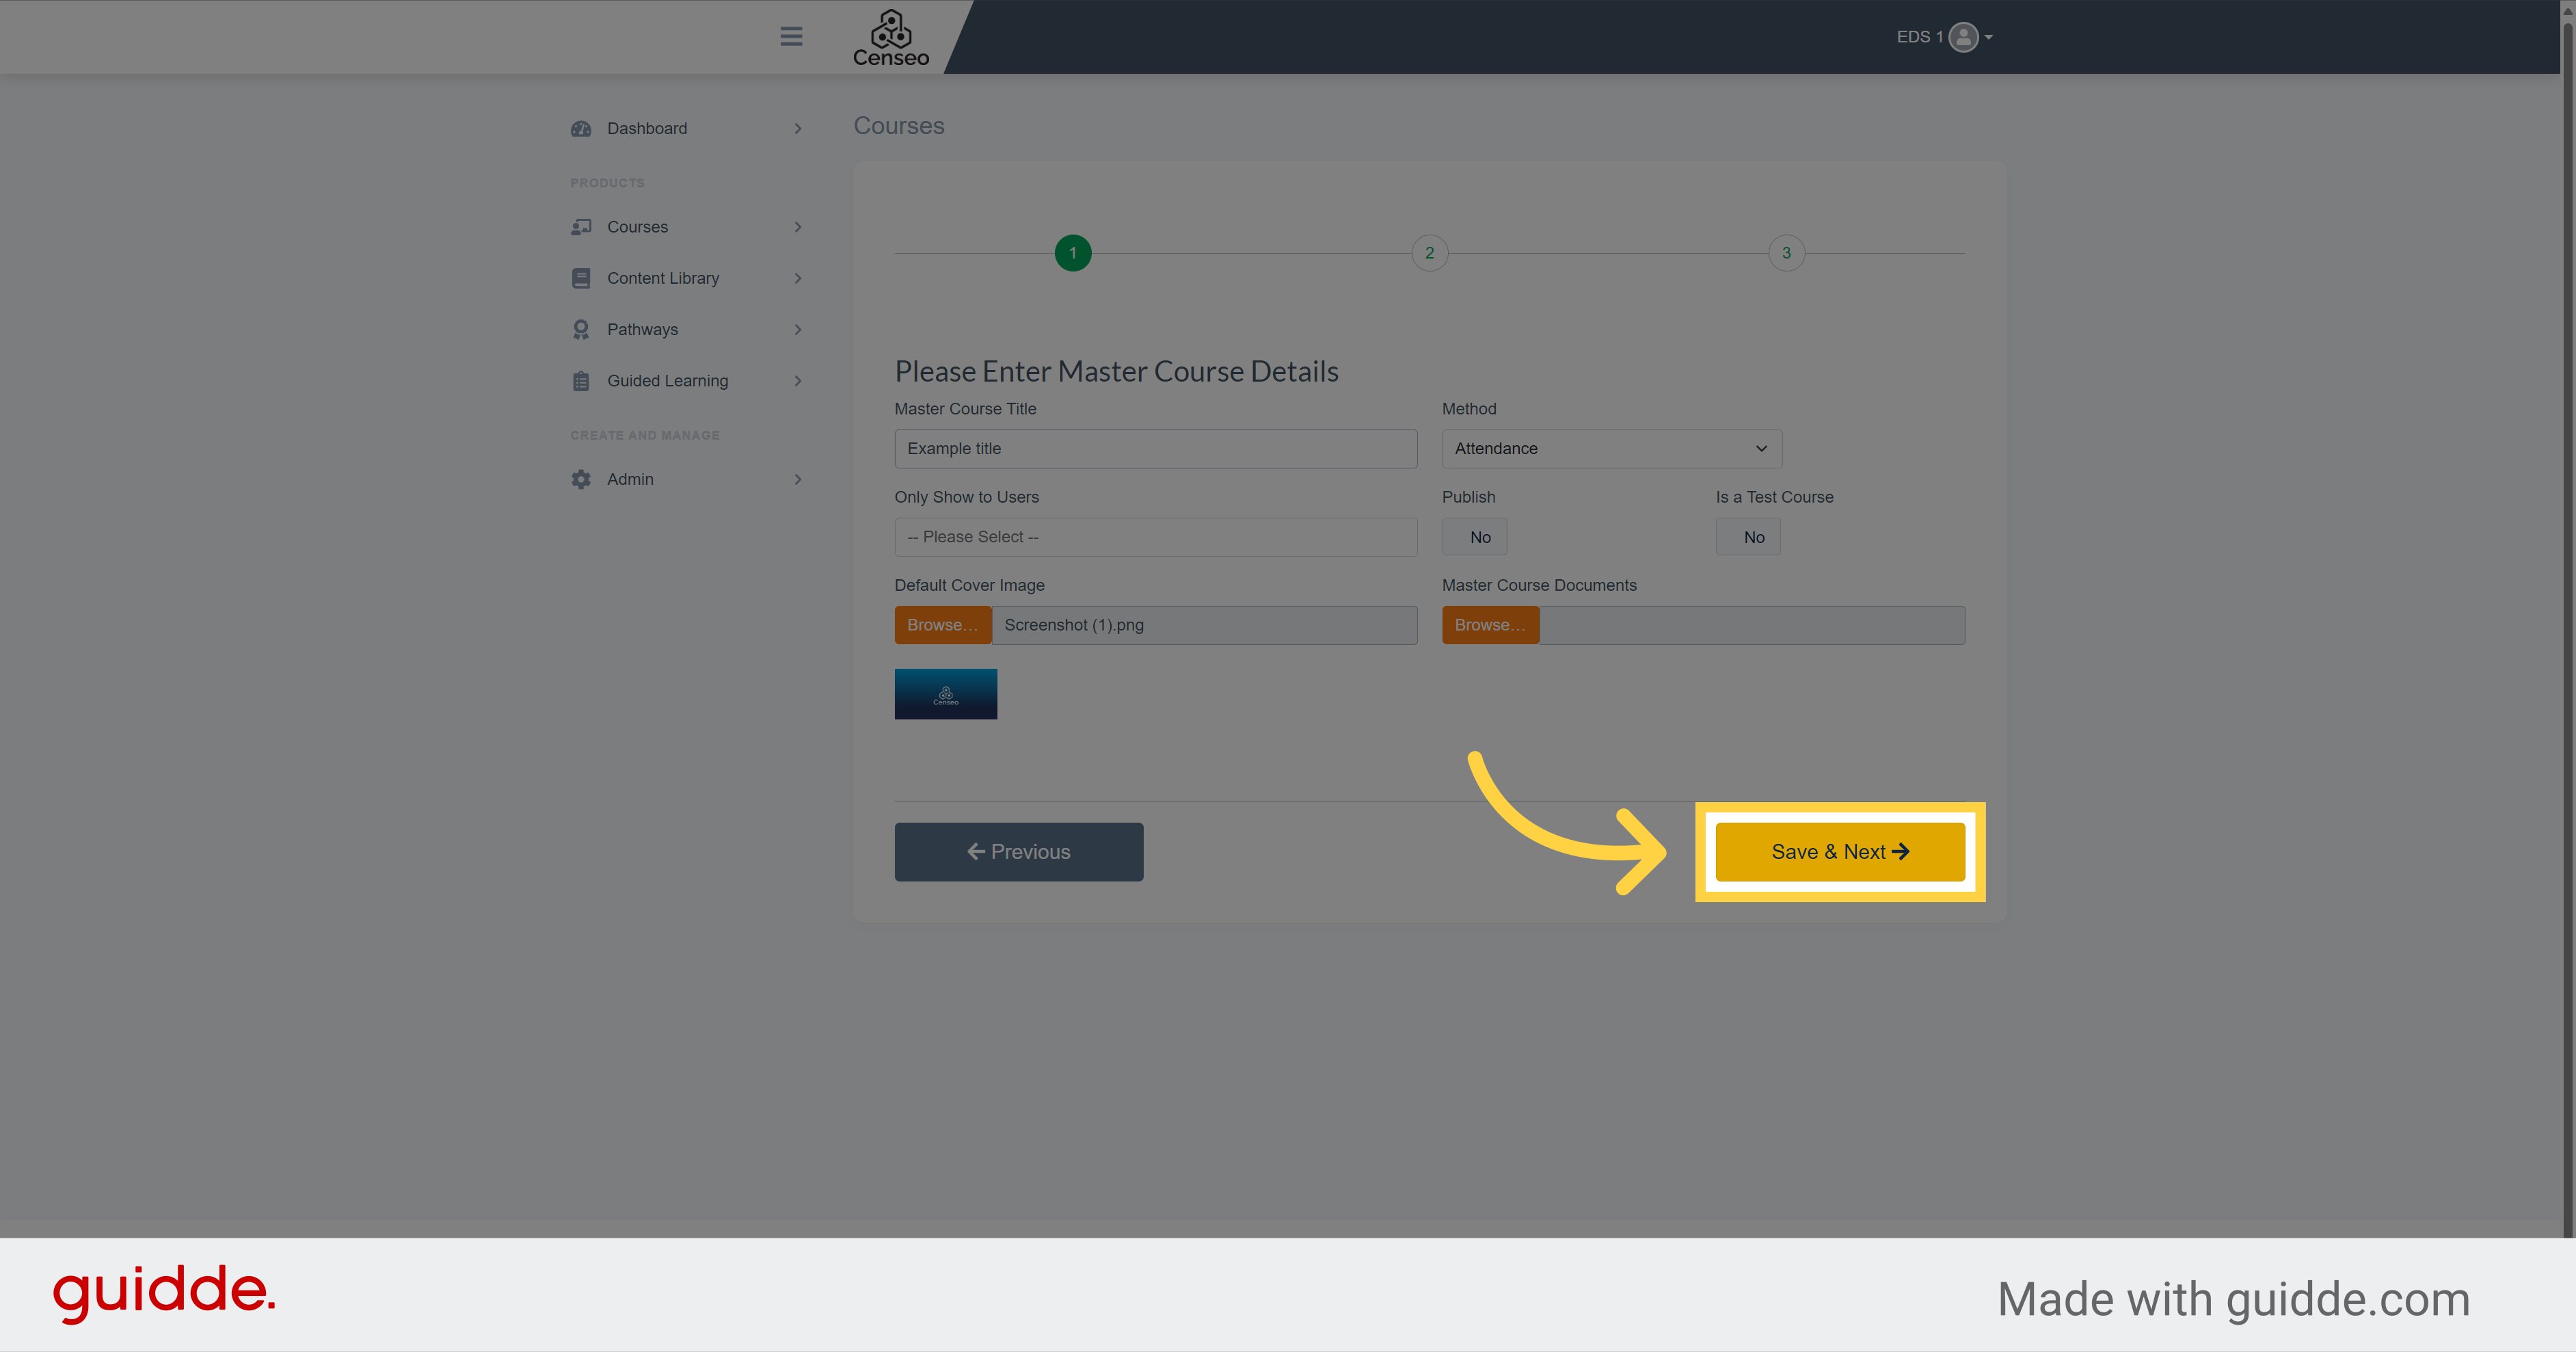
10. Click "Save & Next"
Click on "Save & Next"
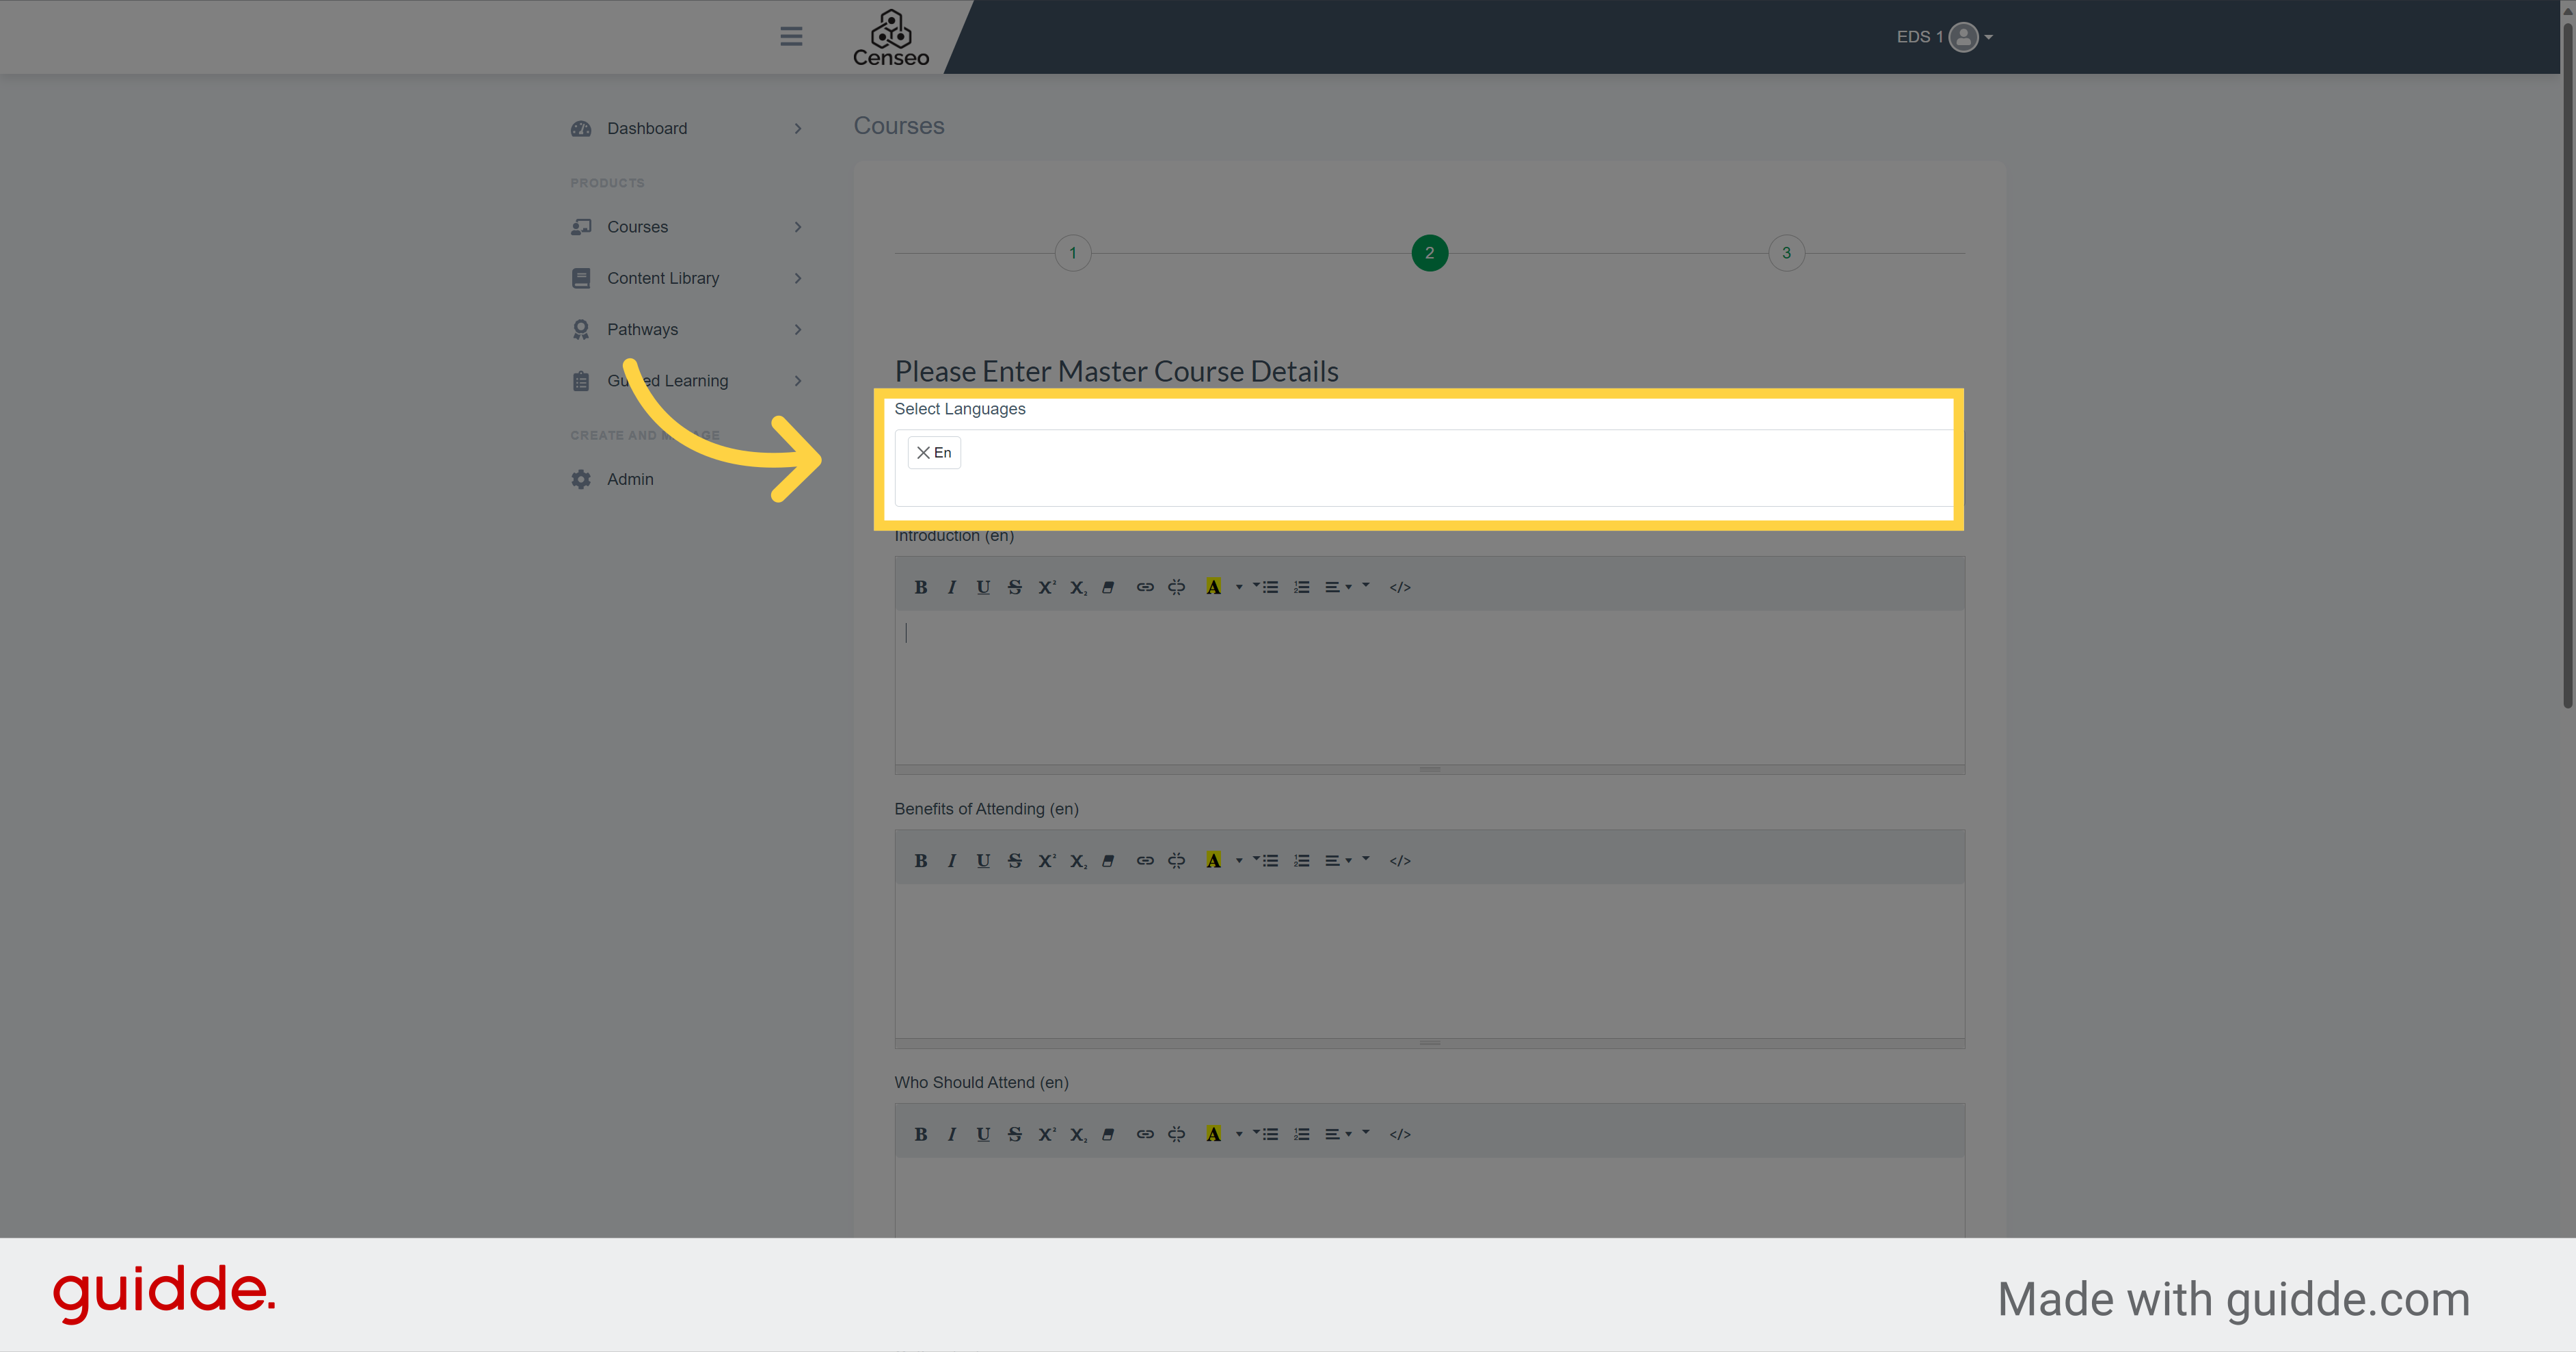
11. Click here
Here you are in the second step. This is all the settings of the details of your course. Here you can choose the language of your course, whether it is a multilingual course or not.
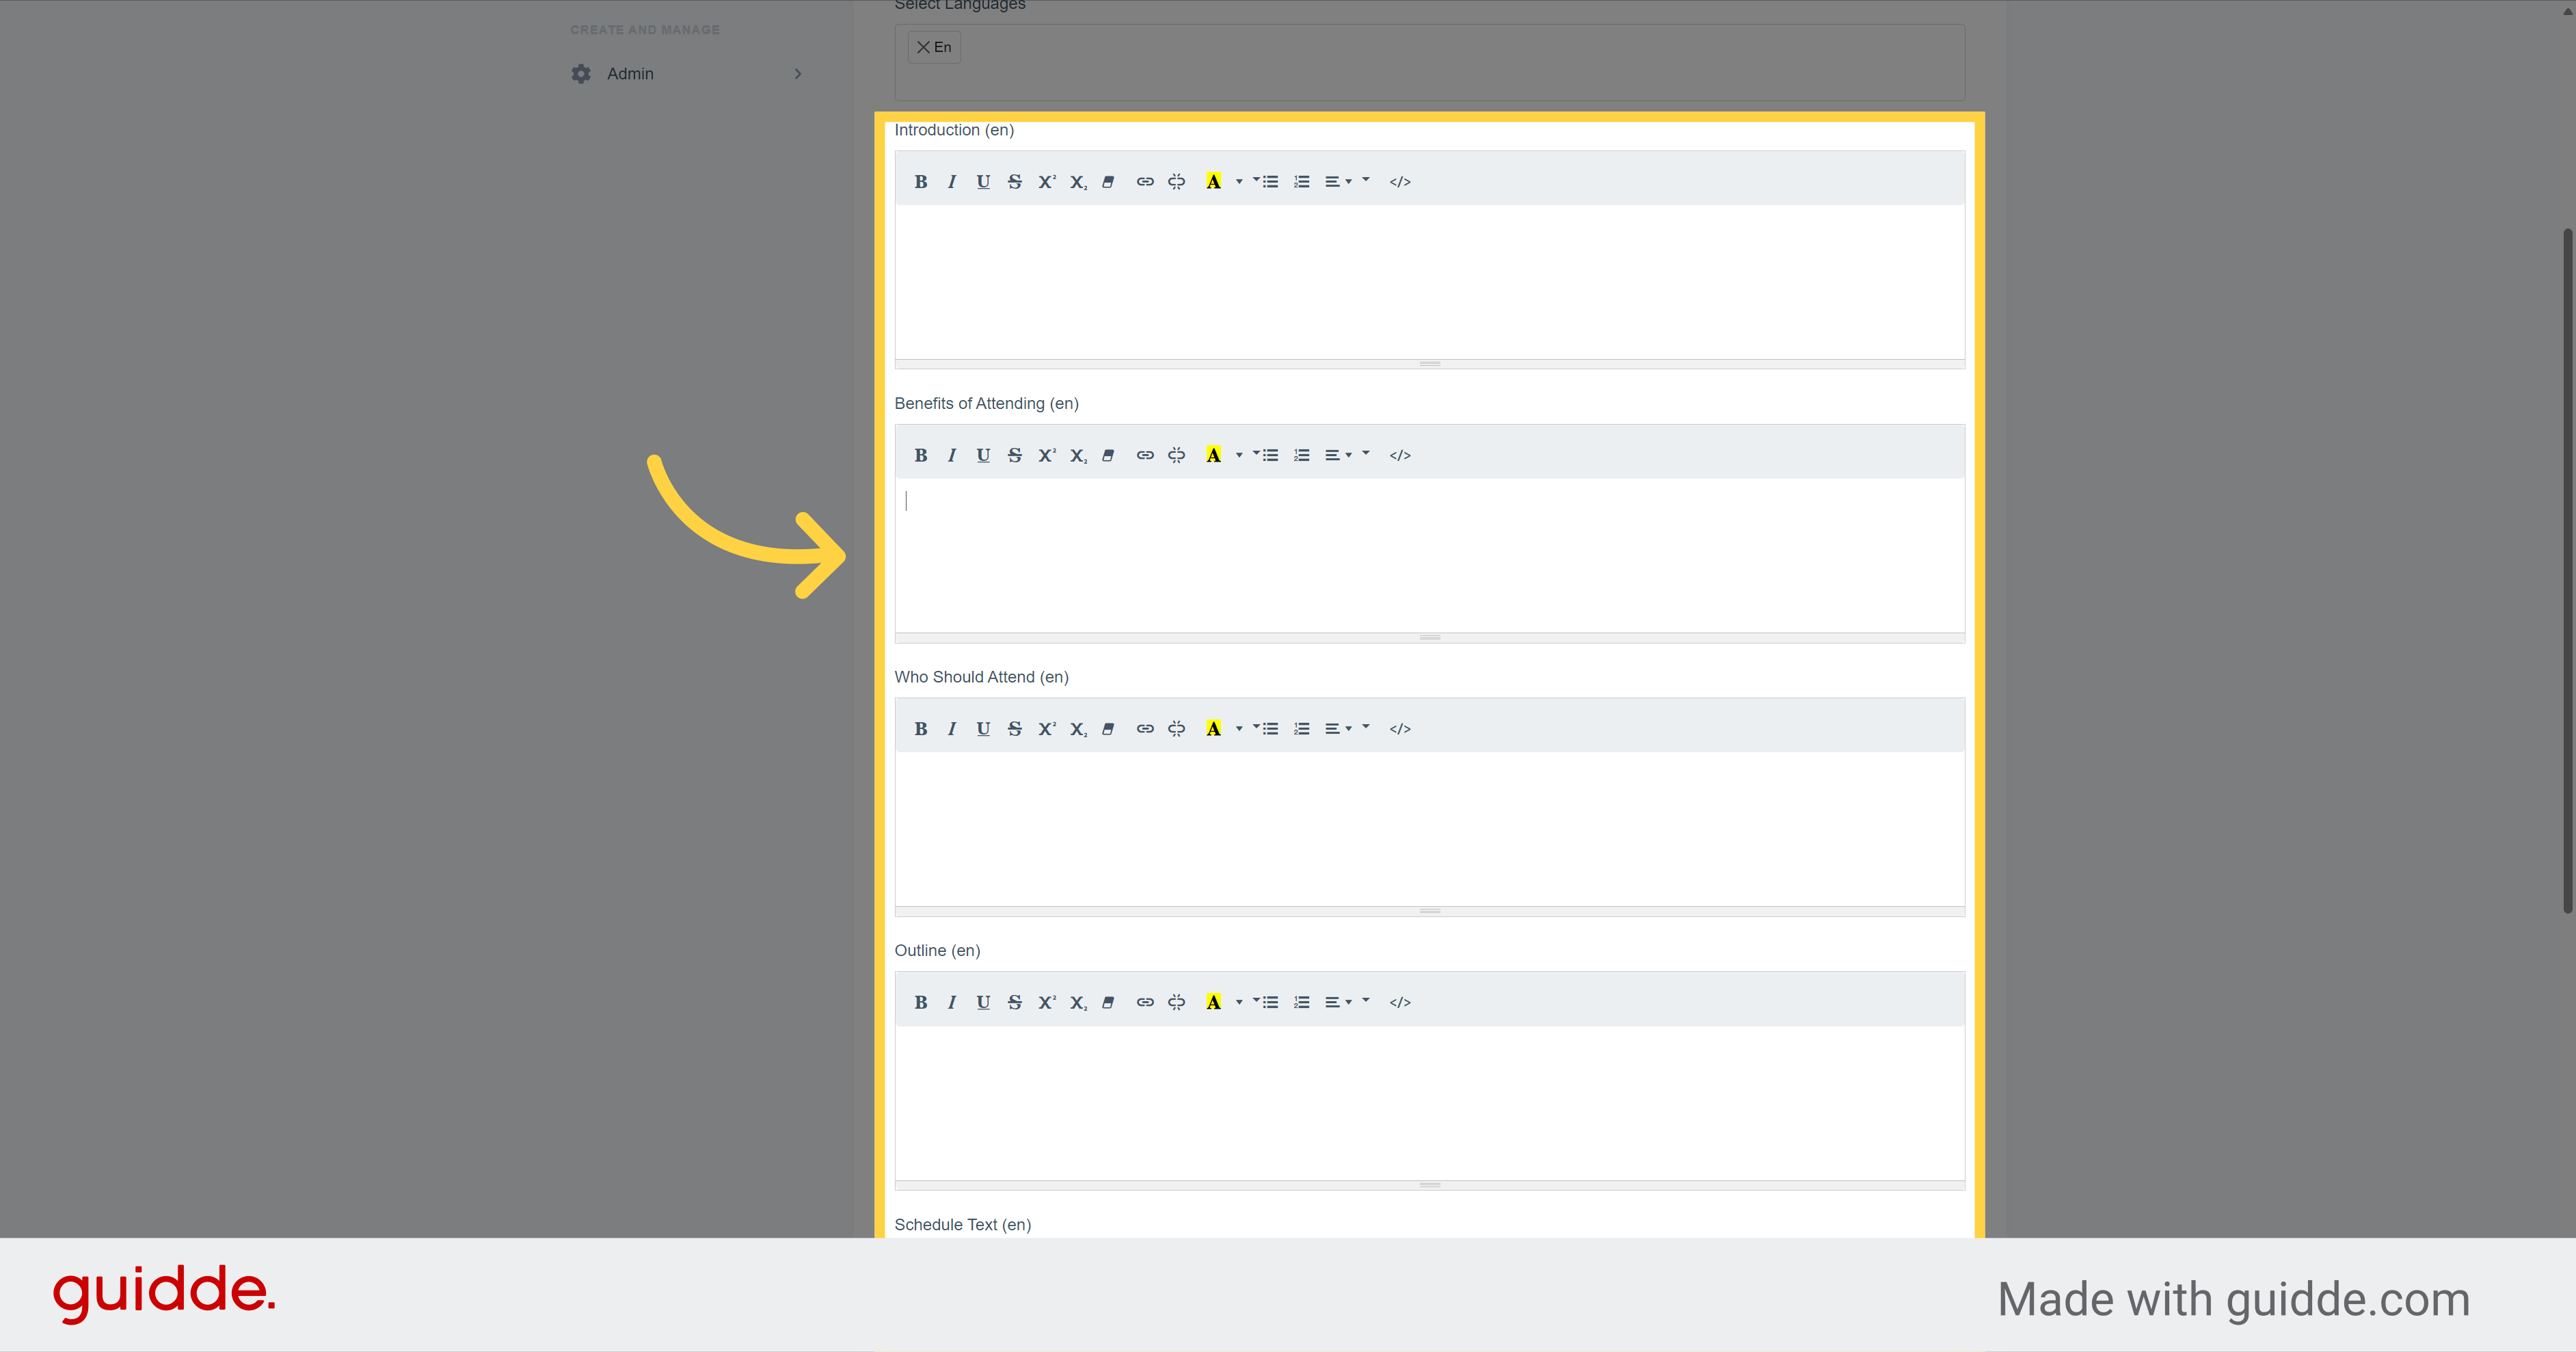
12.
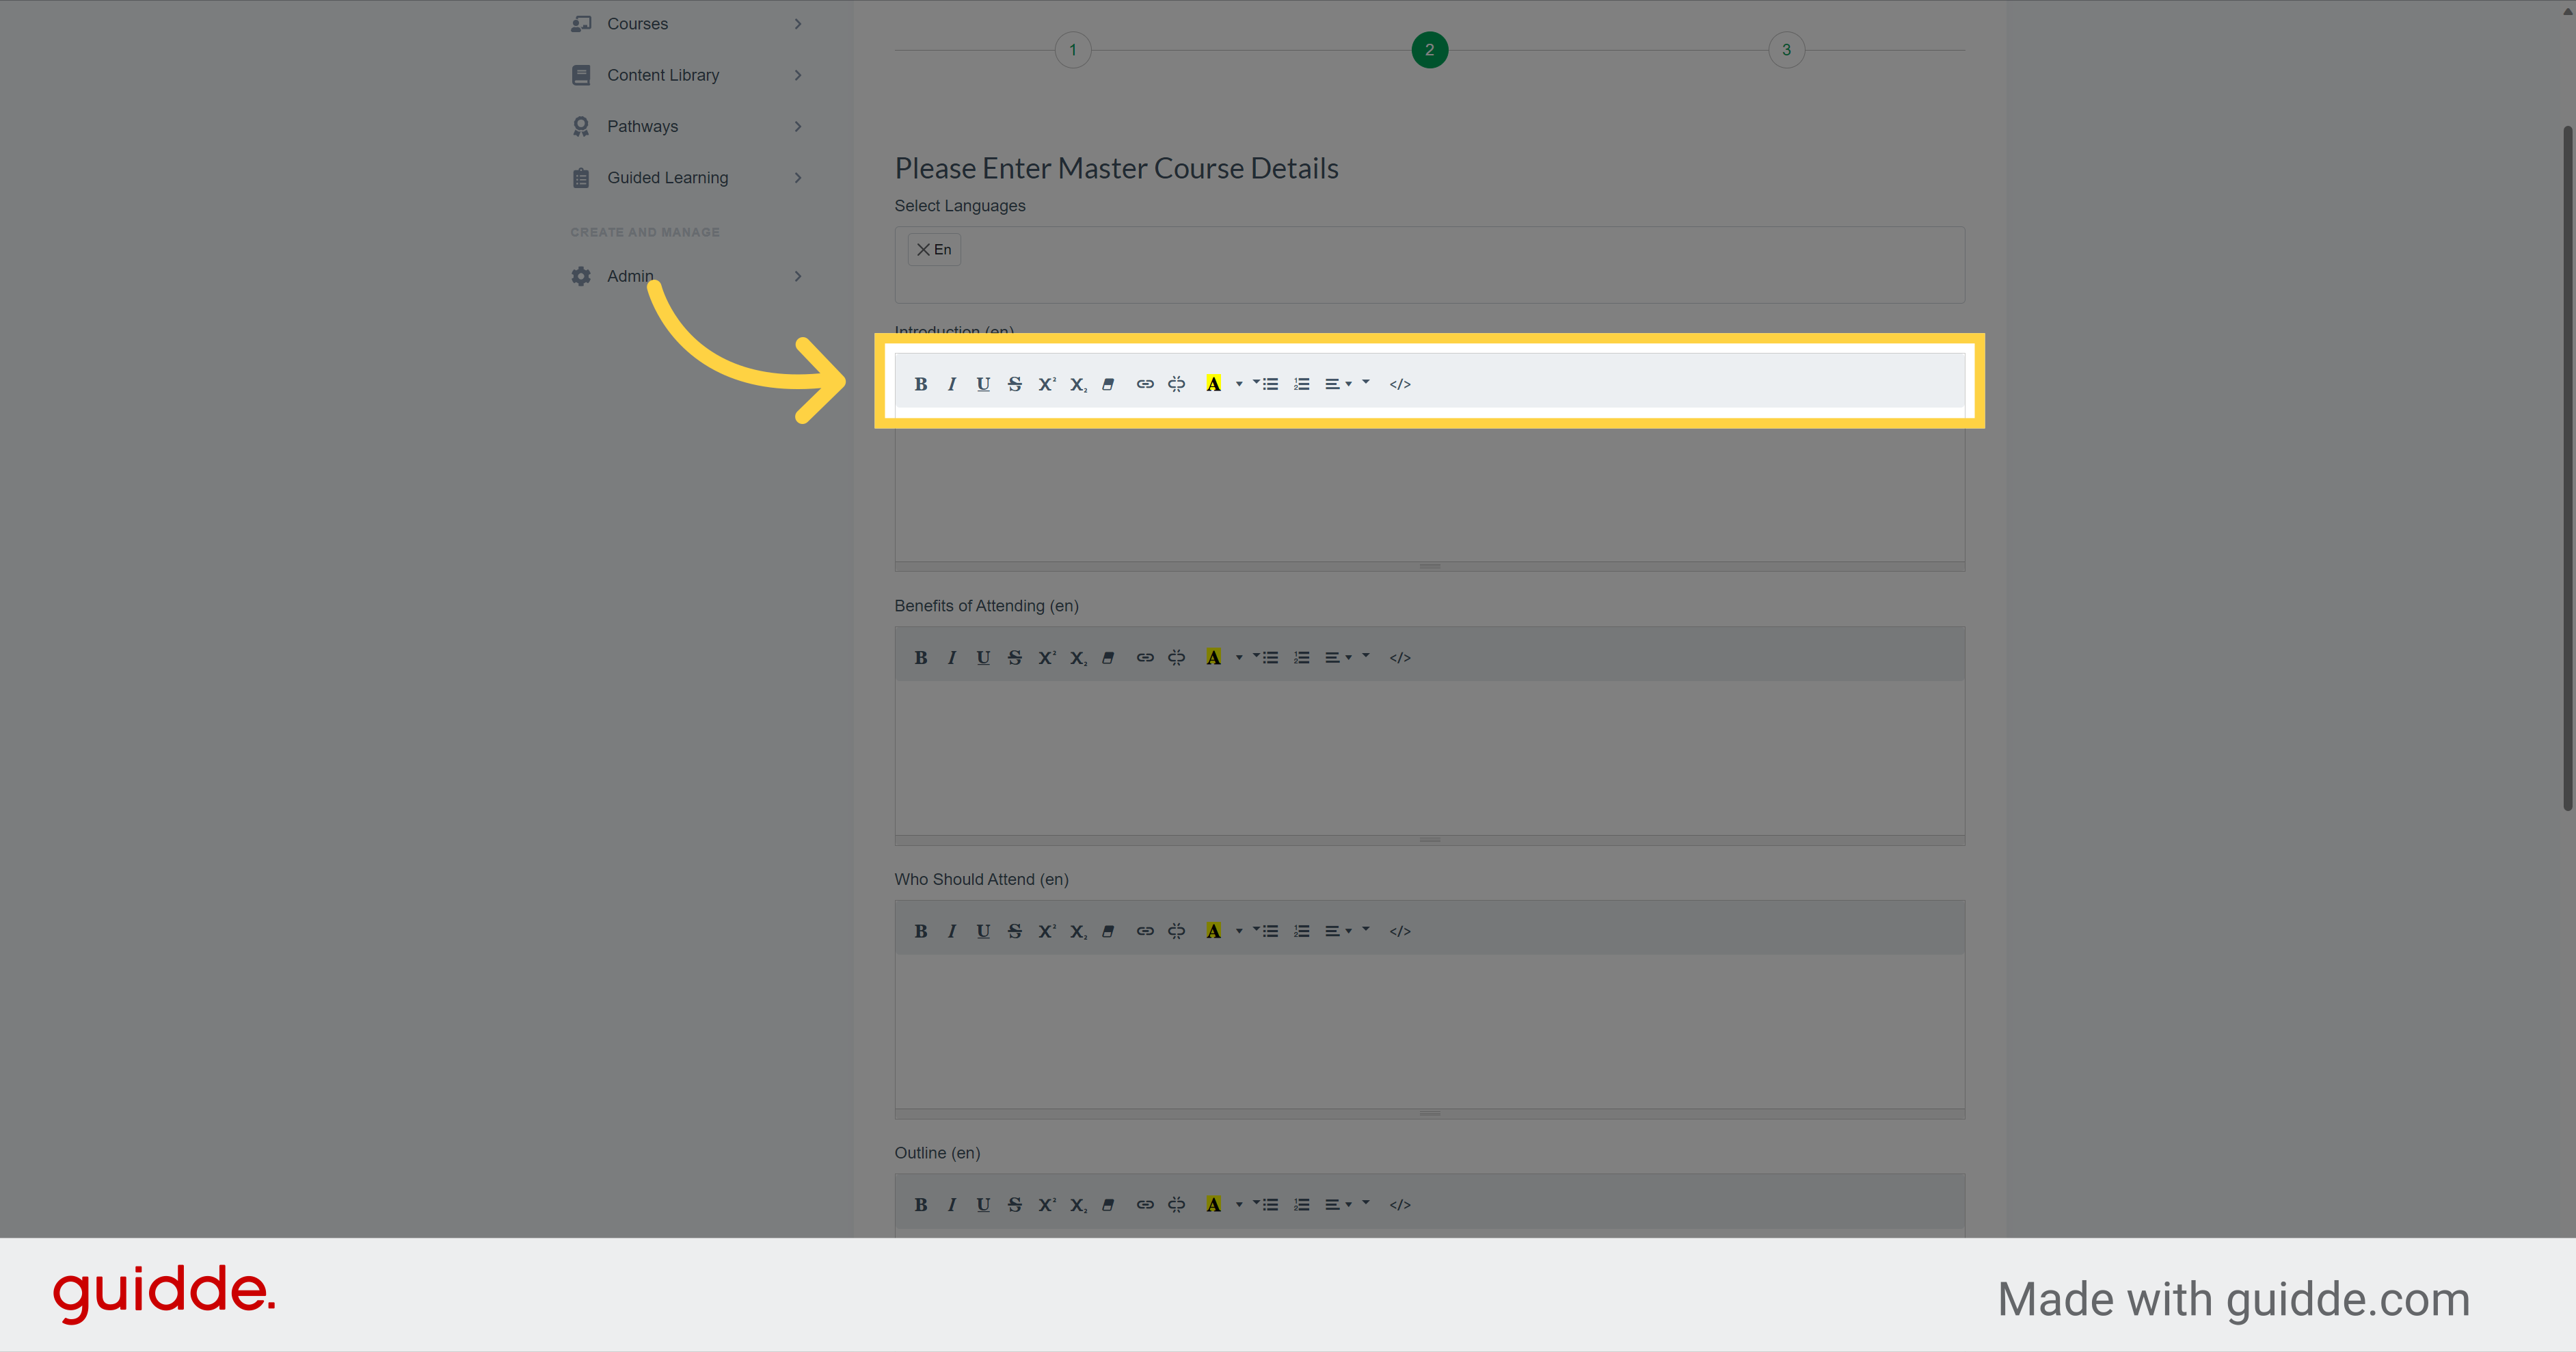
Use these different sections to better detail your course. You can for example ad an introduction section, explain who should attend, add a schedule text and set up other details.
13.
You can also modify the look of the text with those available features
14. Click "Save & Next"
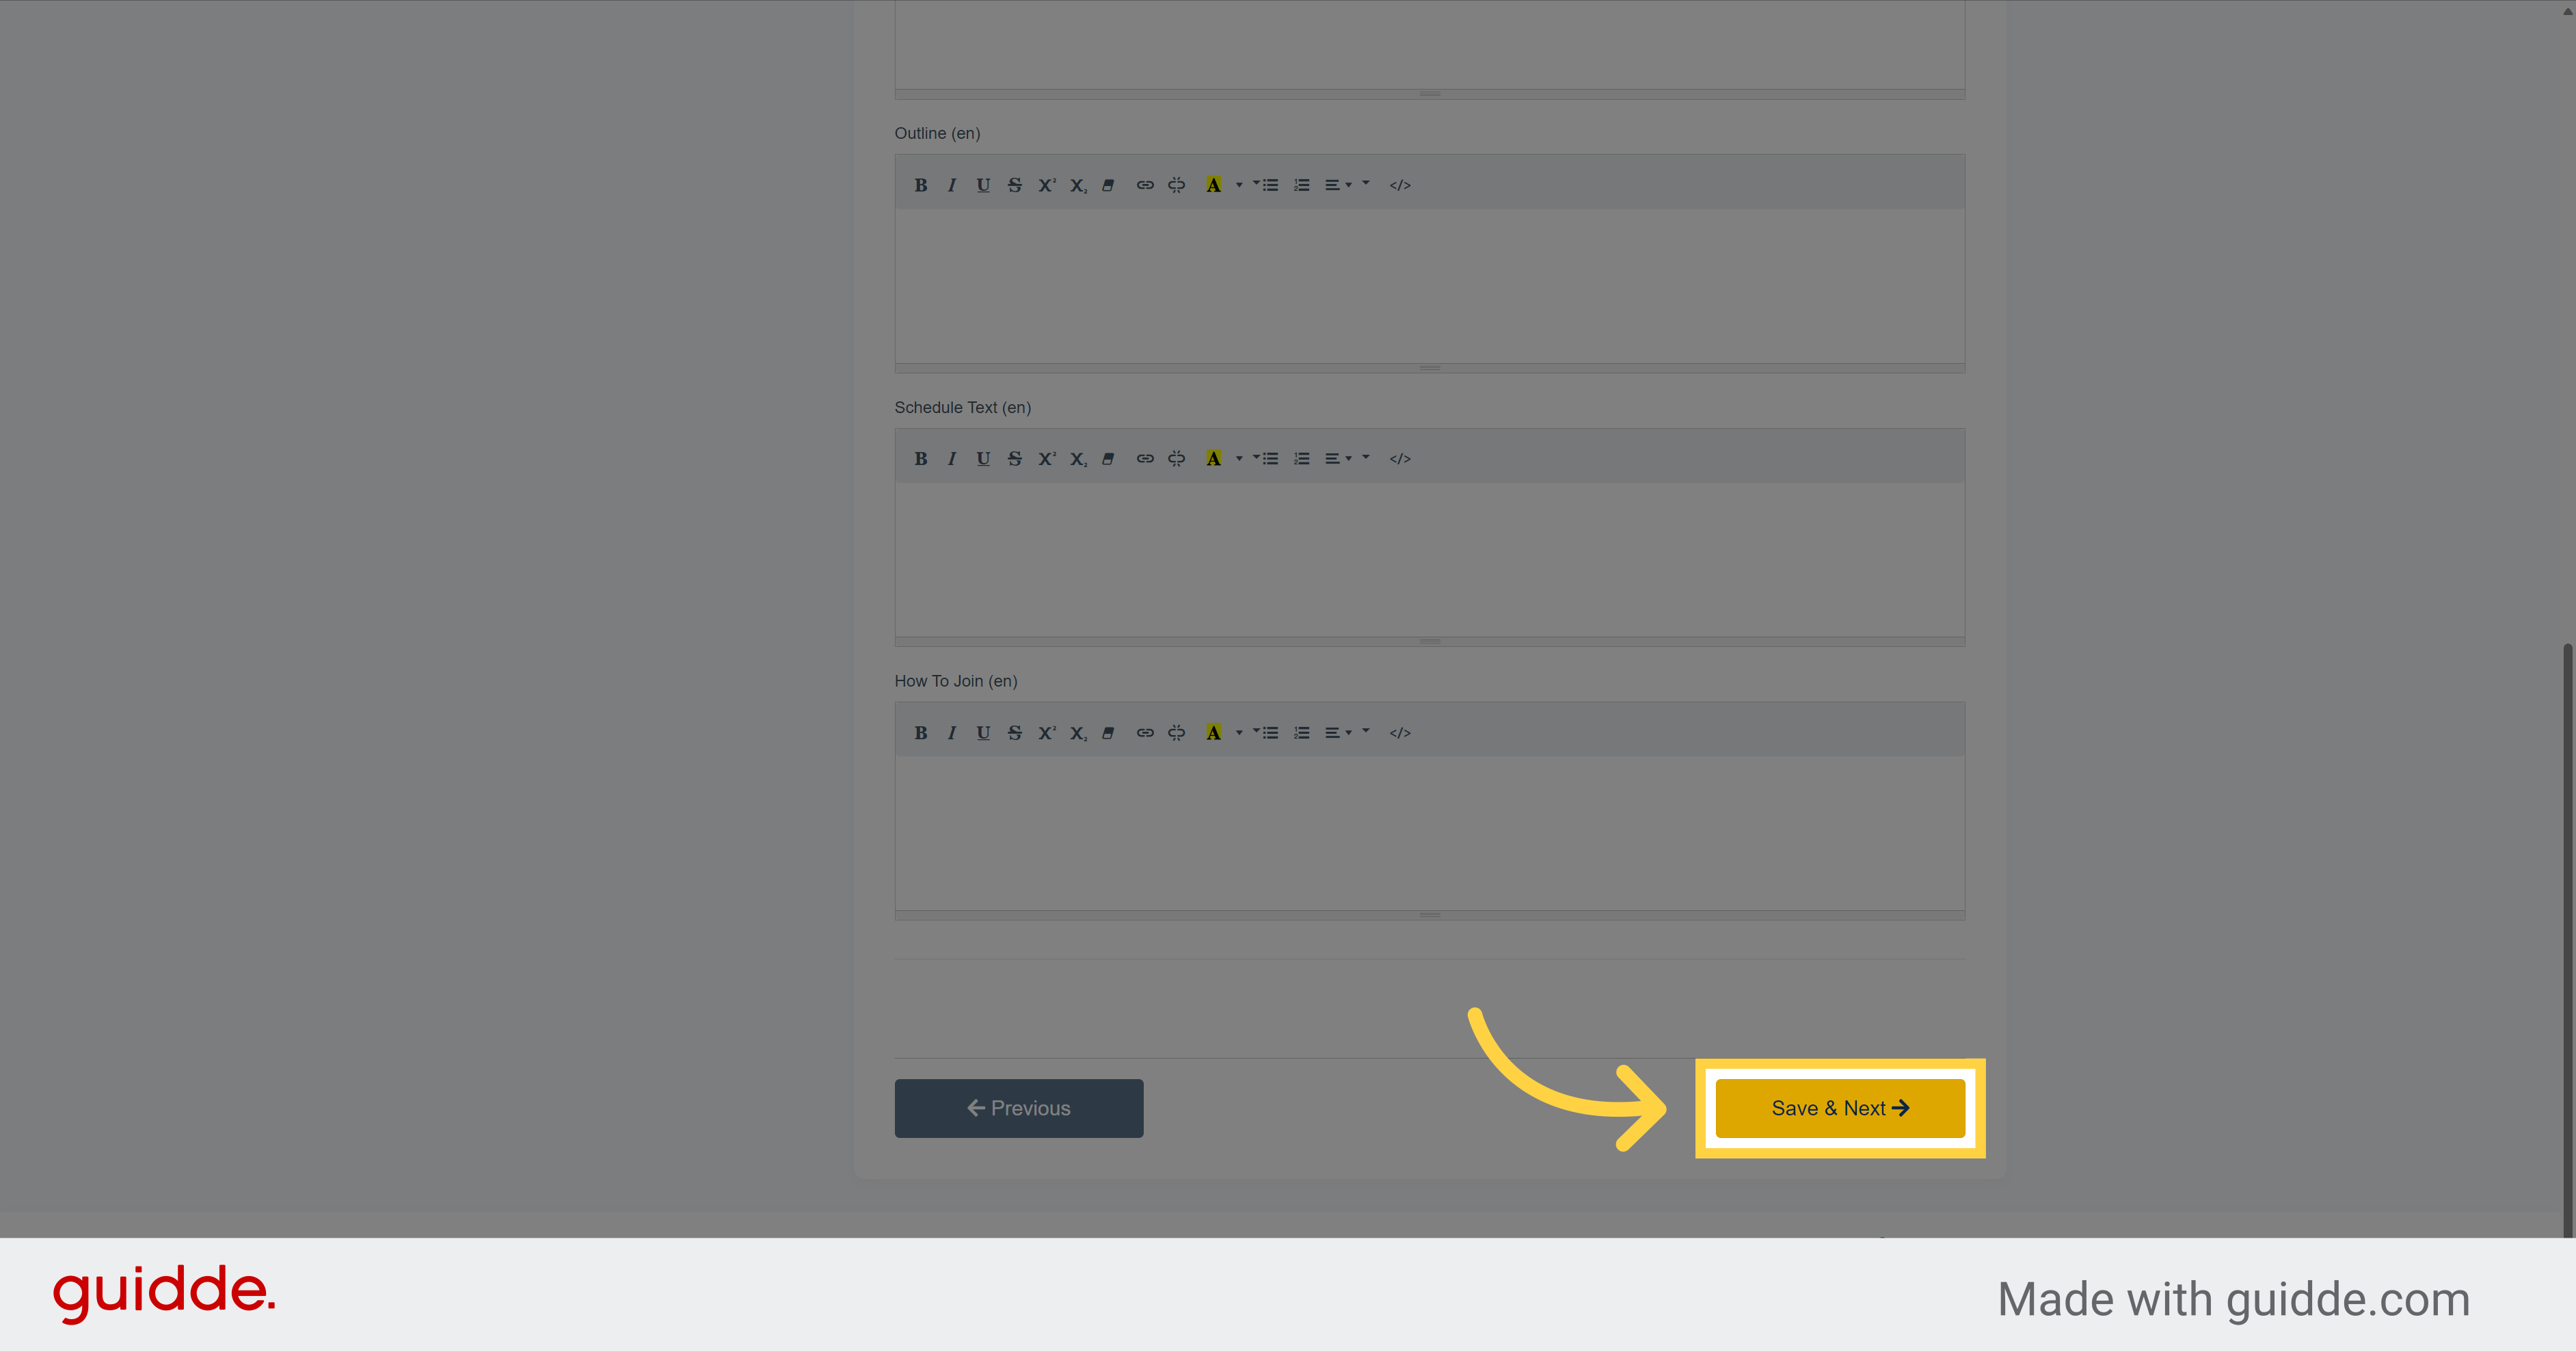
Then, go to the bottom of the page and click on this button to advance to the 3rd step
15. Click "-- Please Select --"
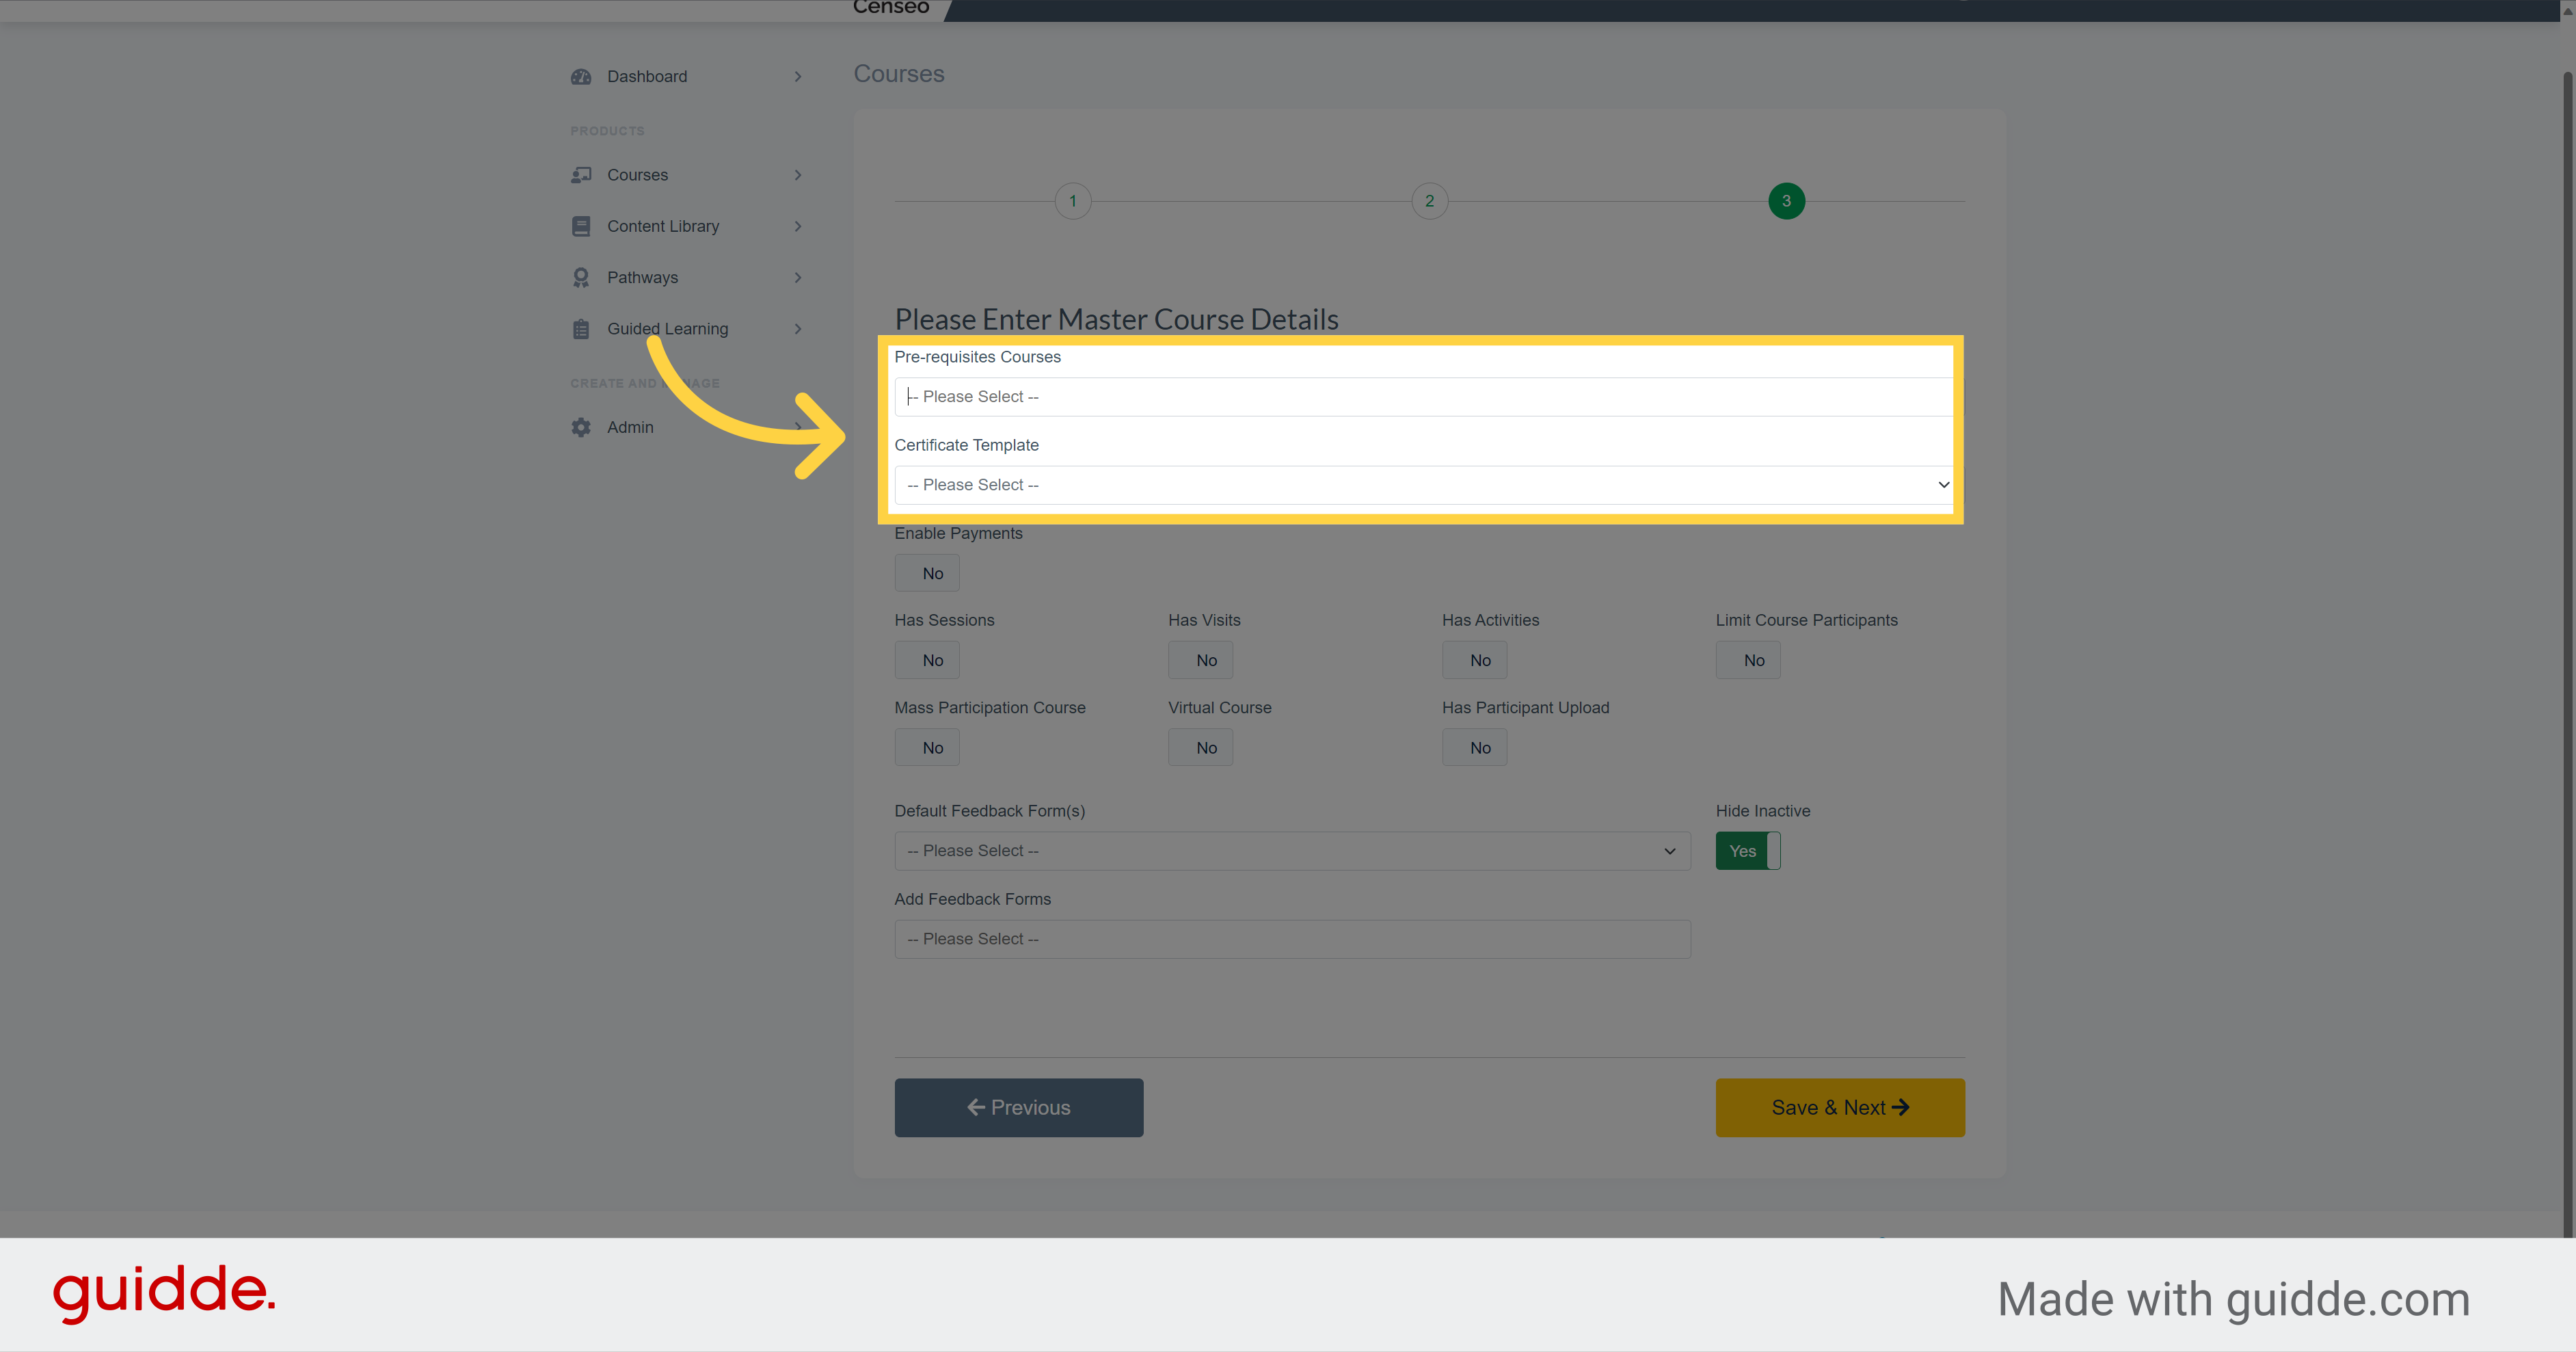
The 3rd step is where you will finalize the creation of your course with advanced details. In these two spaces you can choose whether to have completed other courses before committing to this Master course. If the course has a certificate, you can choose the template you want to use for the certificate format
16.
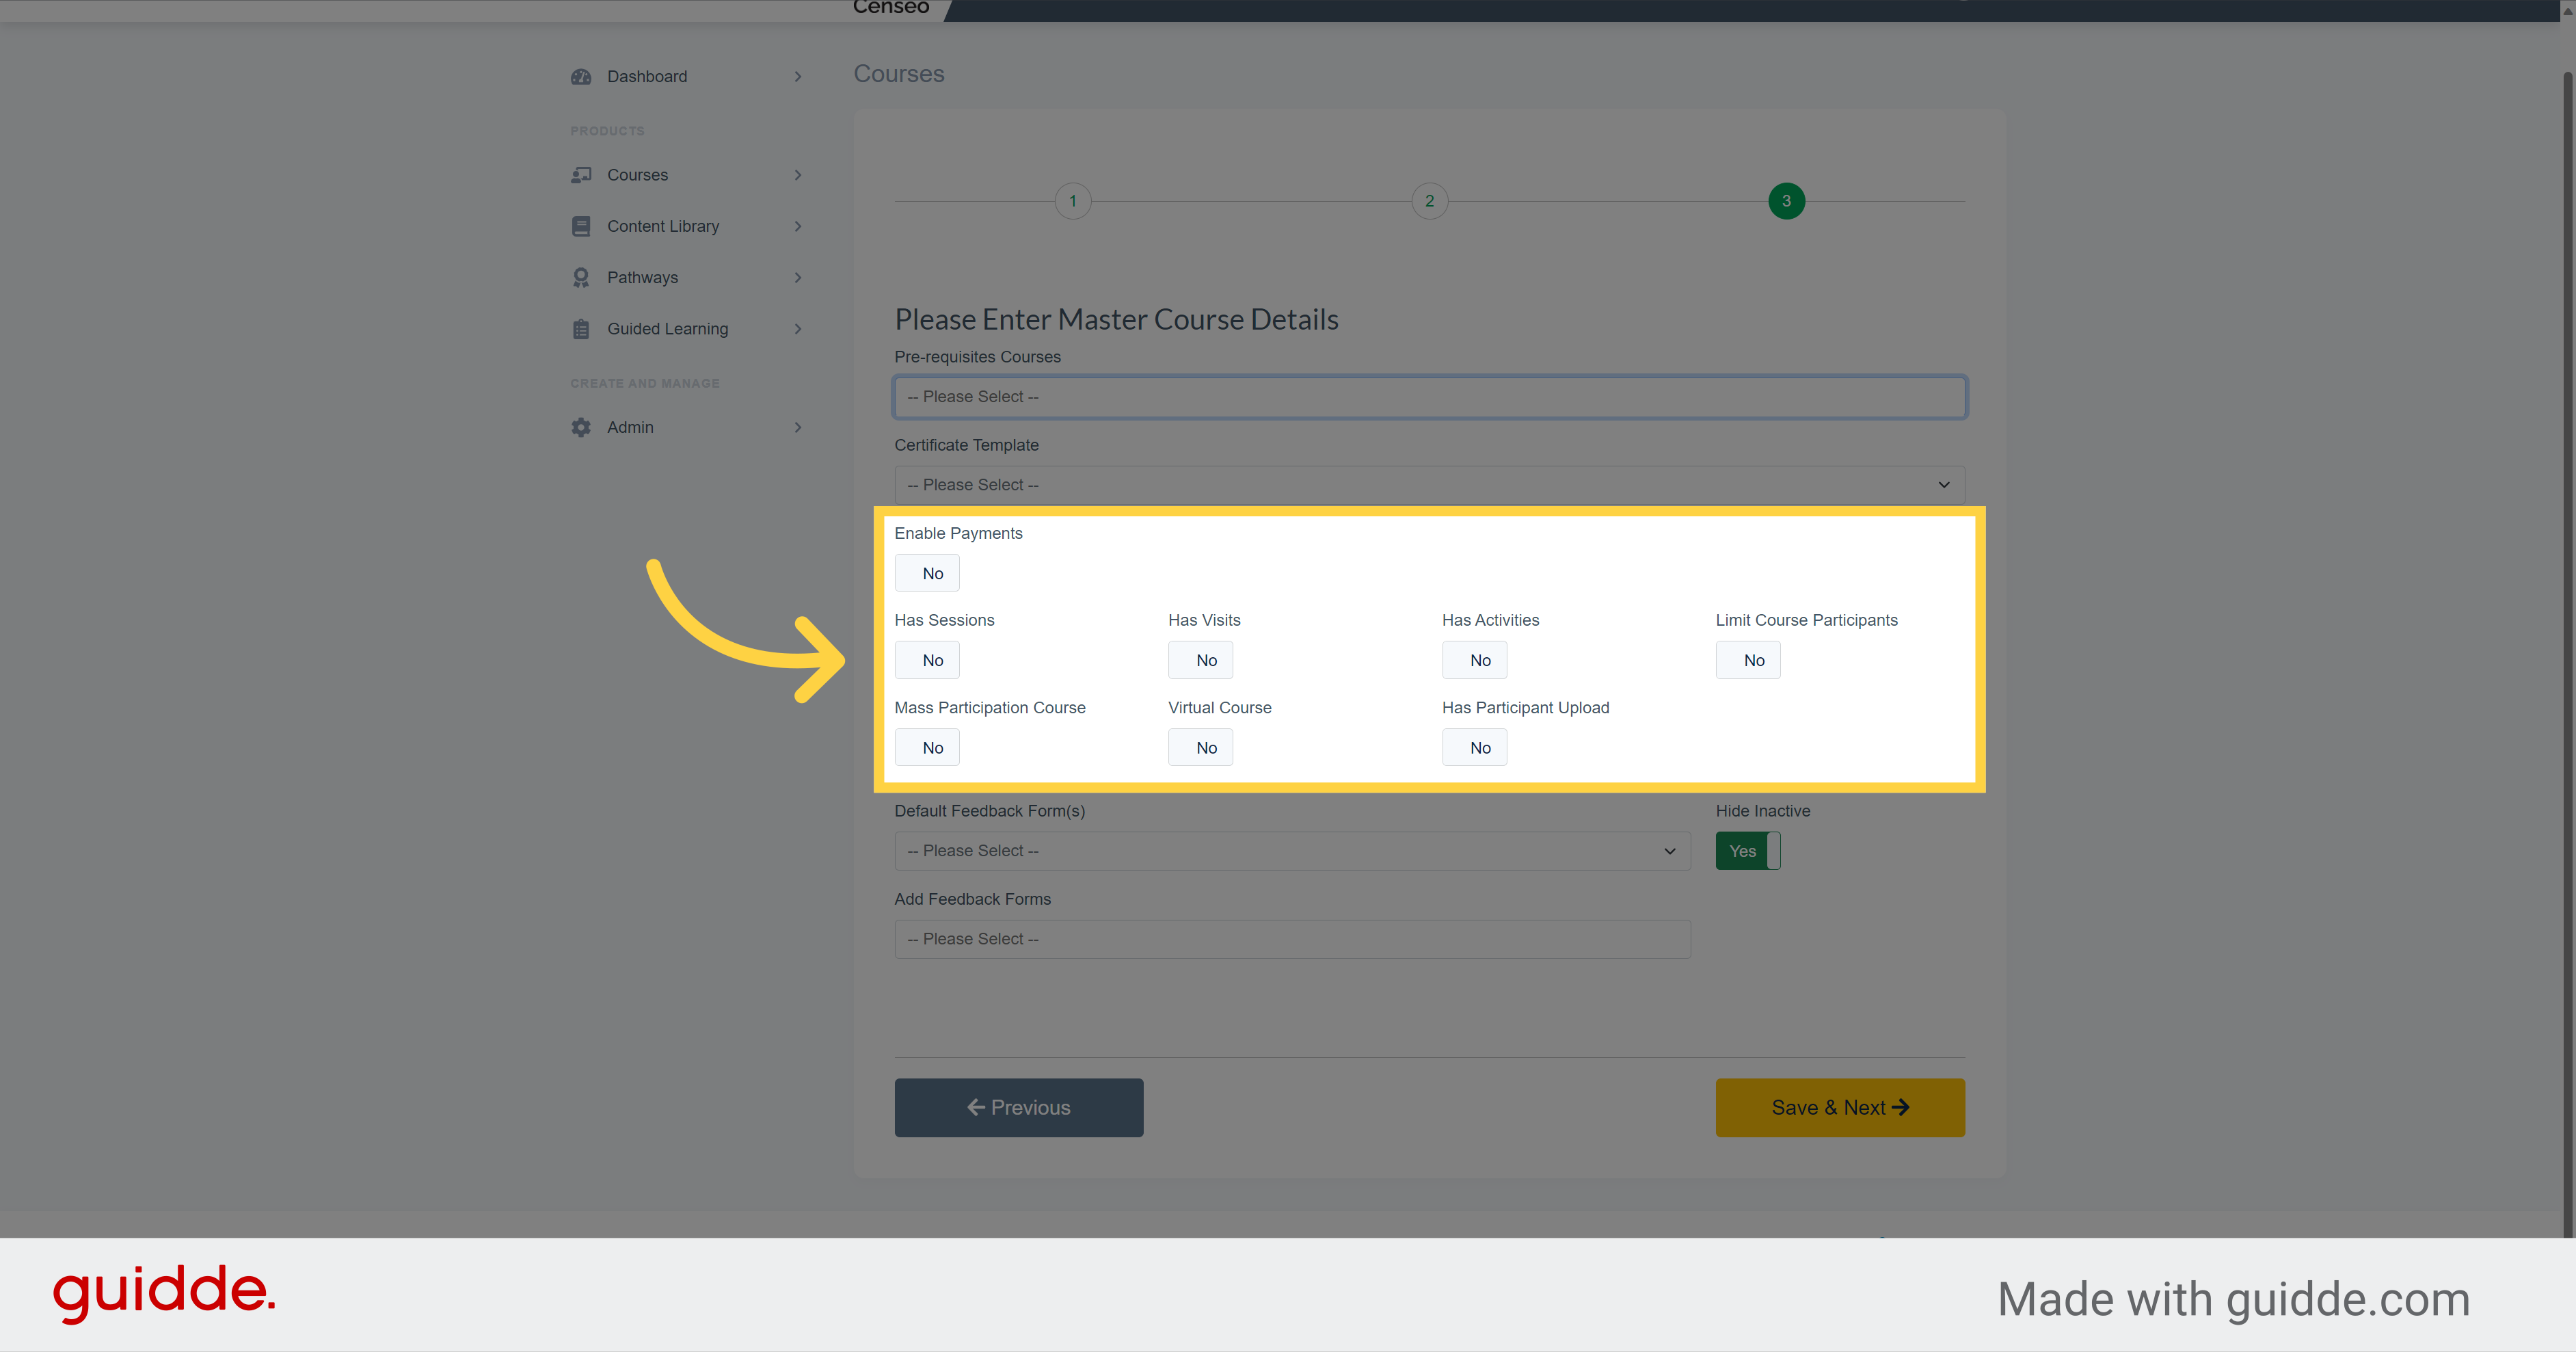
Here are some other options you can set up for your course like if the course has sessions, a limit course participants or if it enables payments
17.
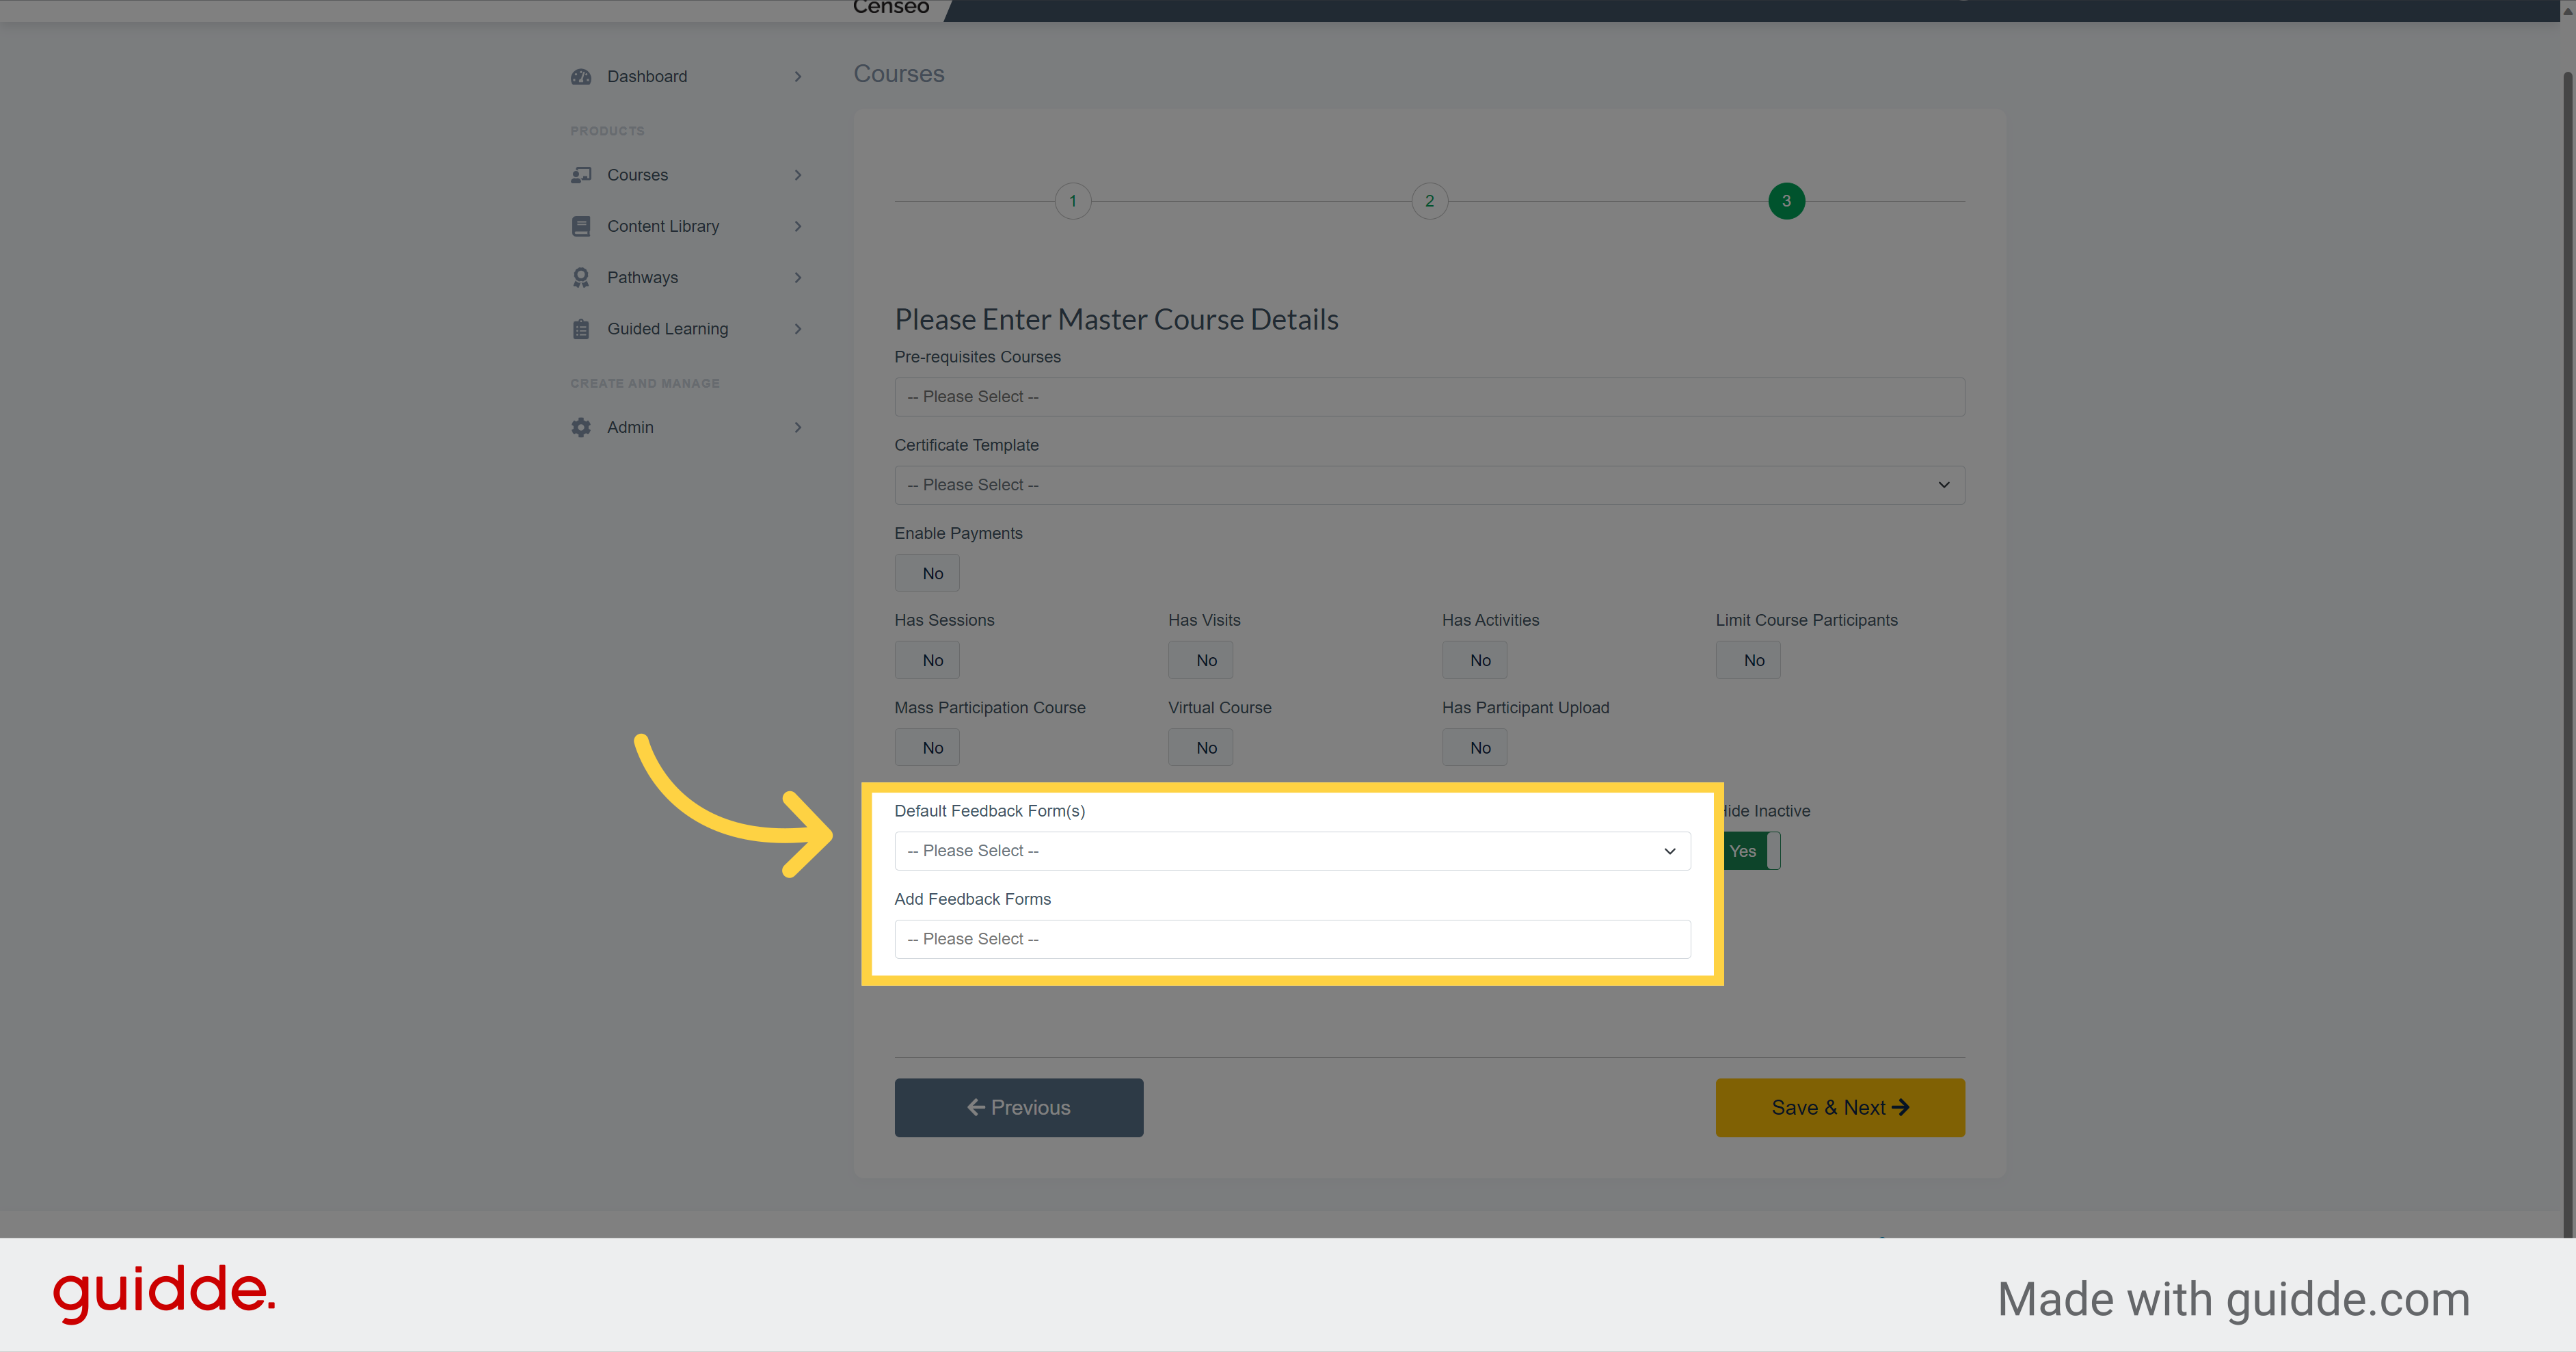
If you want to add feedback forms at the end of the course, you can do it by selecting those dropdowns.
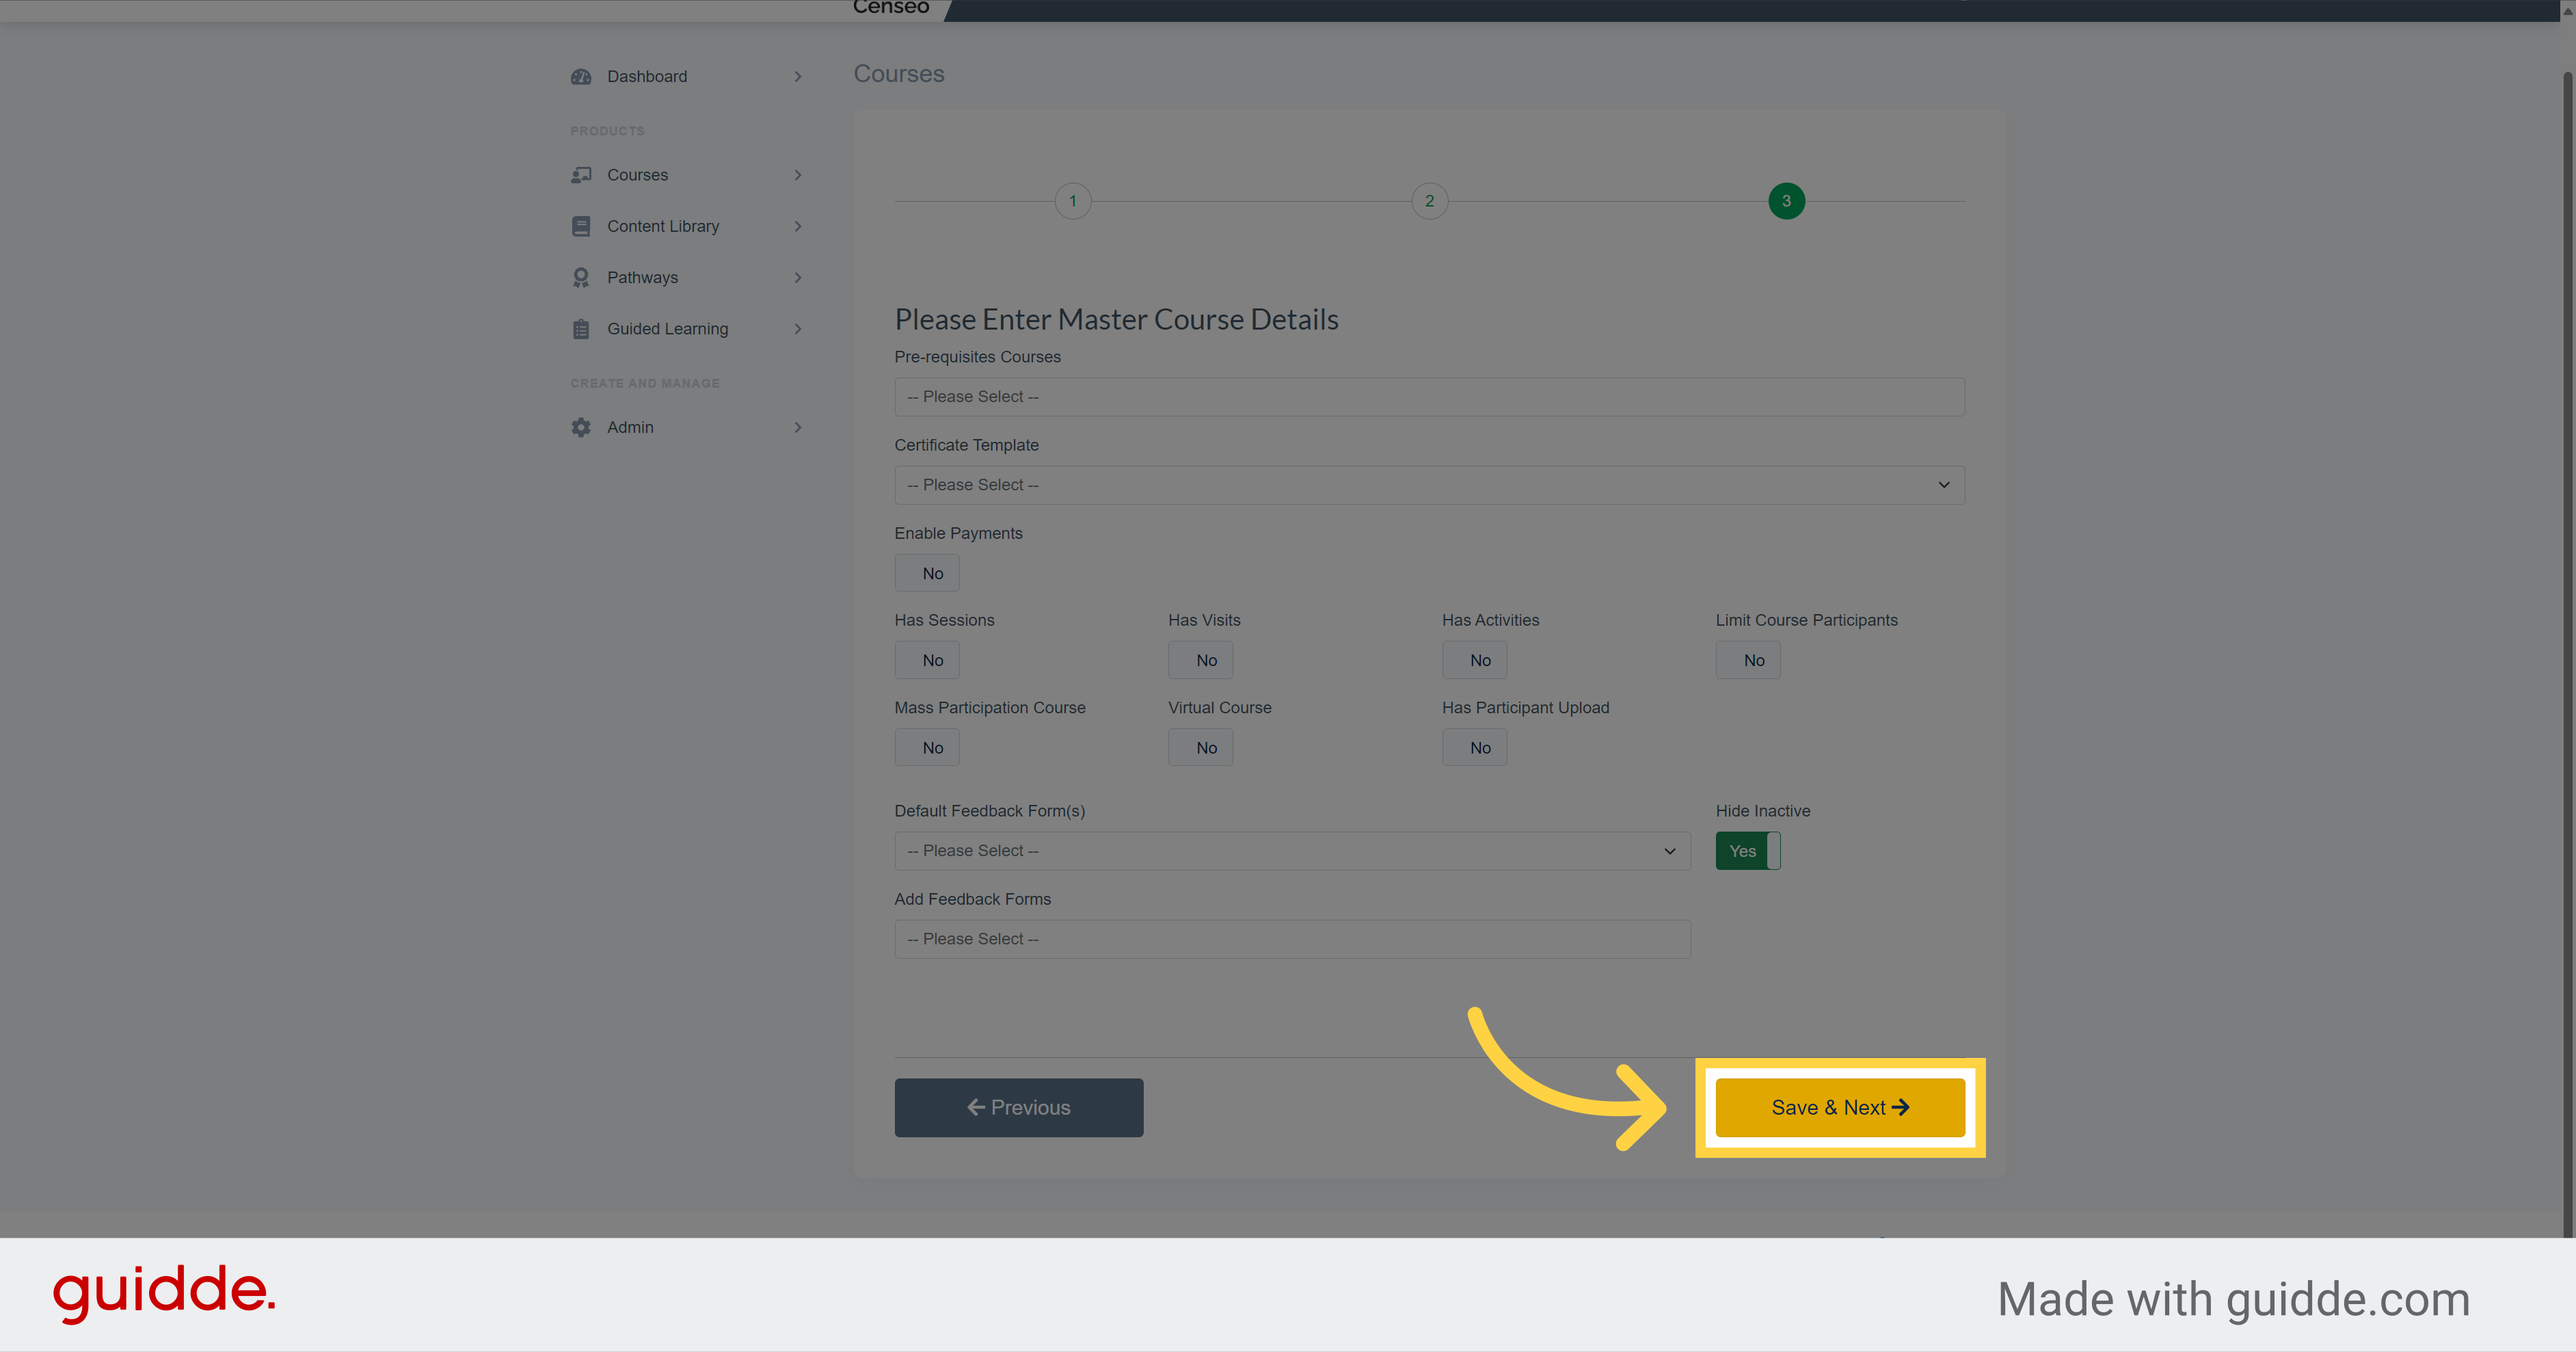
18. Click "Save & Next"
Click on this box to complete and validate the creation of your master course
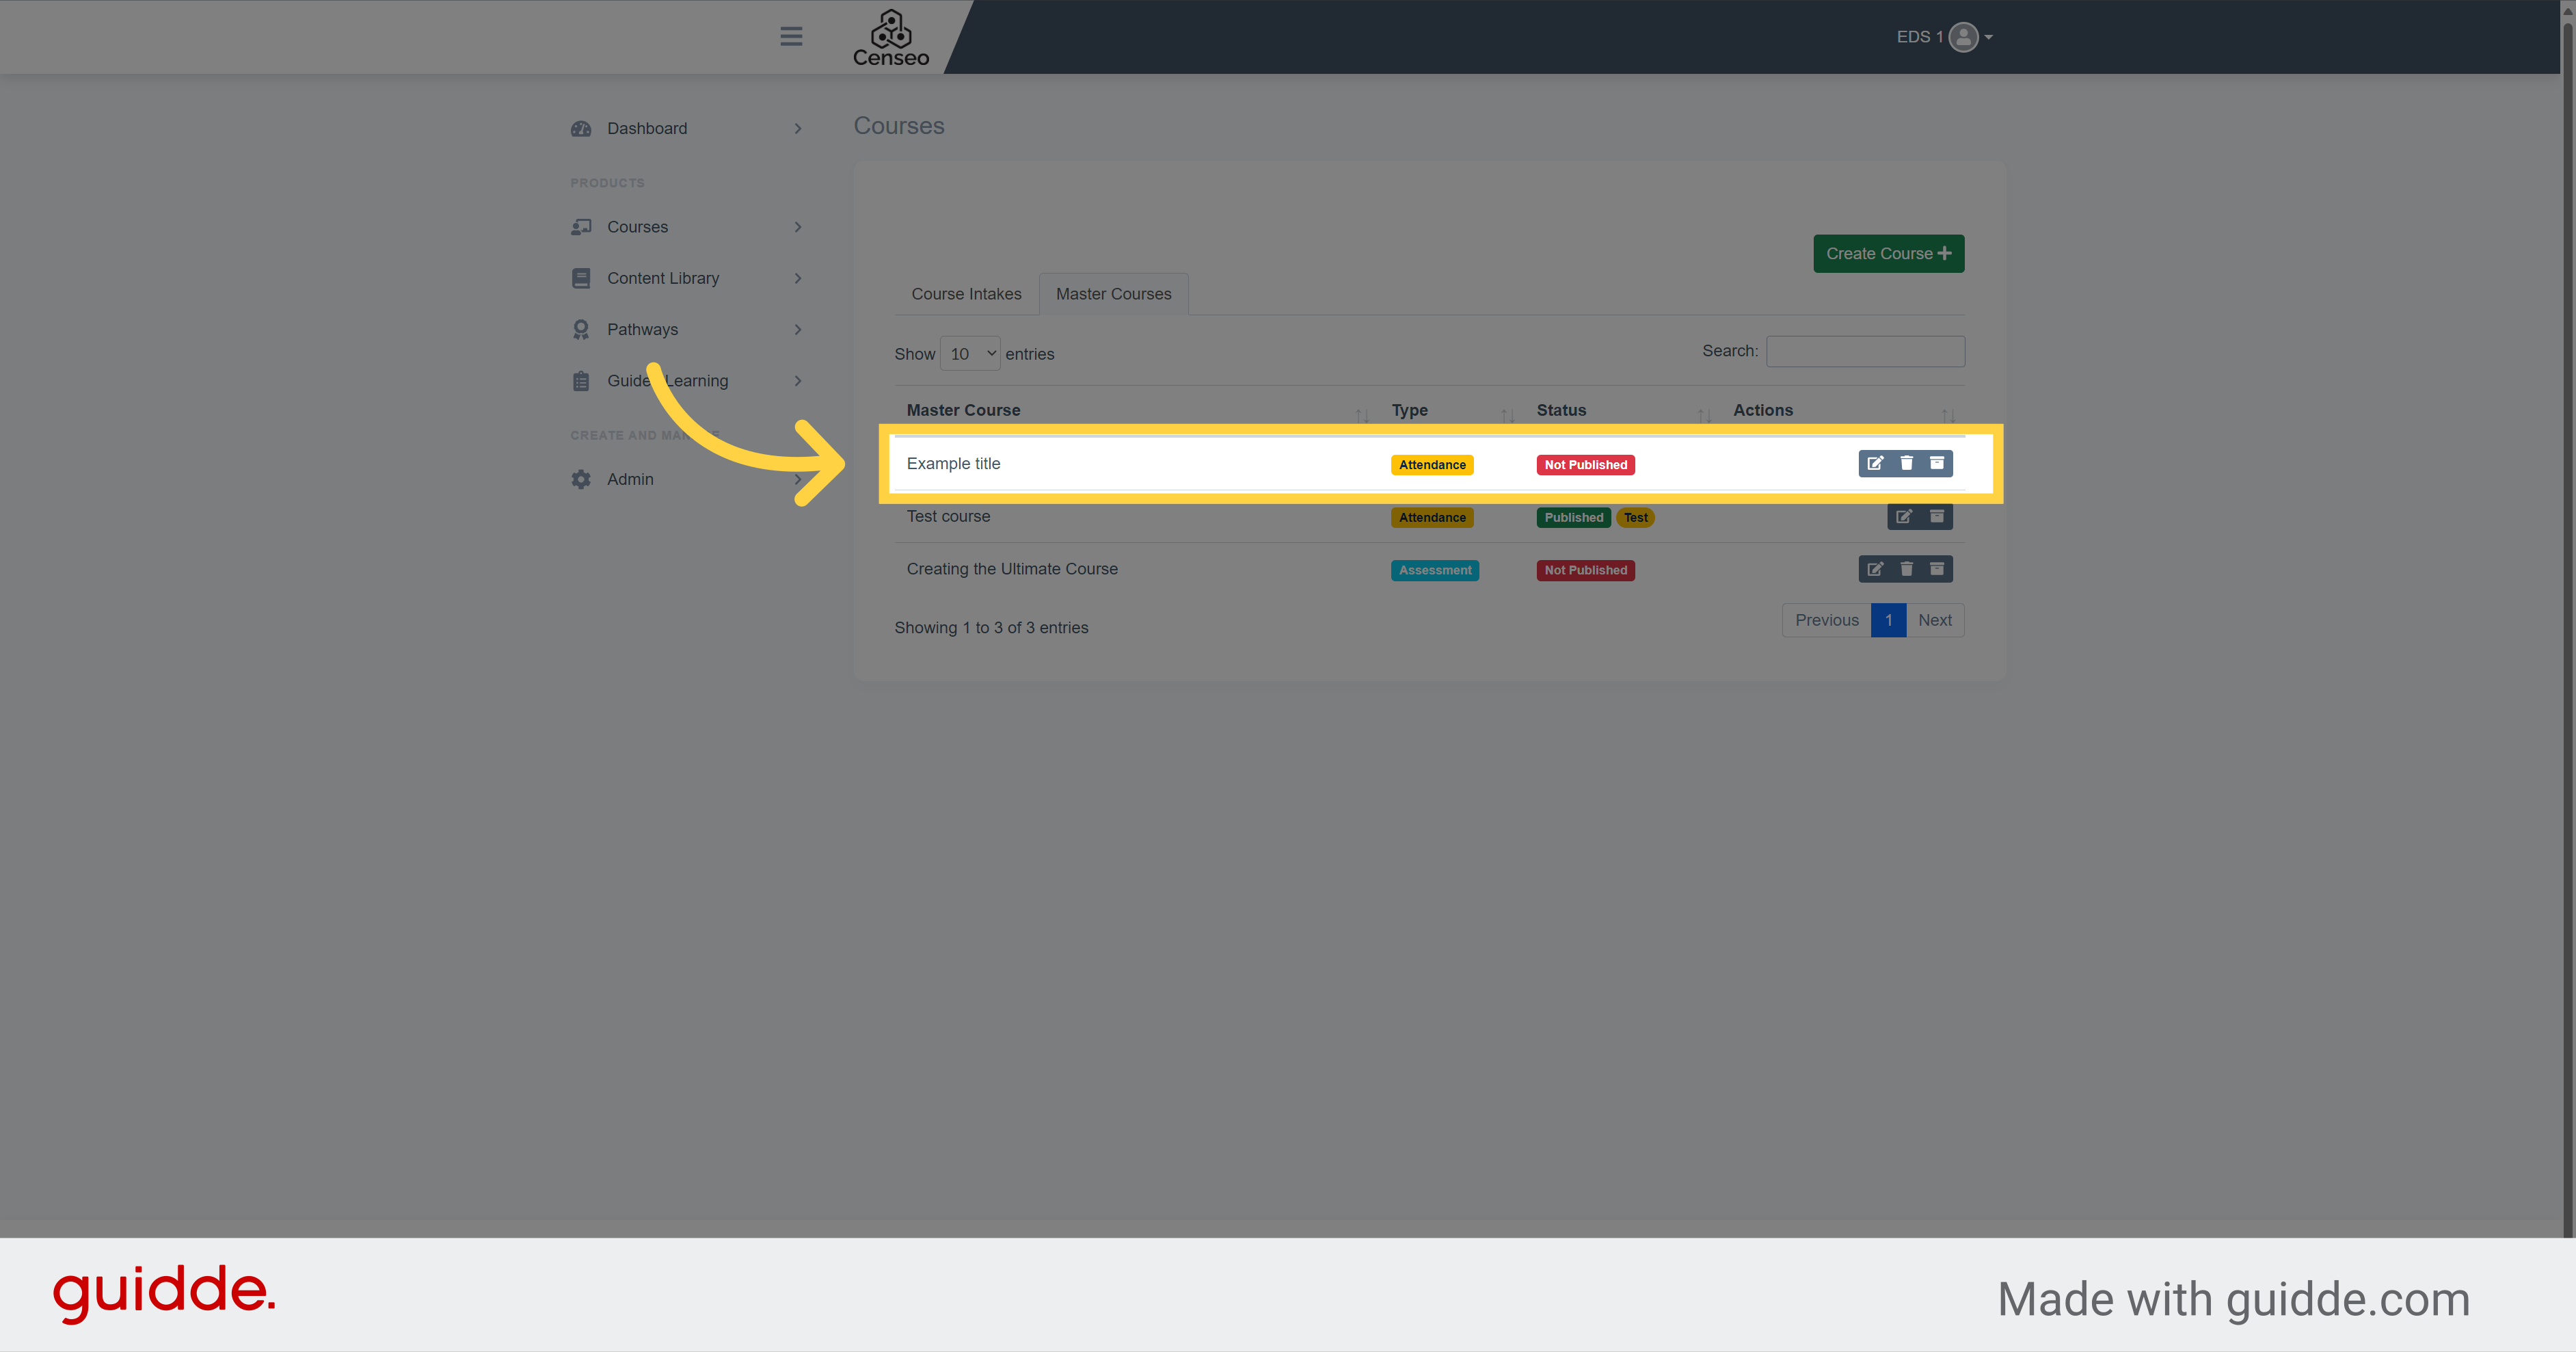
19.
Congratulations, your course is now created and appears on the master courses list
In this guide, you learned how to create a Master Course and customize the course details. Don't forget that all the settings and details of the course can be modified at any time. Now you can efficiently create and manage your courses in the Censeo learning academy. If you want to learn how to create an Intake Course, there is another video to watch
