After creating a master course, This guide will walk you through the process of creating a course intake.
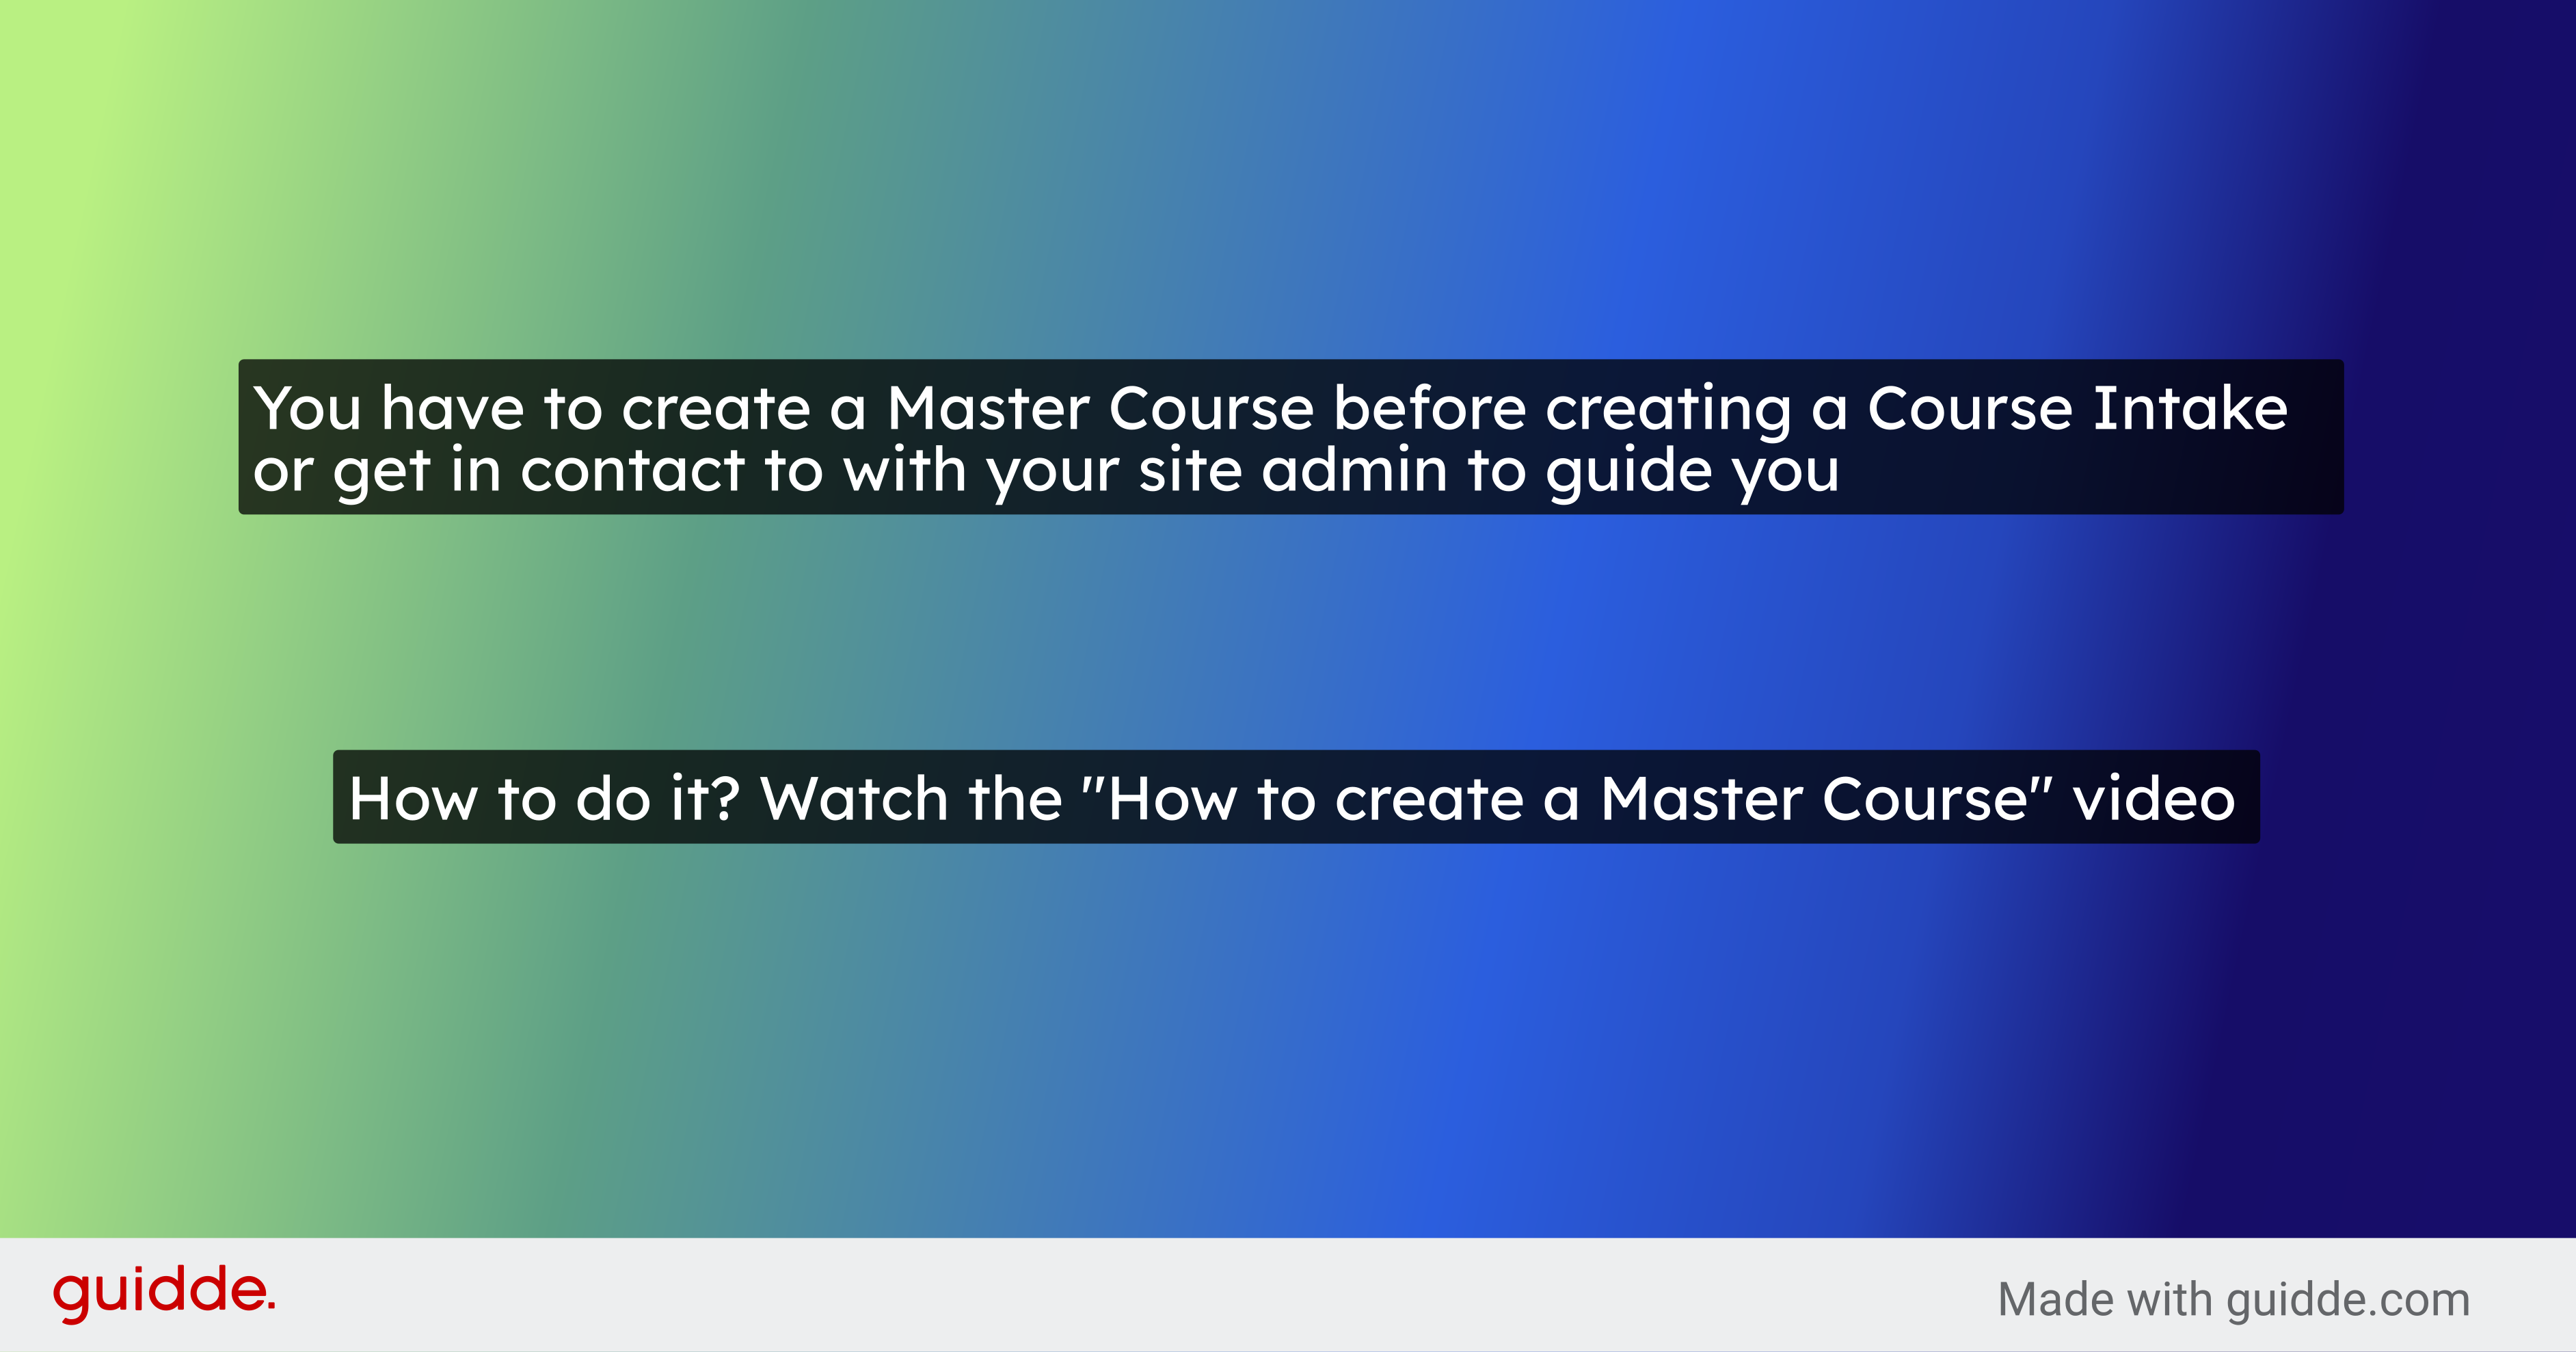
1. You have to create a Master Course before creating a Course Intake or get in contact to with your site admin to guide you
Before creating your course intake, you must create a Master Course in order to attach the course intake to it. If you don't know how to create a Master Course, you can watch the "How to create a master course" video. Not all admin users are able to create a master course so if you are not able to, you have to get in contact with your site admin to guide you to what master course you should be selecting
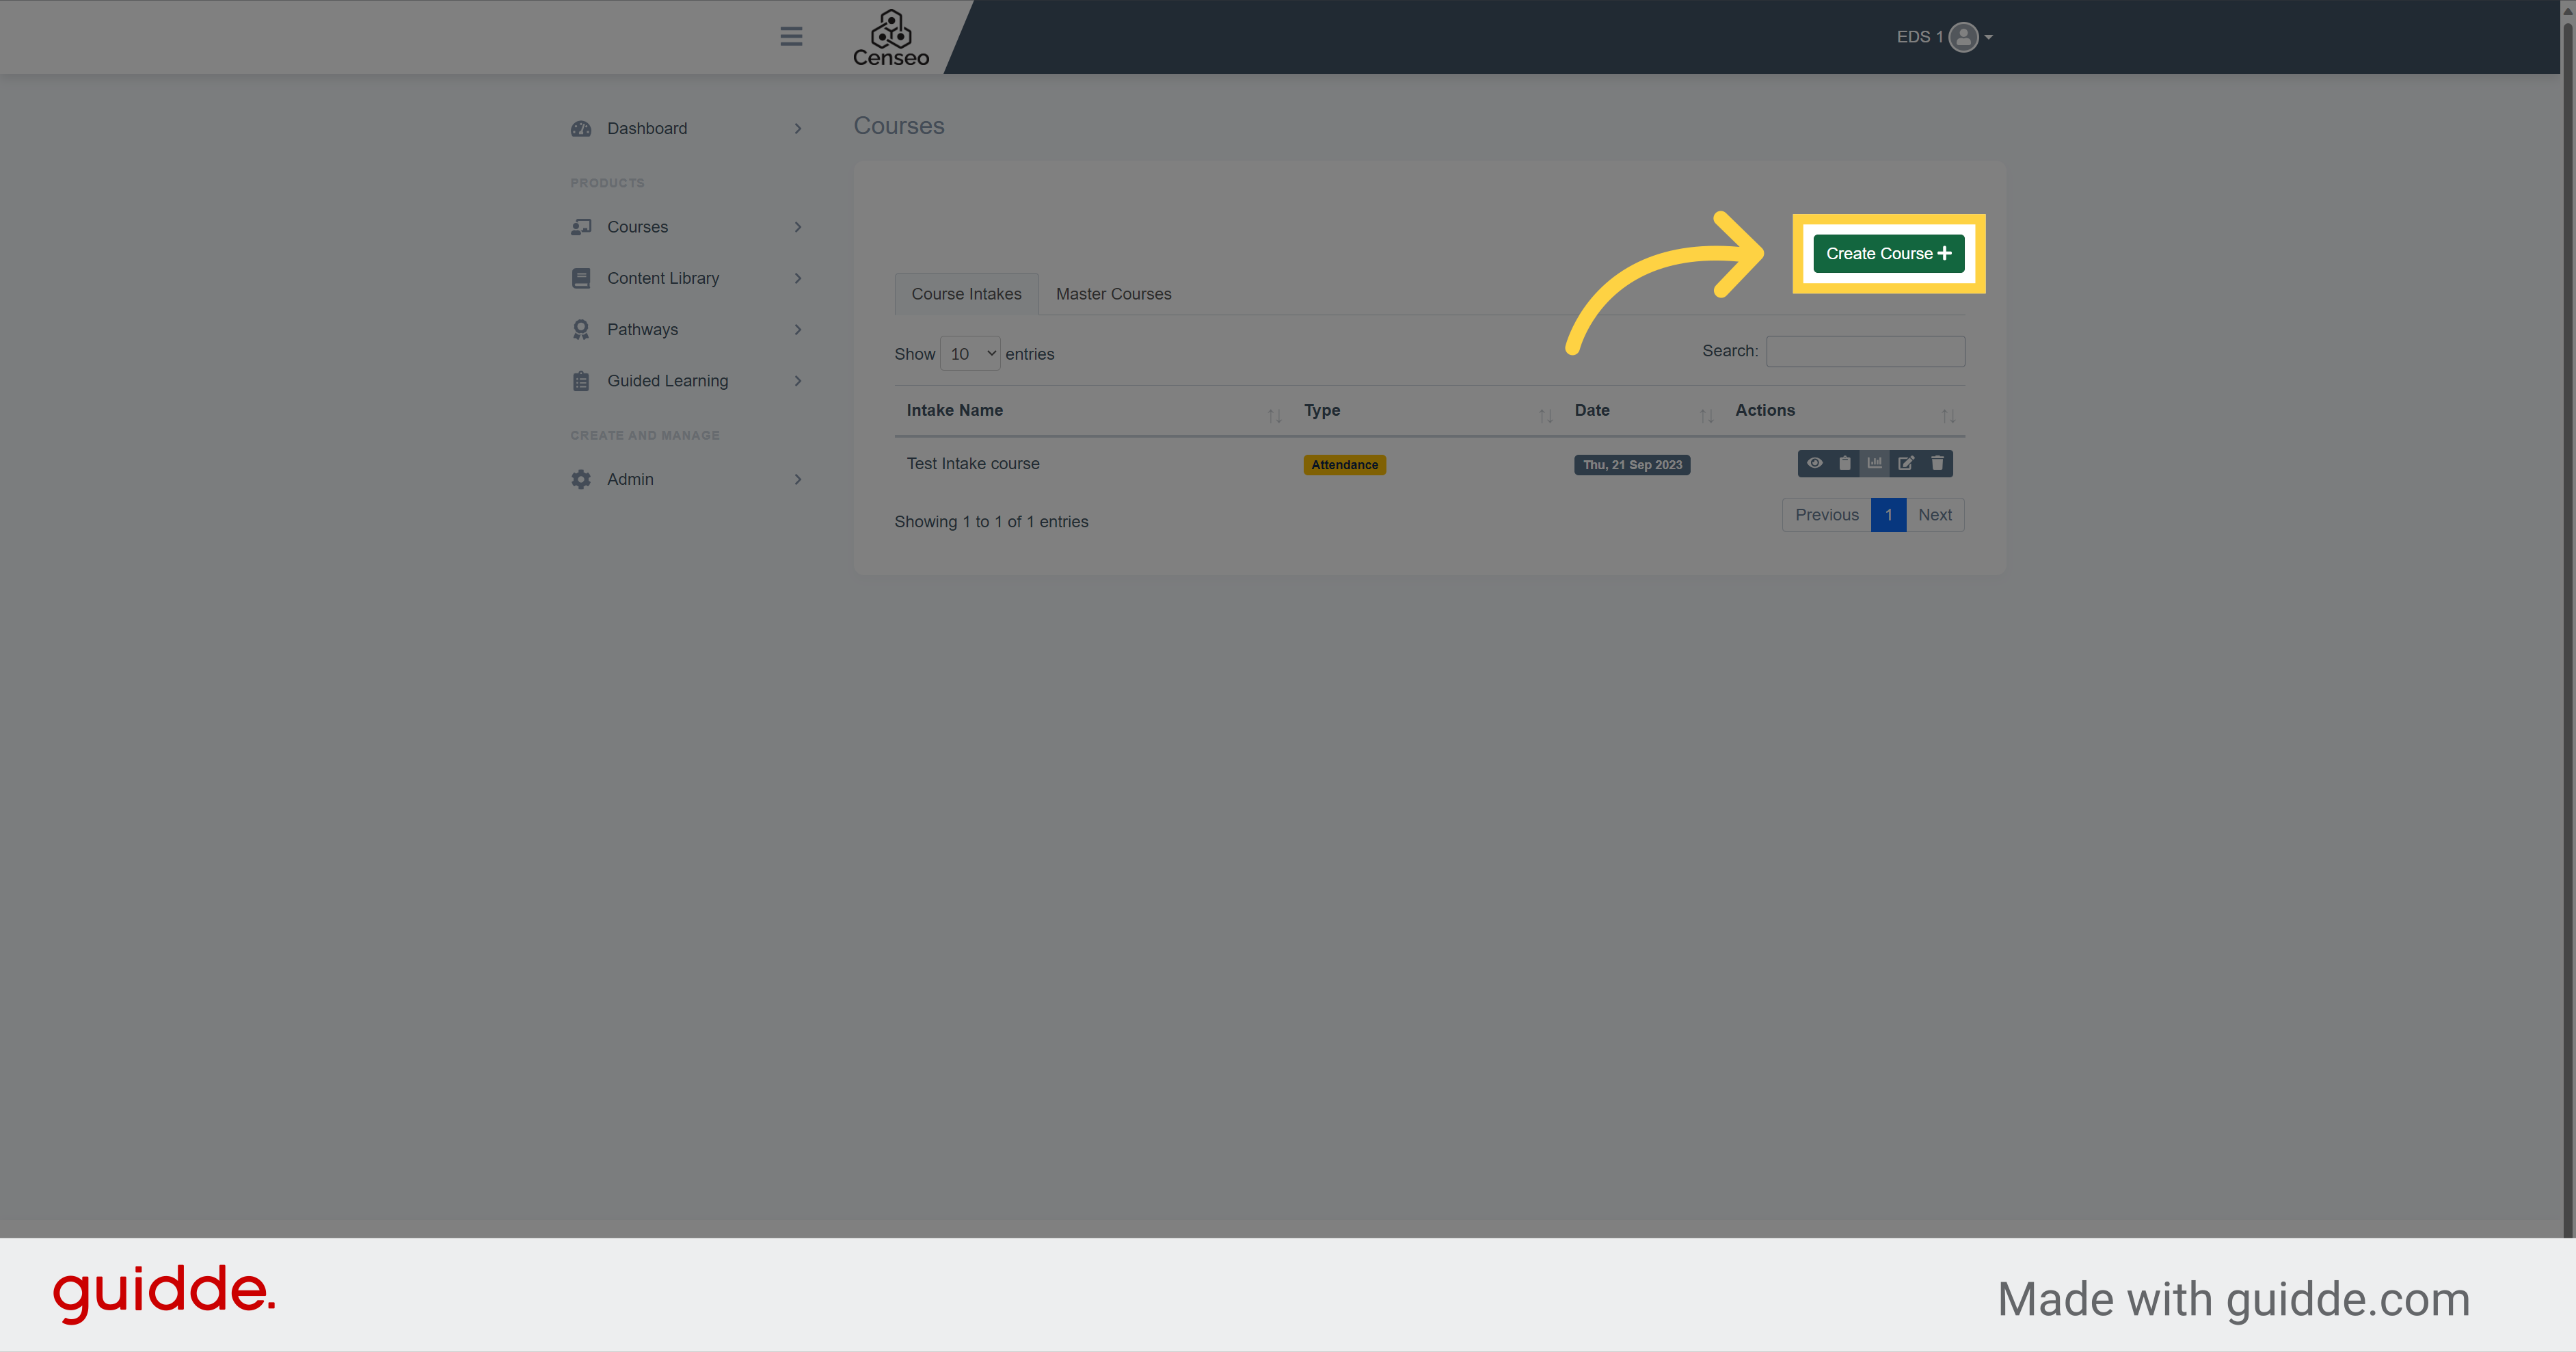
2. Click "Create Course"
To start the process of creating a course intake, click on the "Create Course" button.
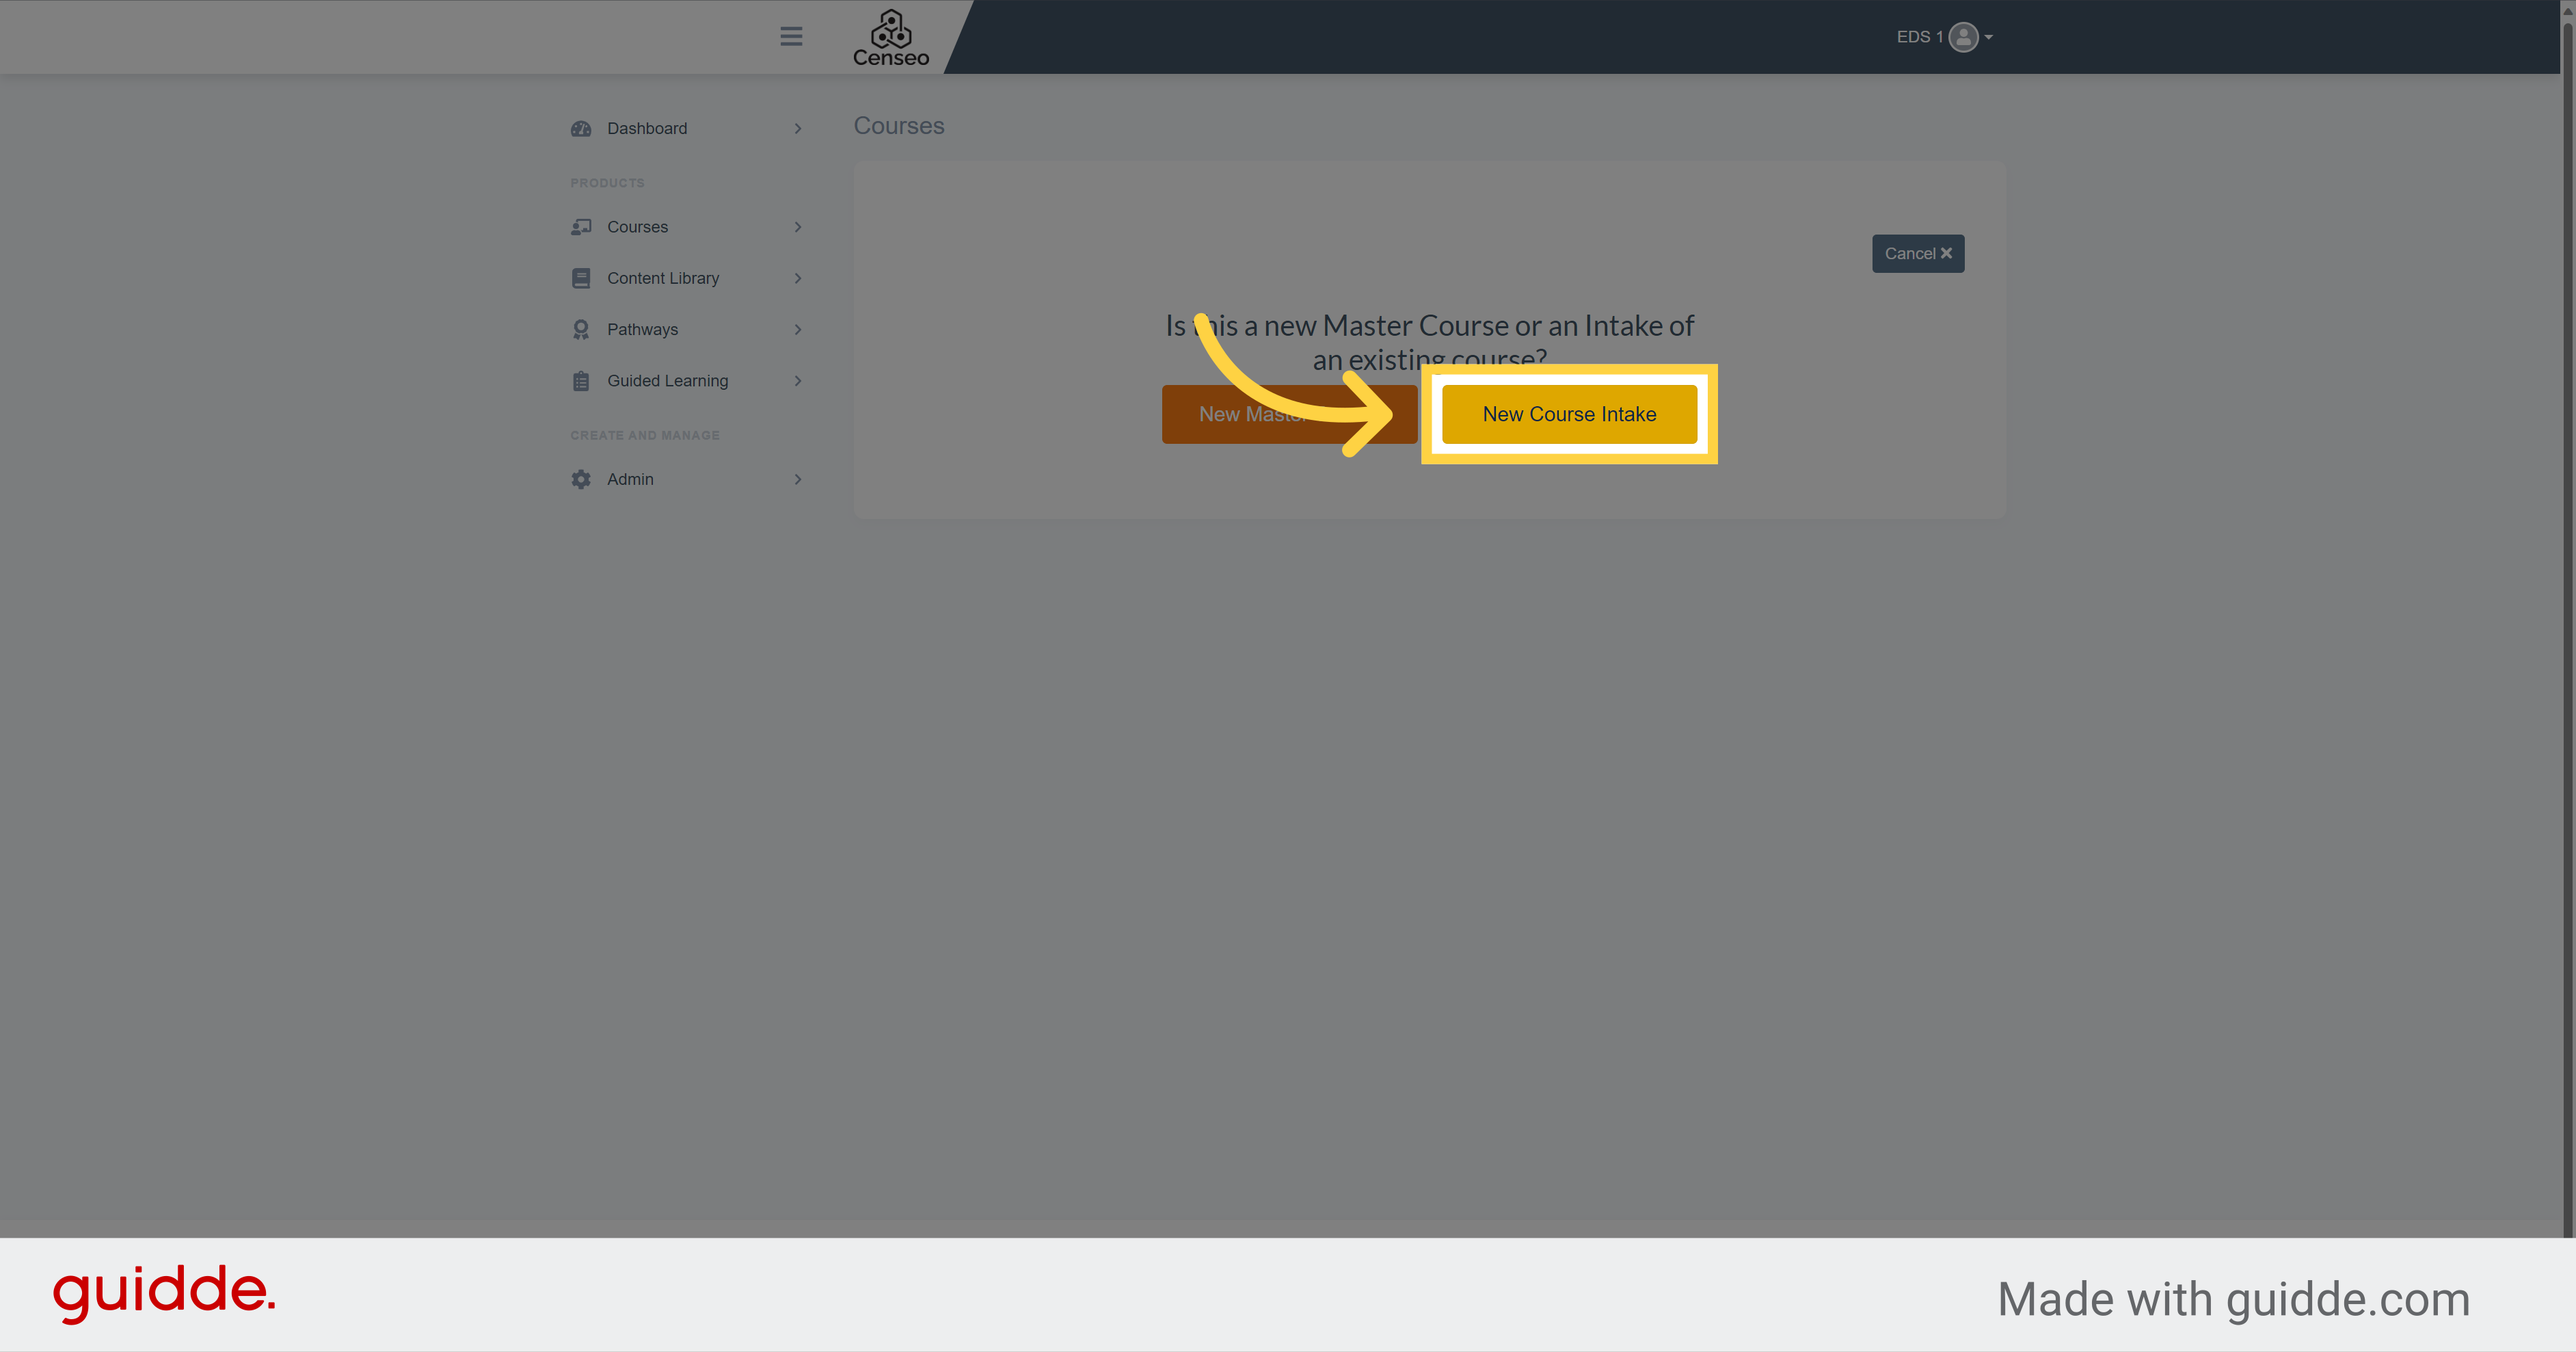
3. Click "New Course Intake"
Then, click on the "New Course Intake" button.
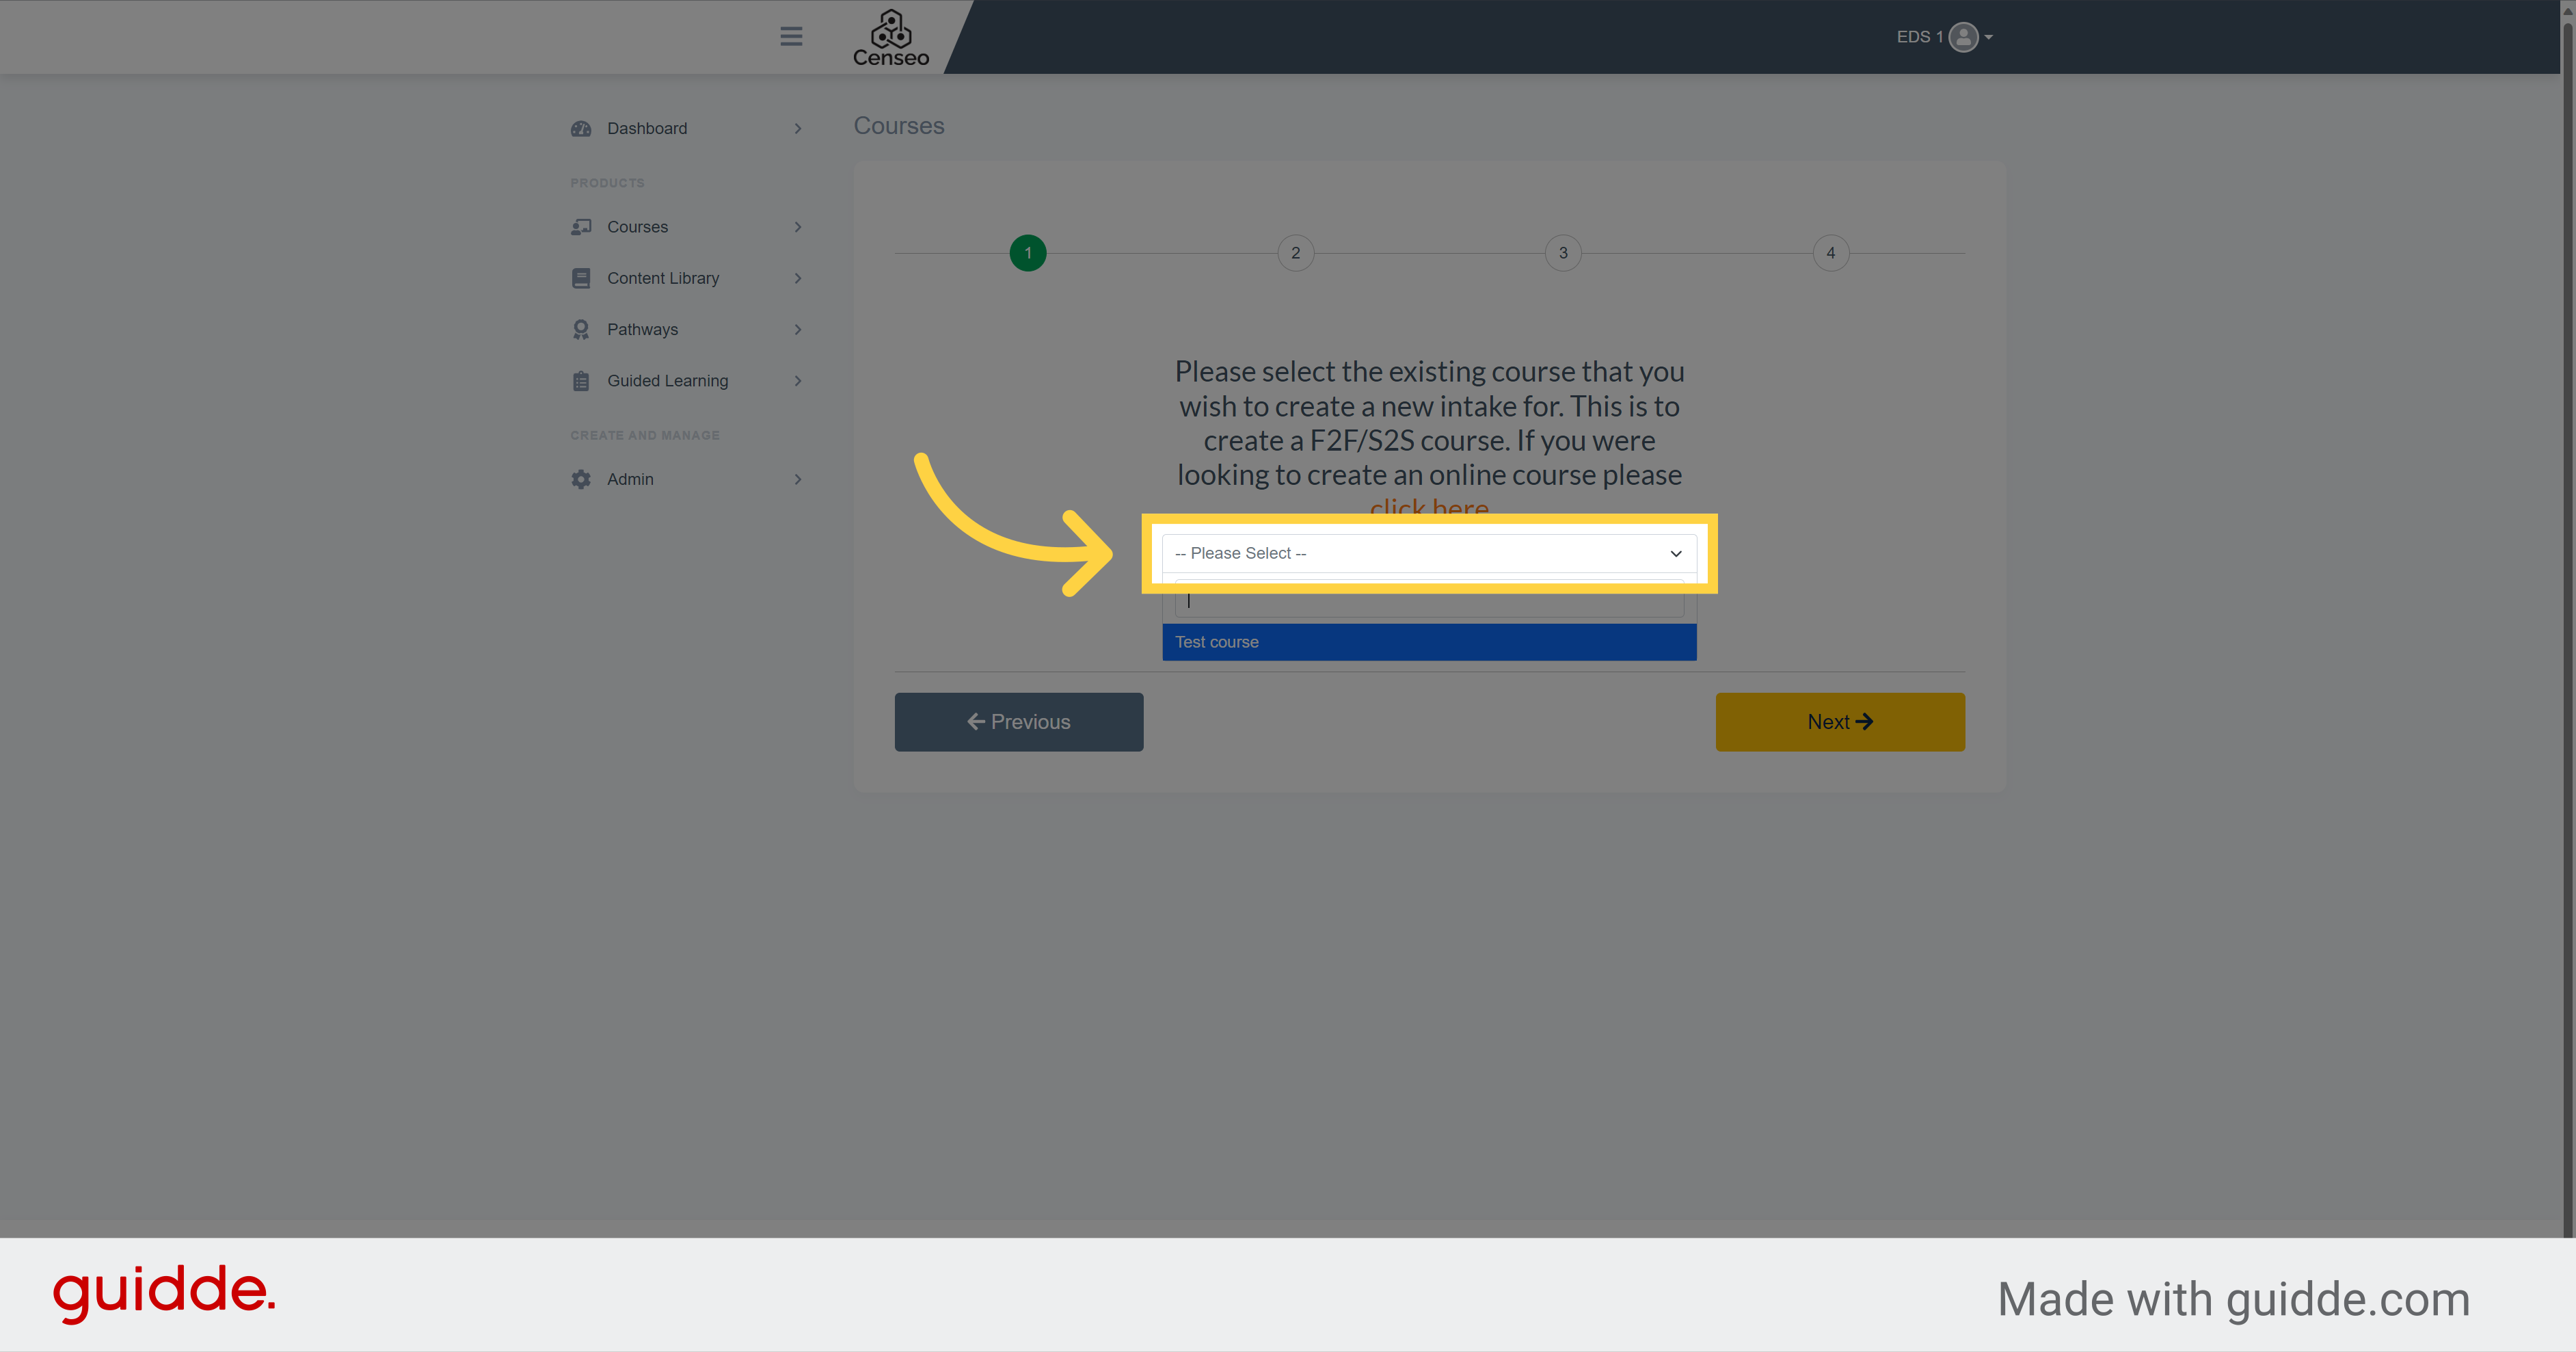
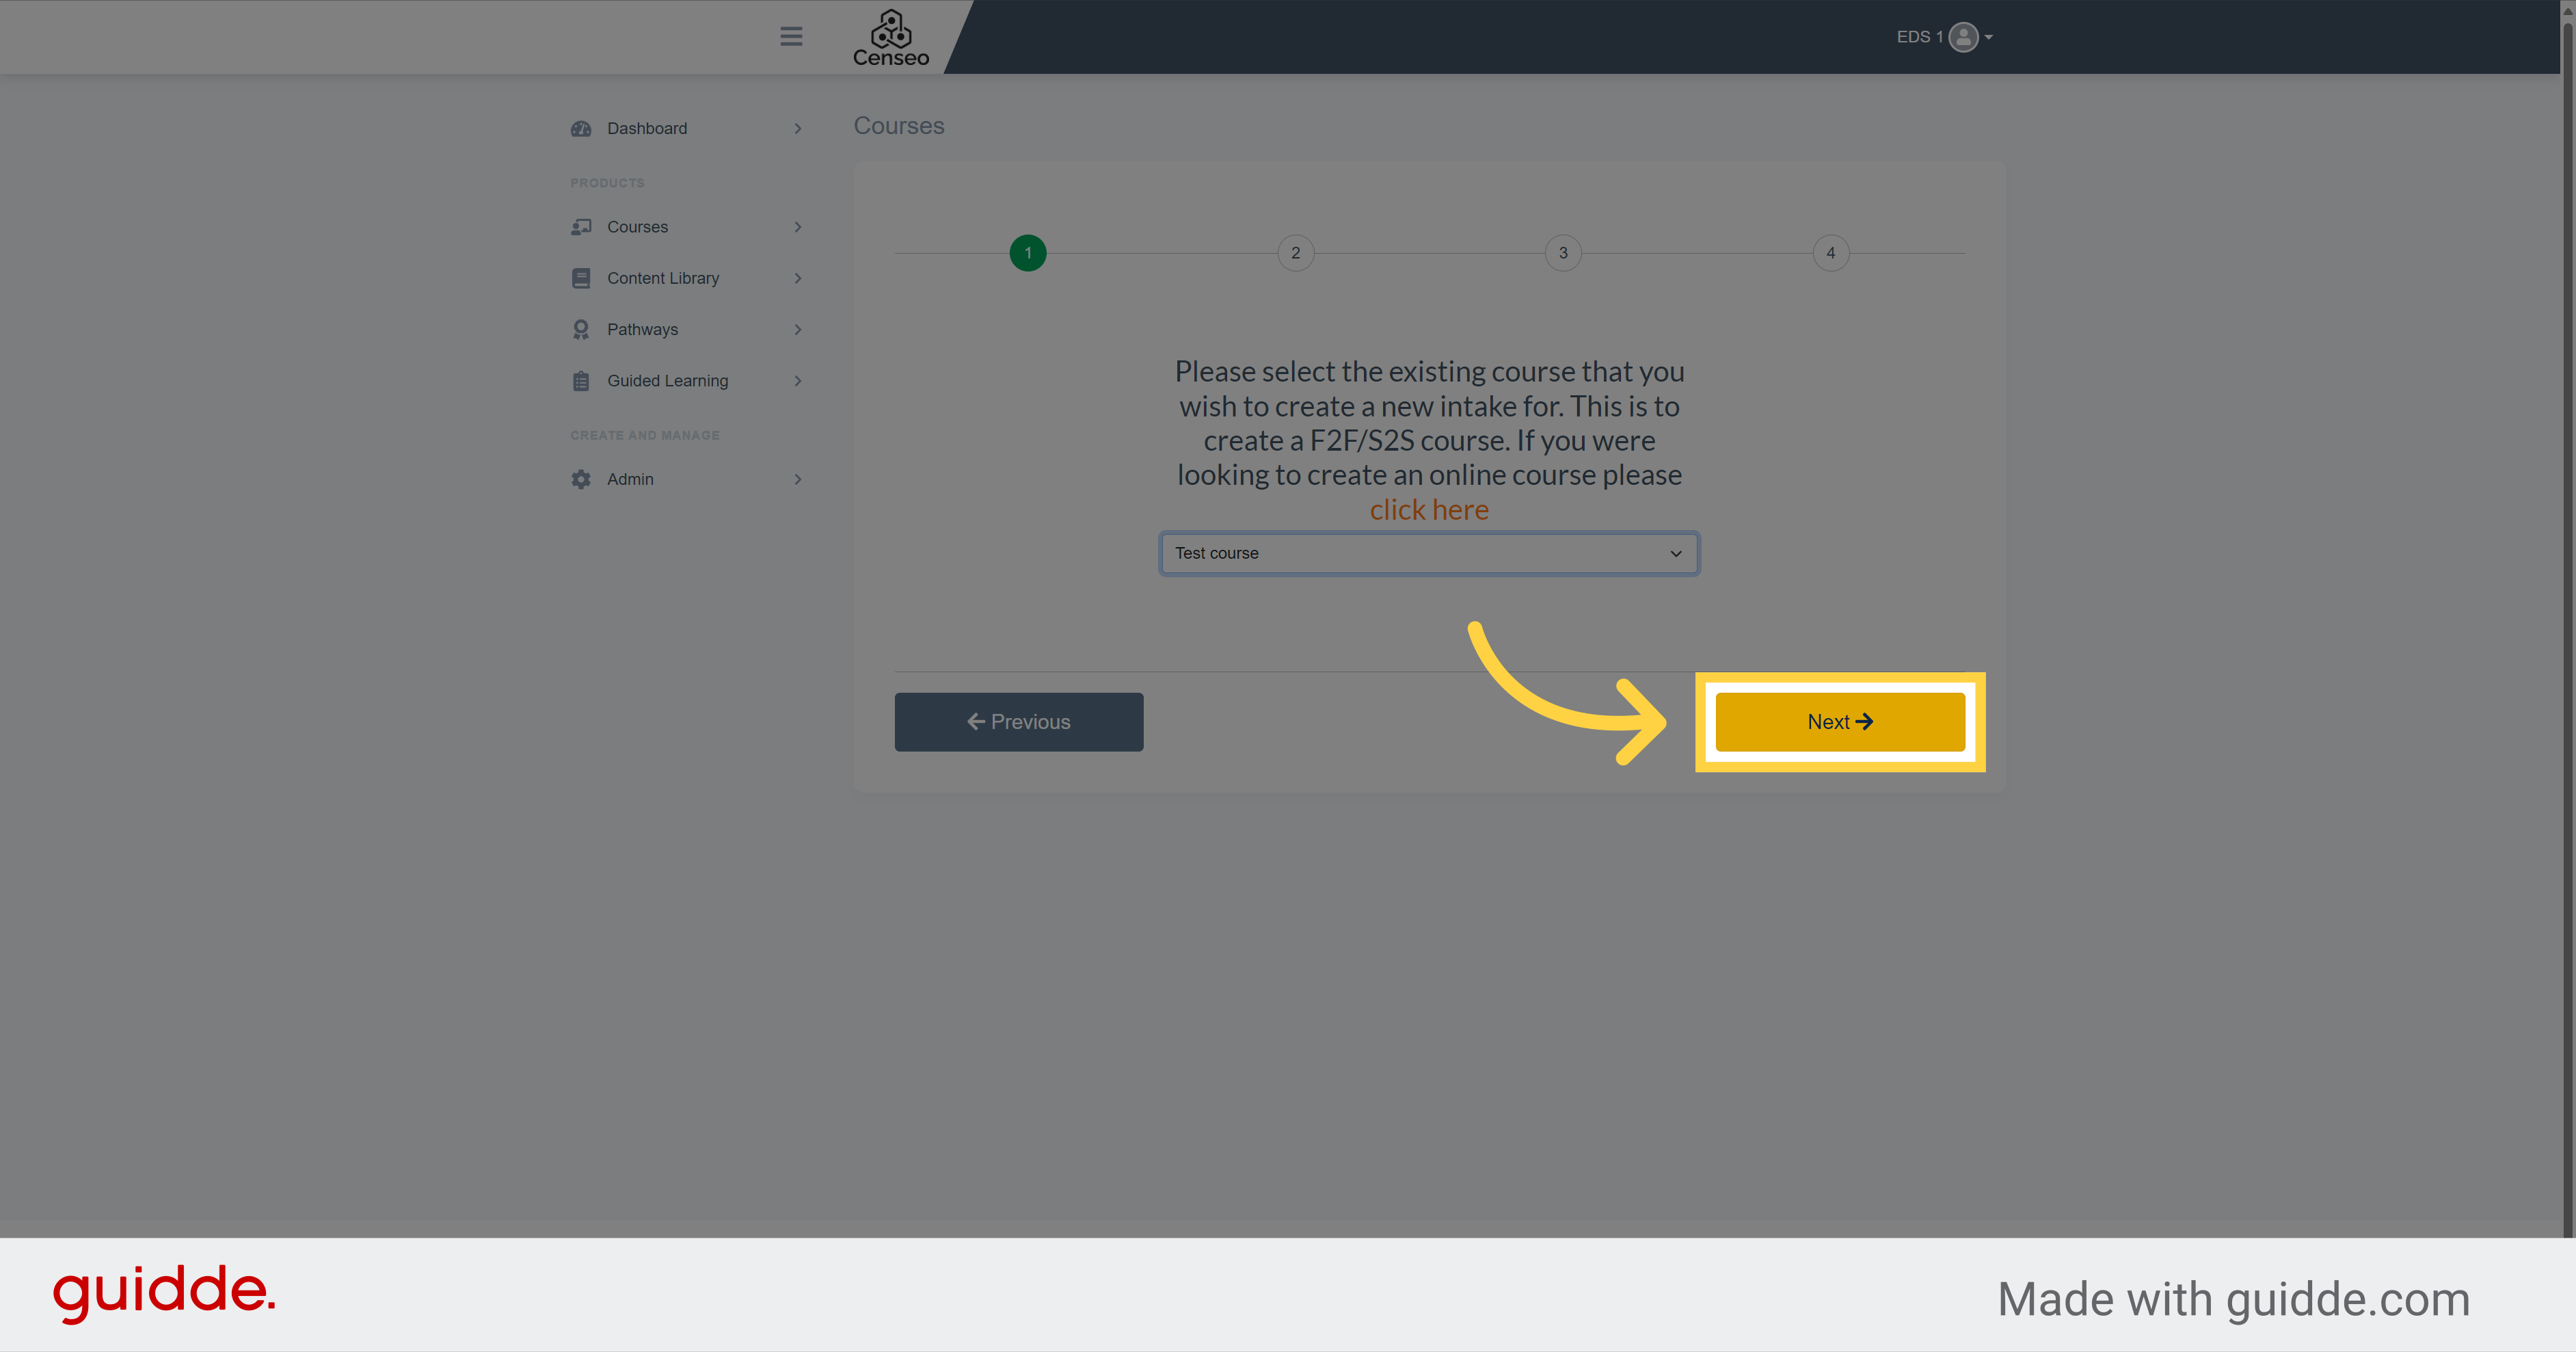
4. Click "-- Please Select --"
Click on the dropdown menu and select your master course
5. Click "Next"
Then, click on the "Next" button to move on the next step.
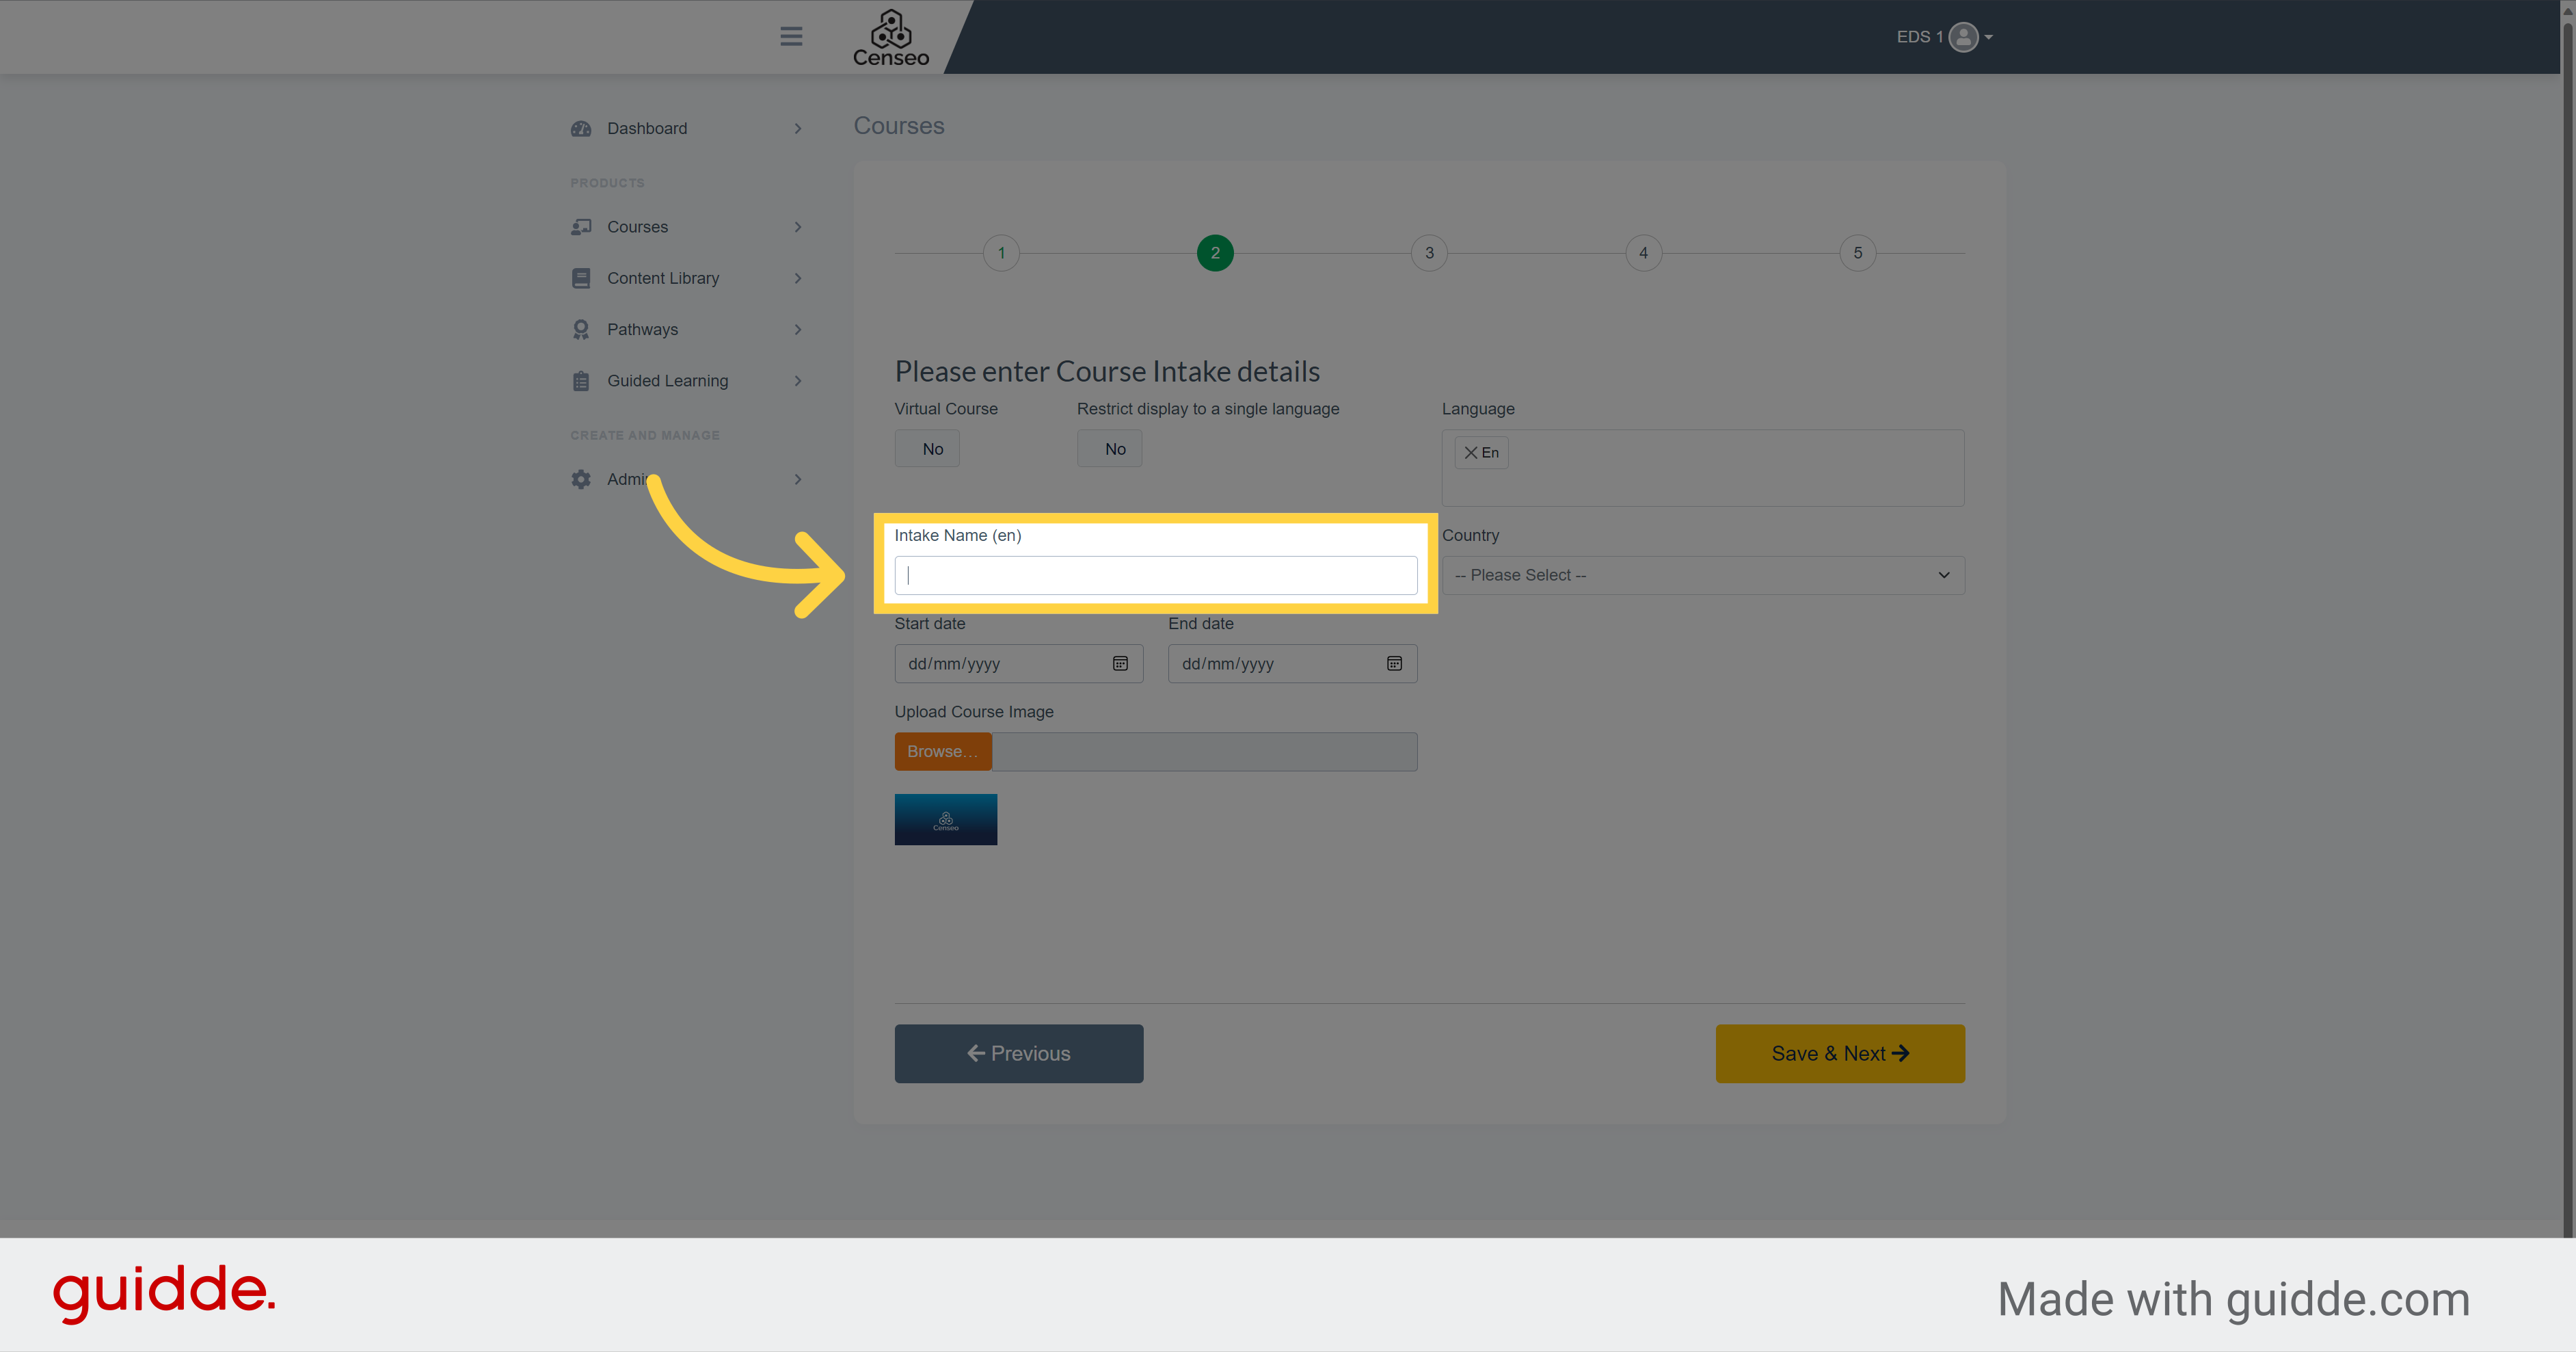
6. Click here
Click here and fill the name of the course intake
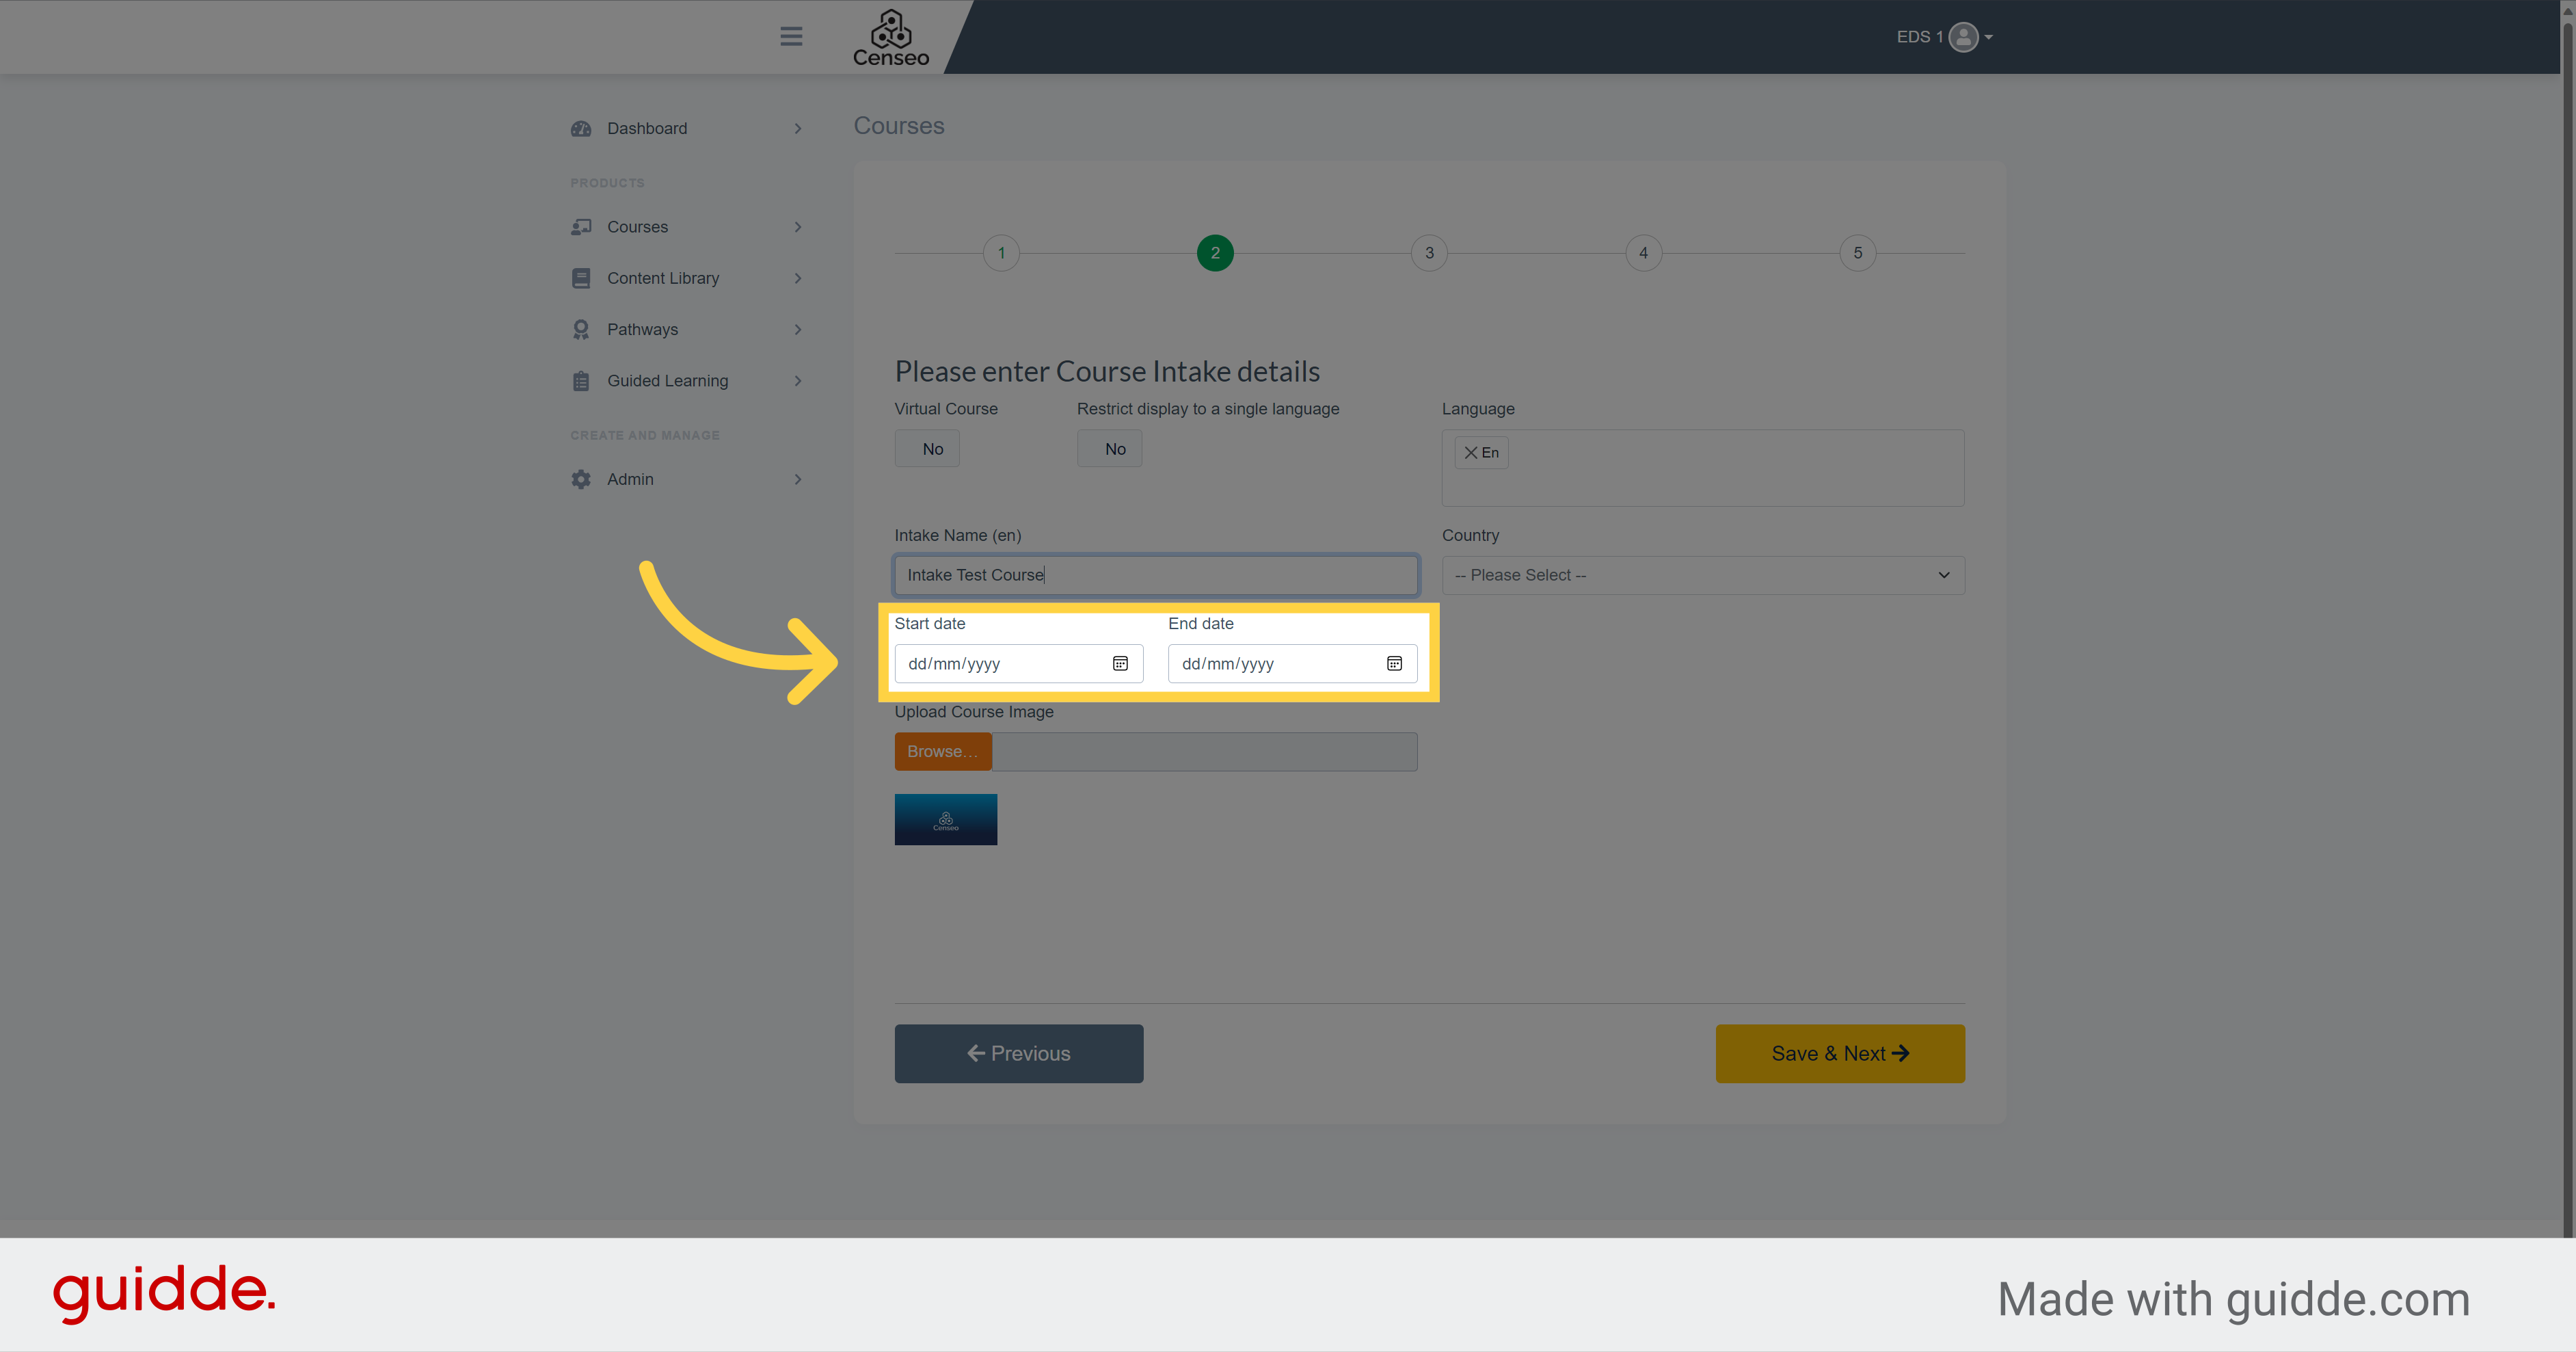
7.
This is the details about the date of the start and the end of the course
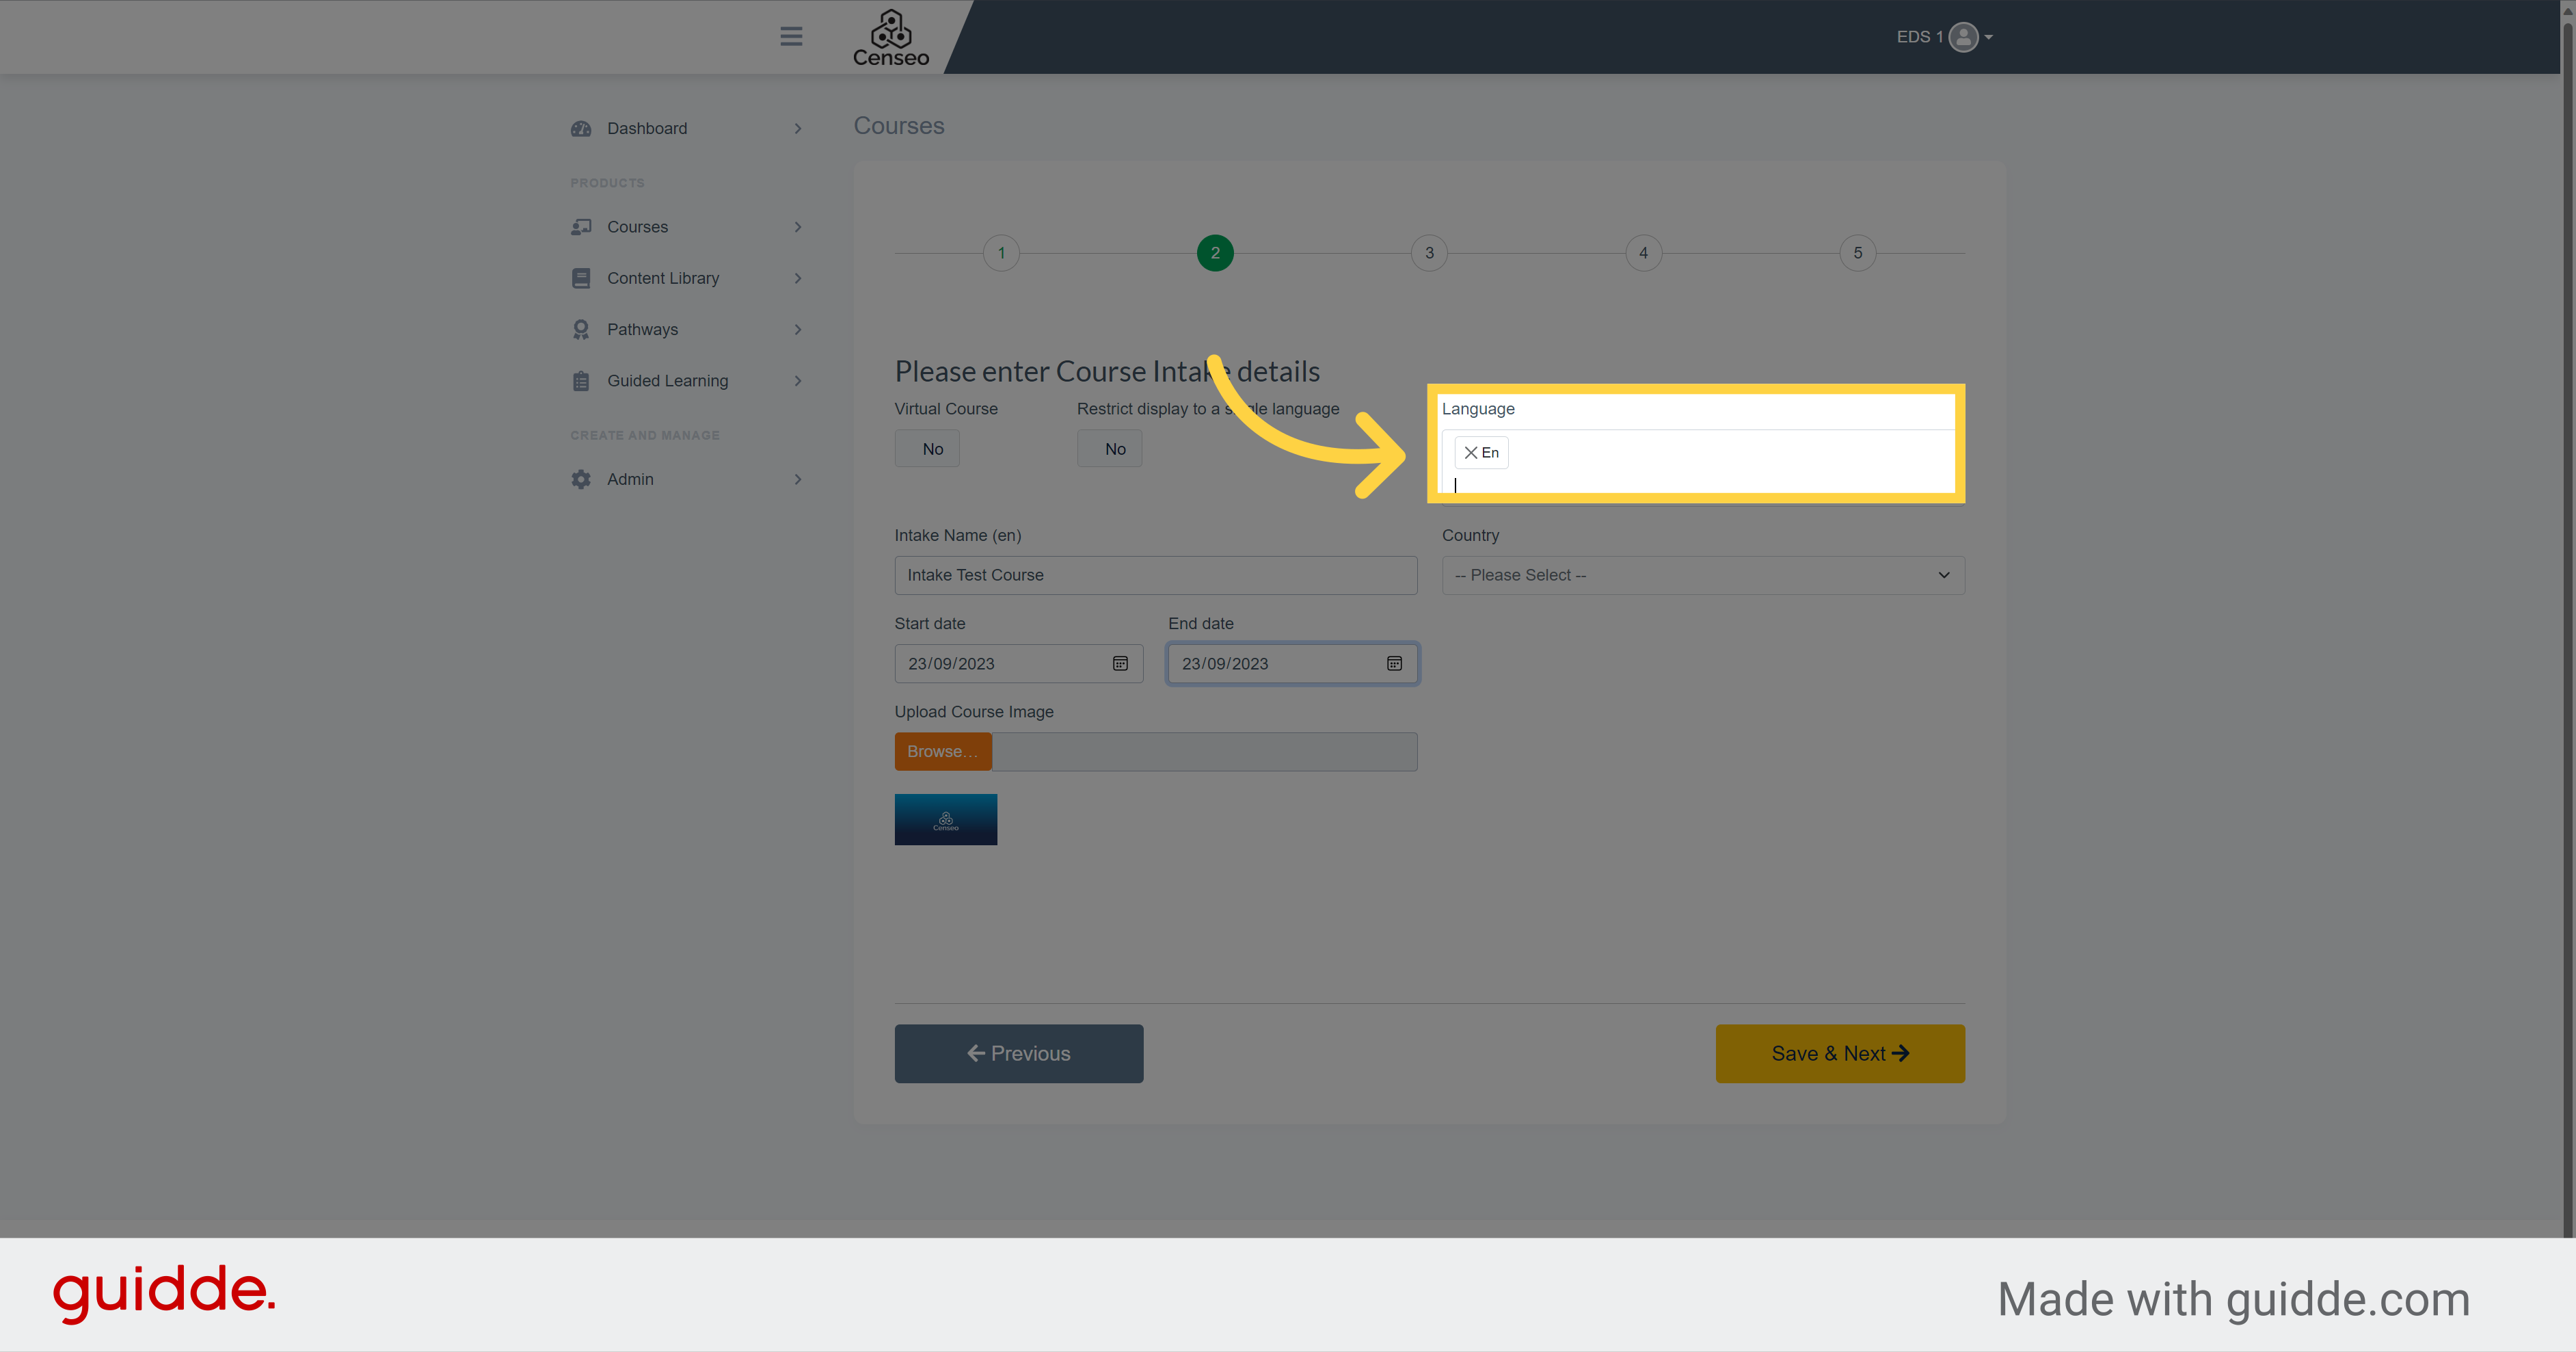
8.
Here you have the details about the language chosen during the creation of the master course
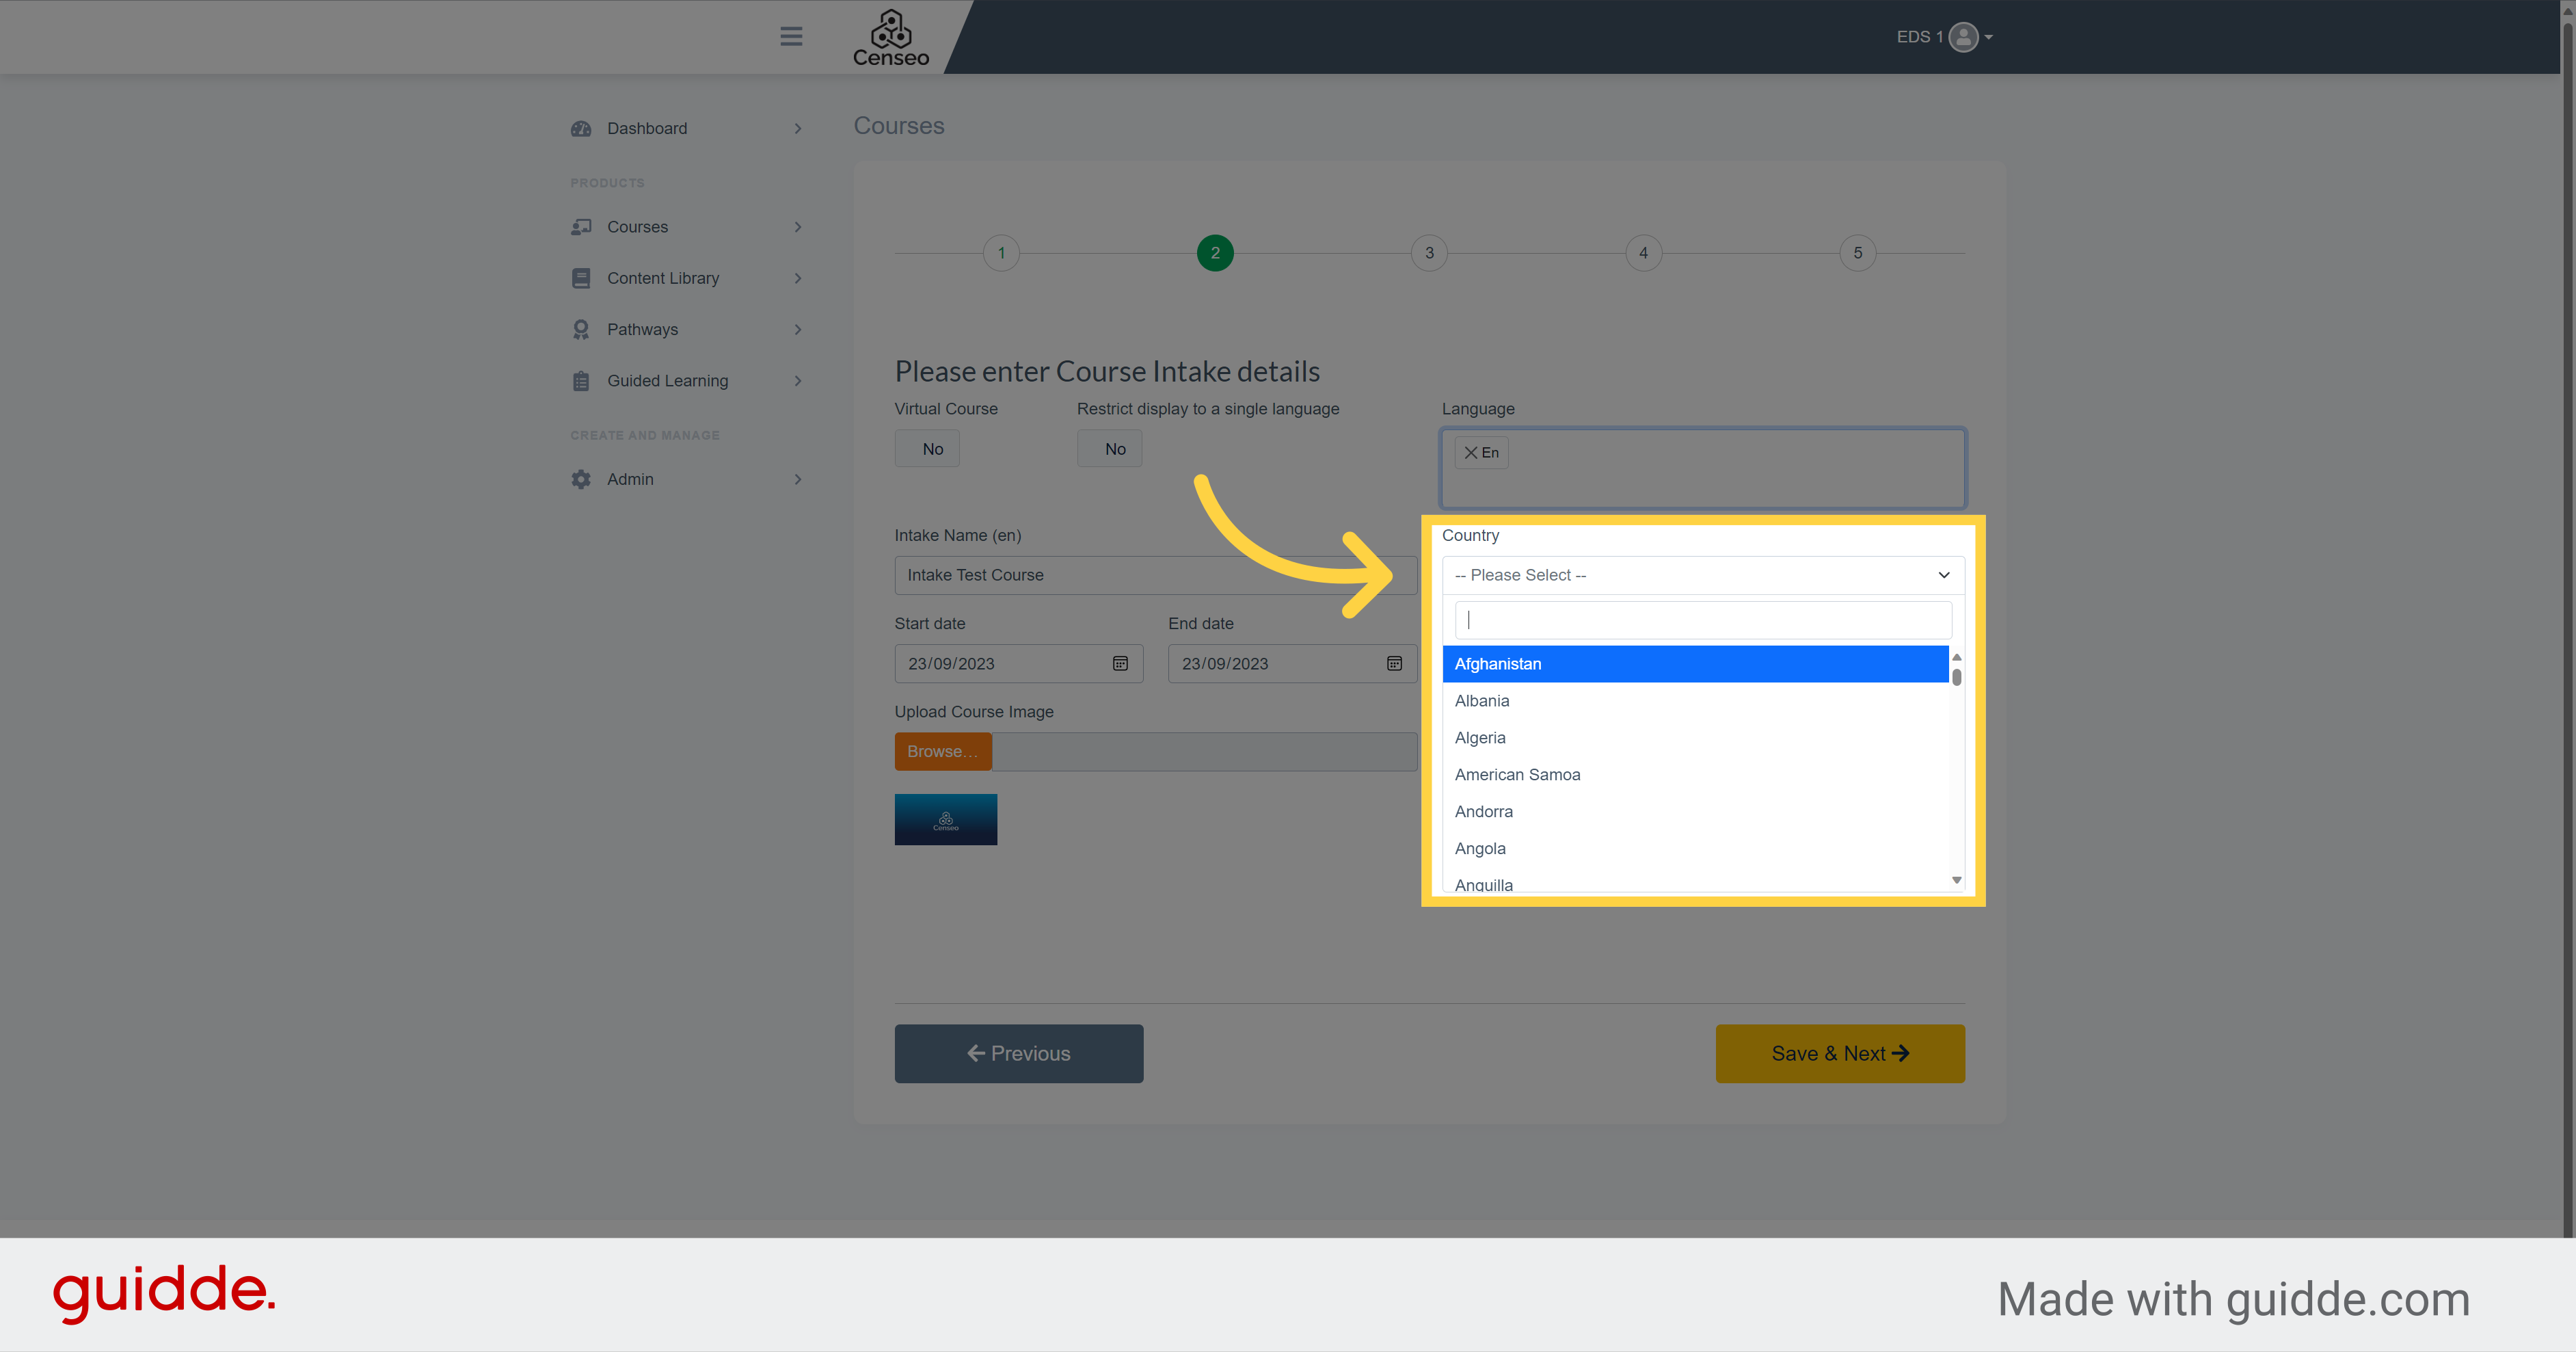
9.
Choose here the country in which the course will be available.
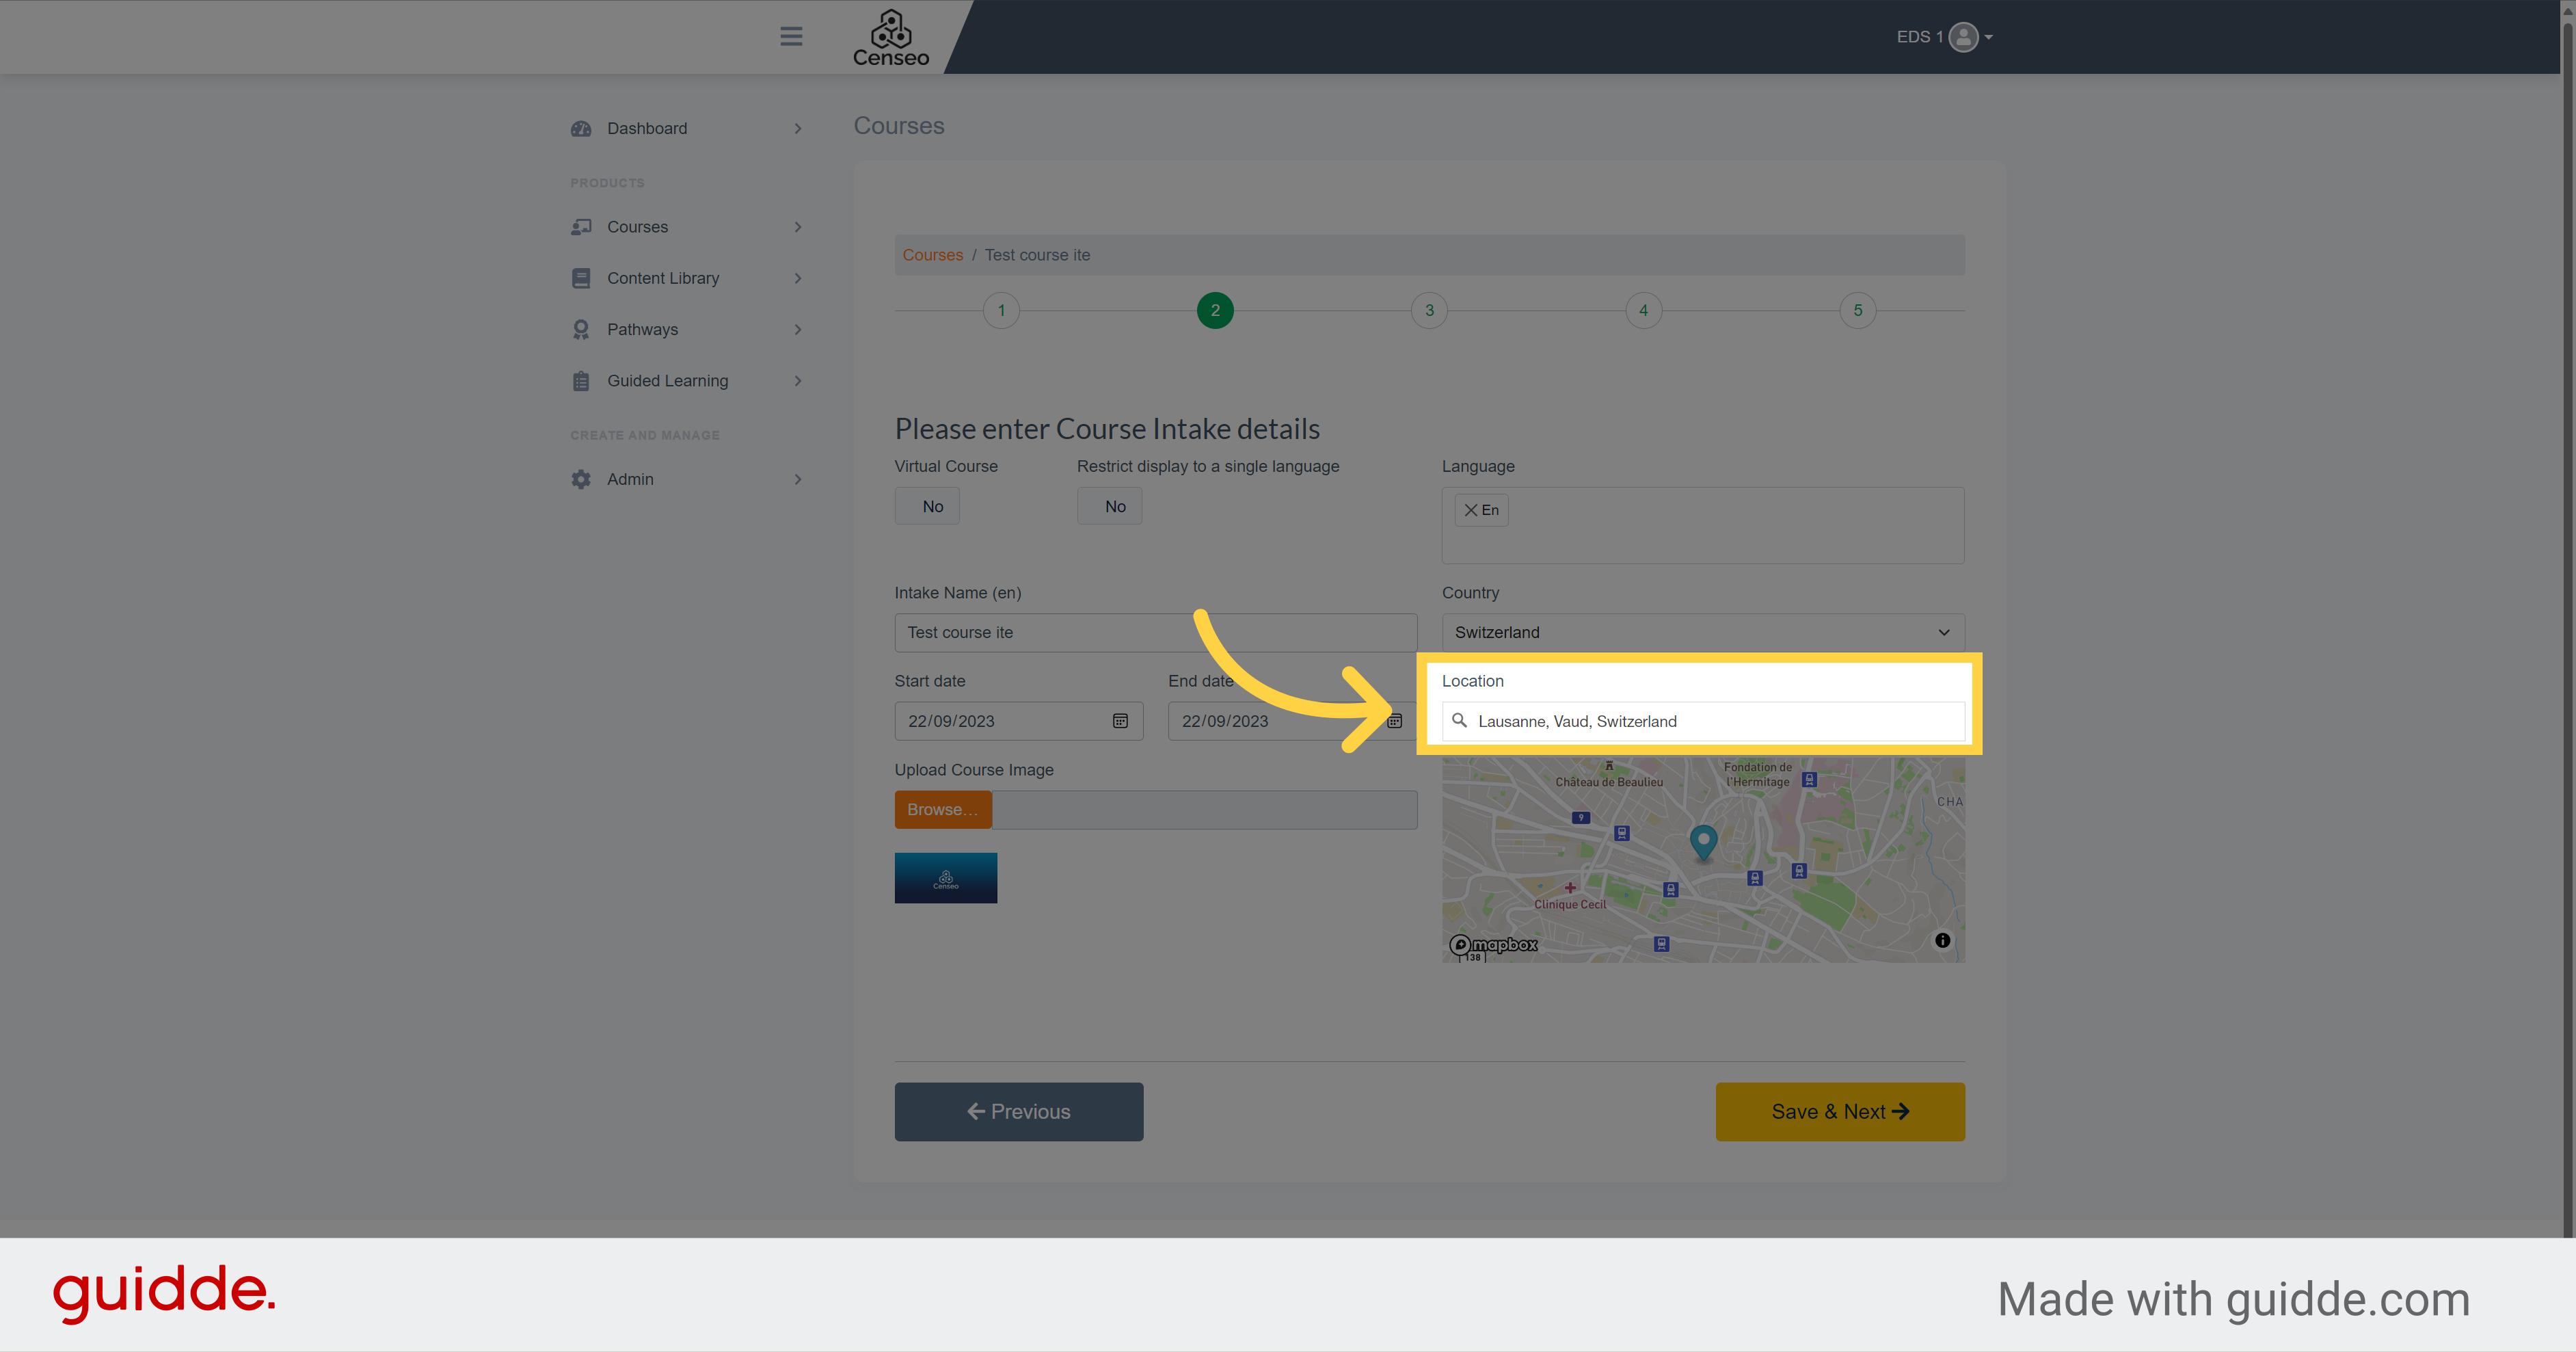
10.
You can then search a specify address for the location of where the course will be hosted or take place
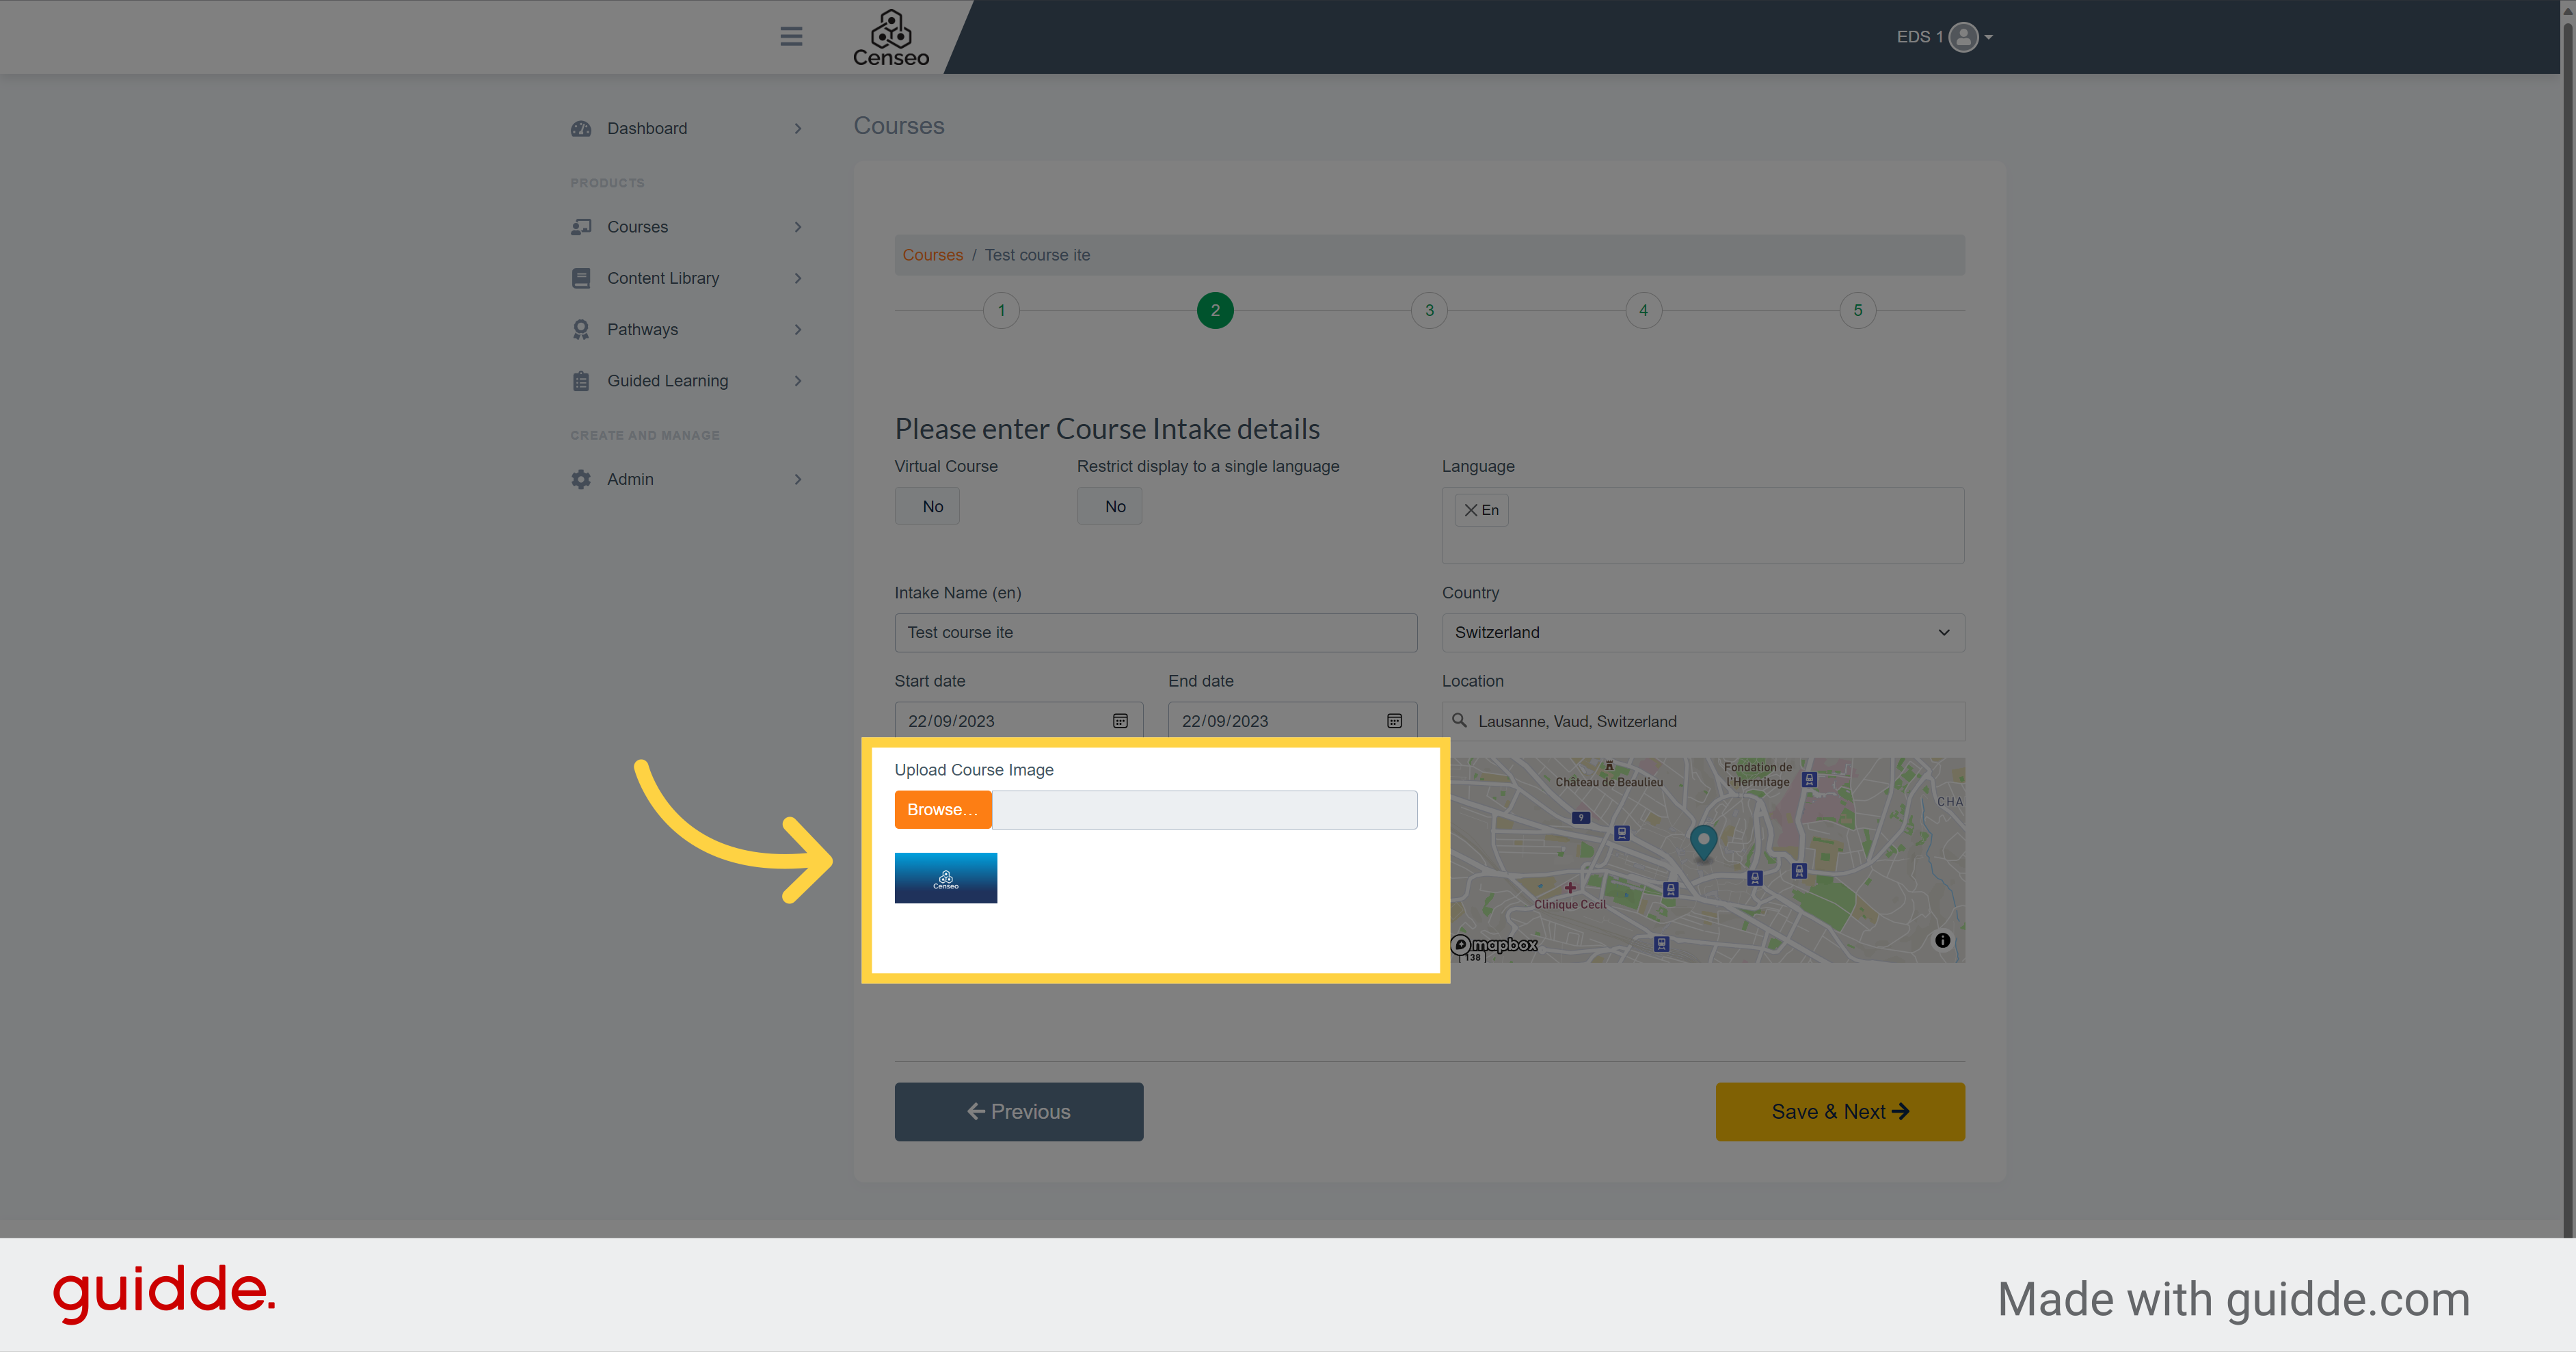
11.
By clicking on the orange browse button, you have the choice to add an image
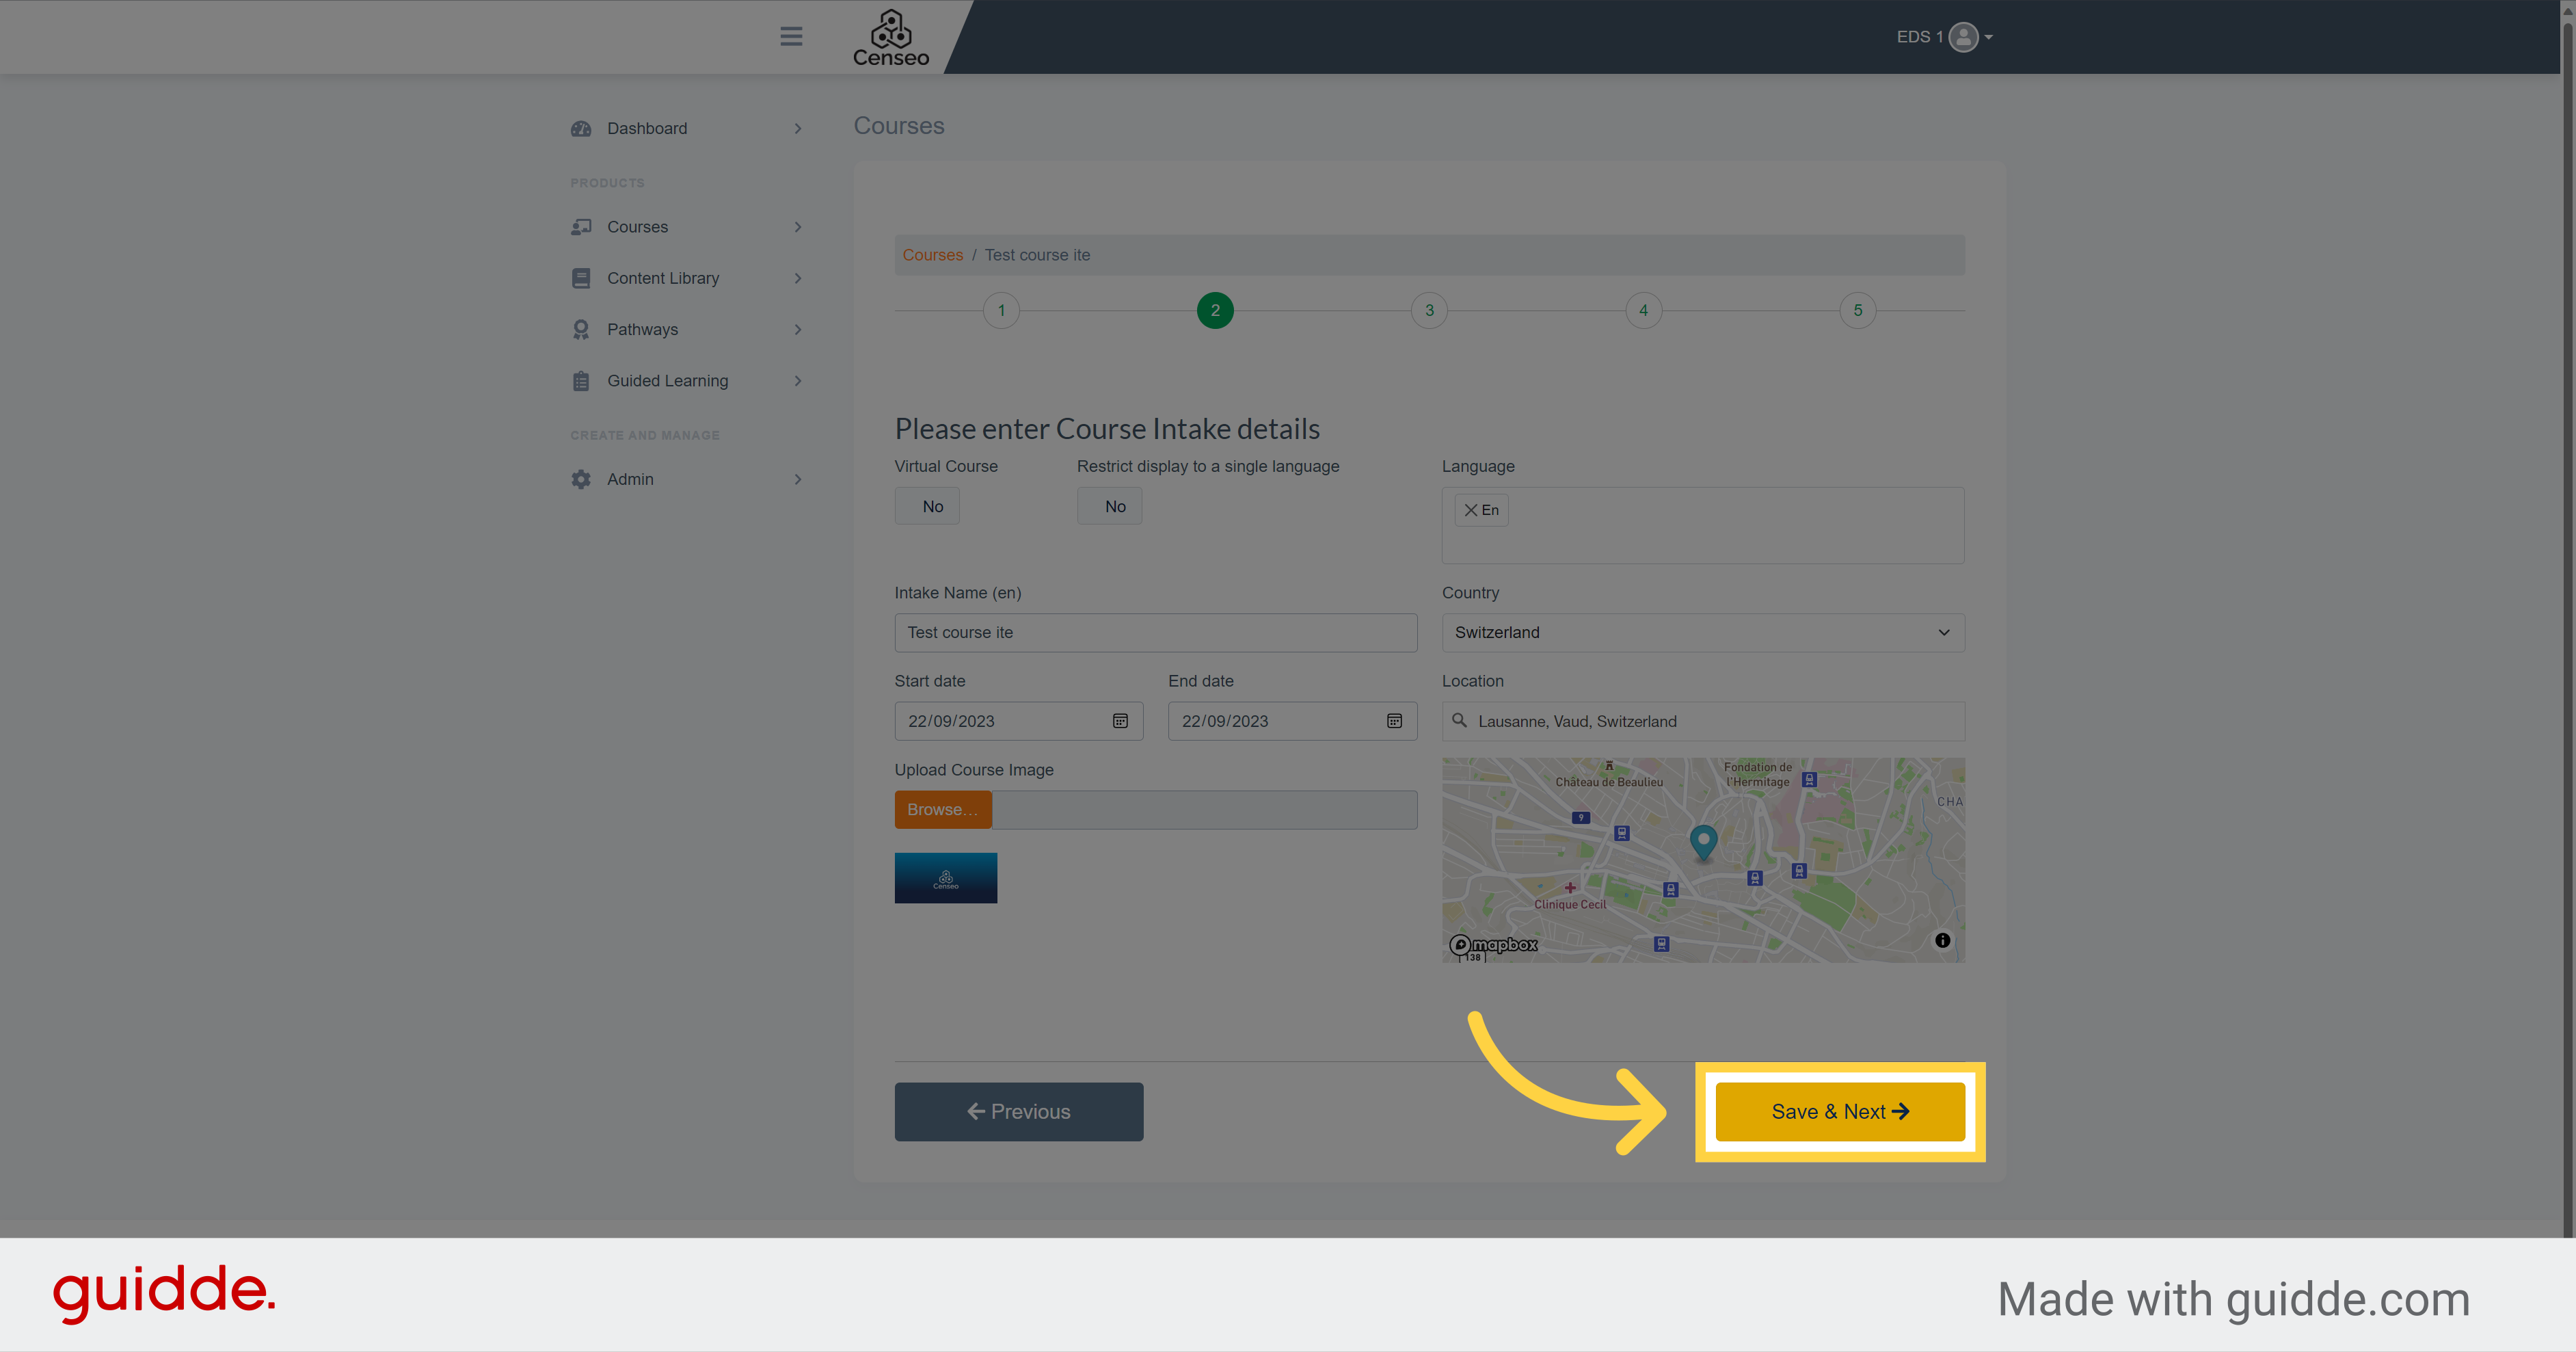
12. Click "Save & Next"
Then, Click on the "Save & Next" button to move on the next step of the creation of the course
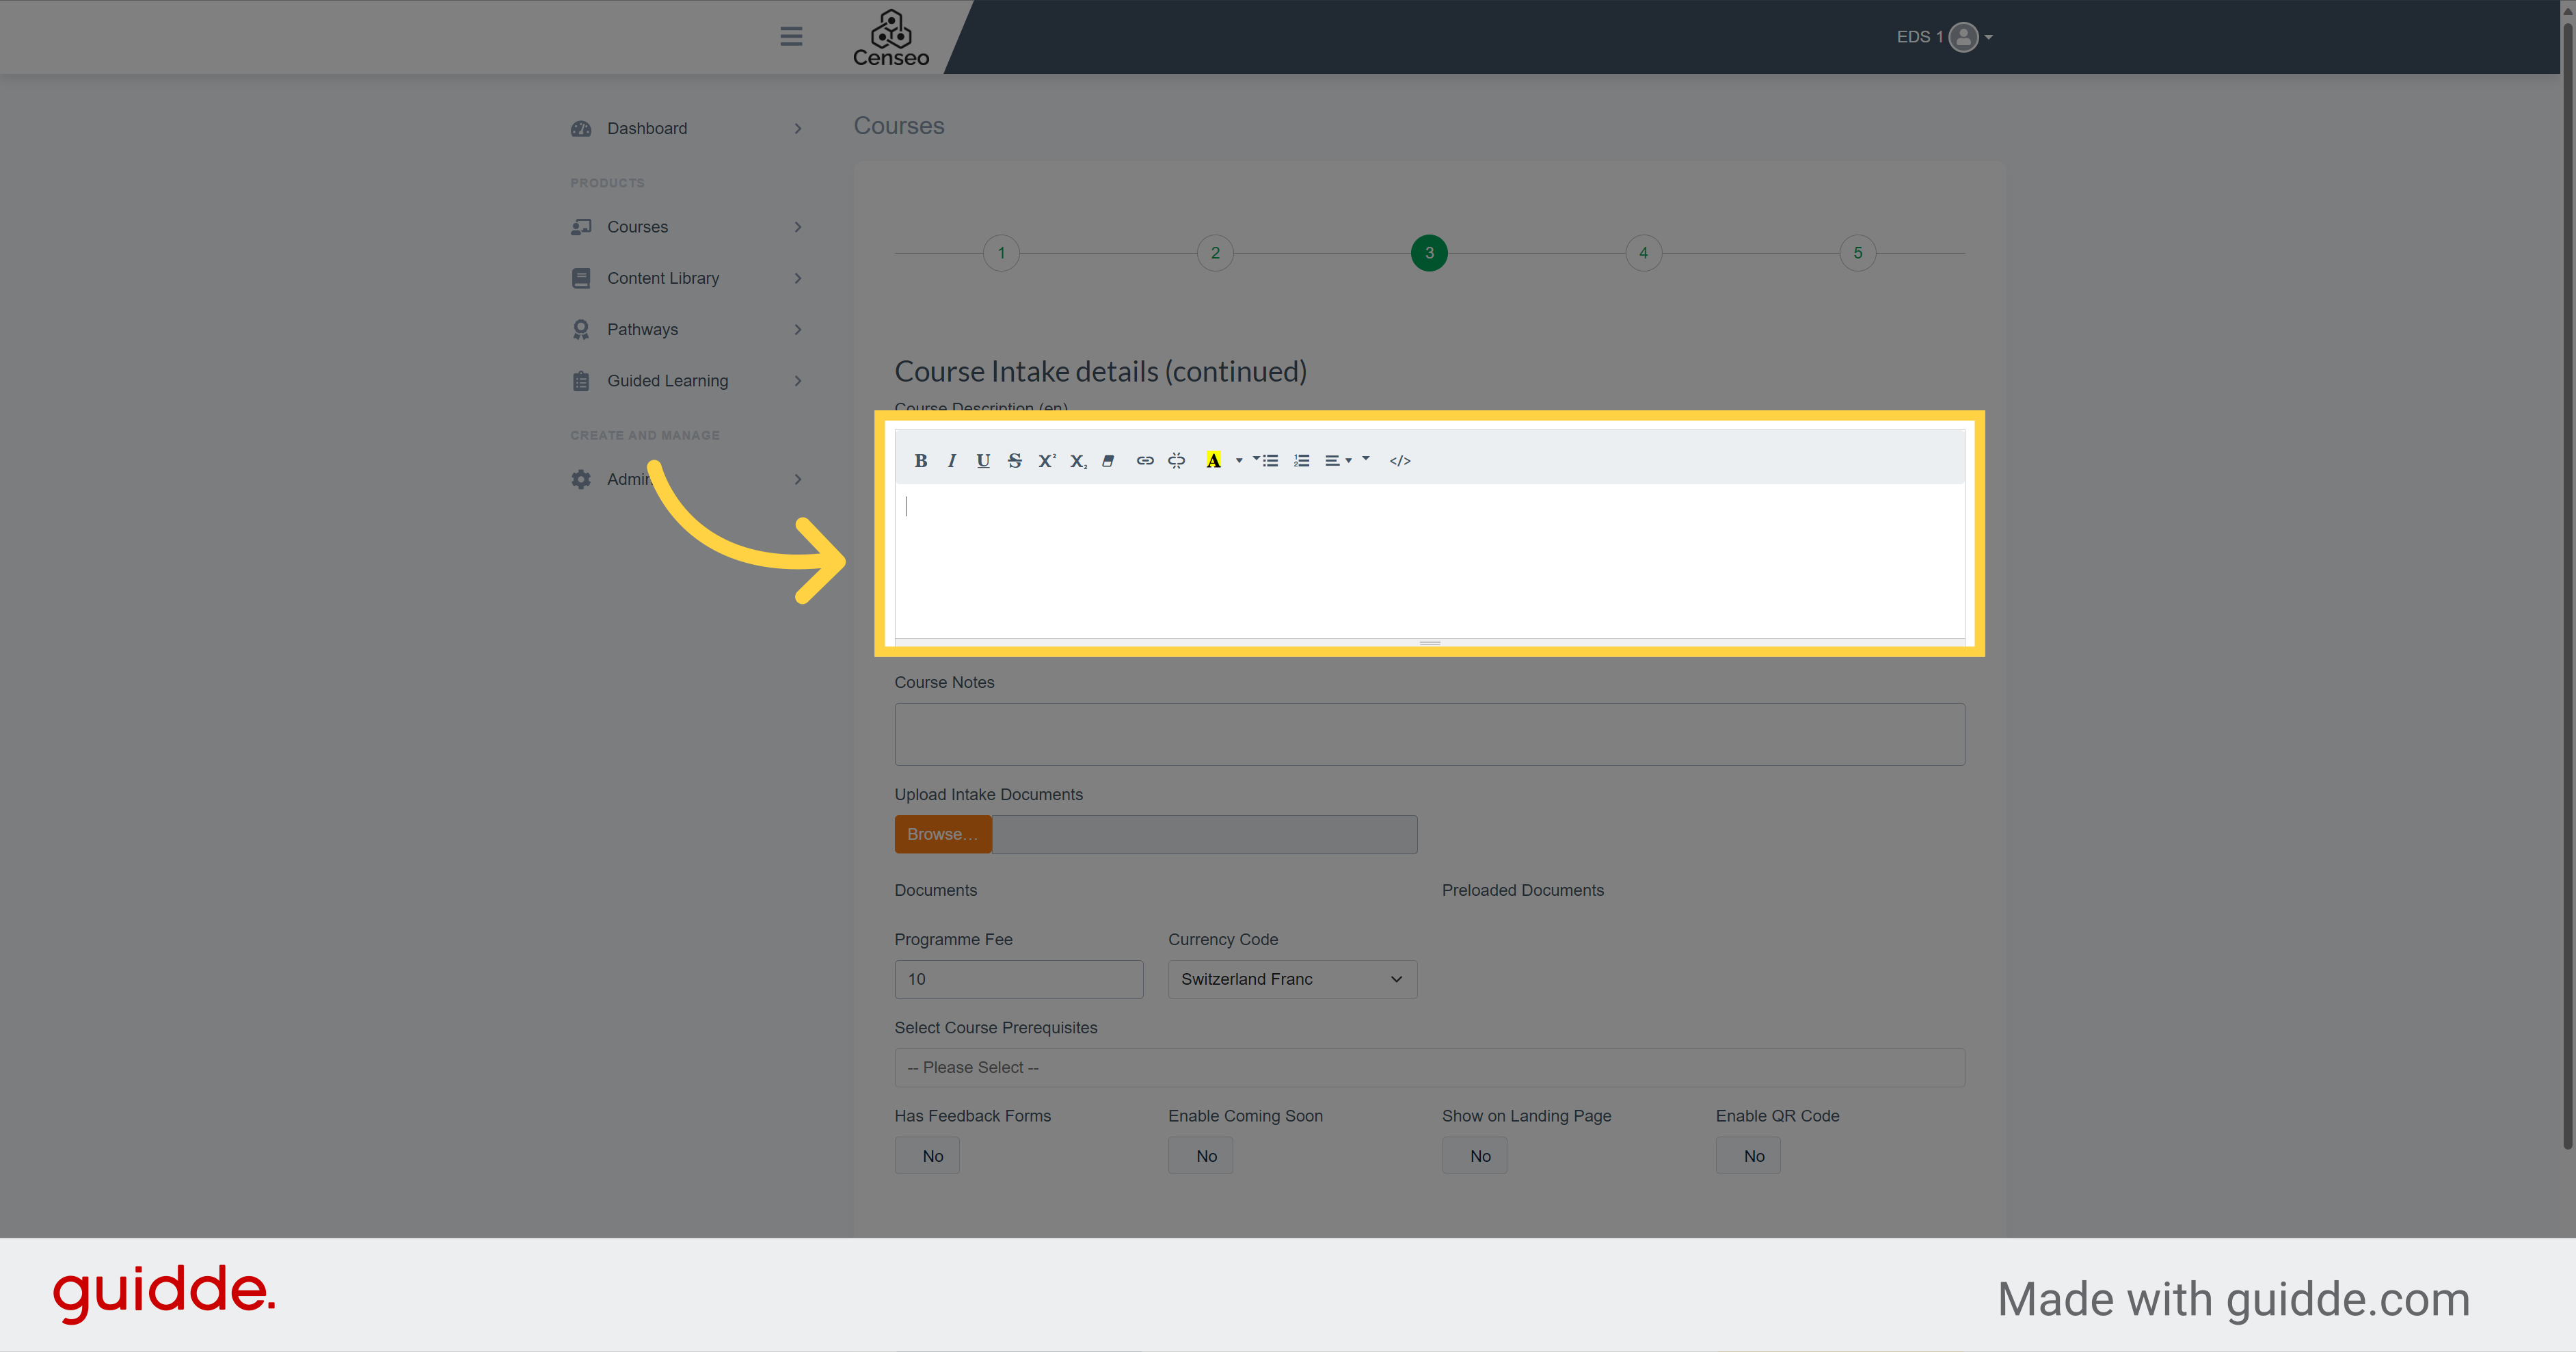
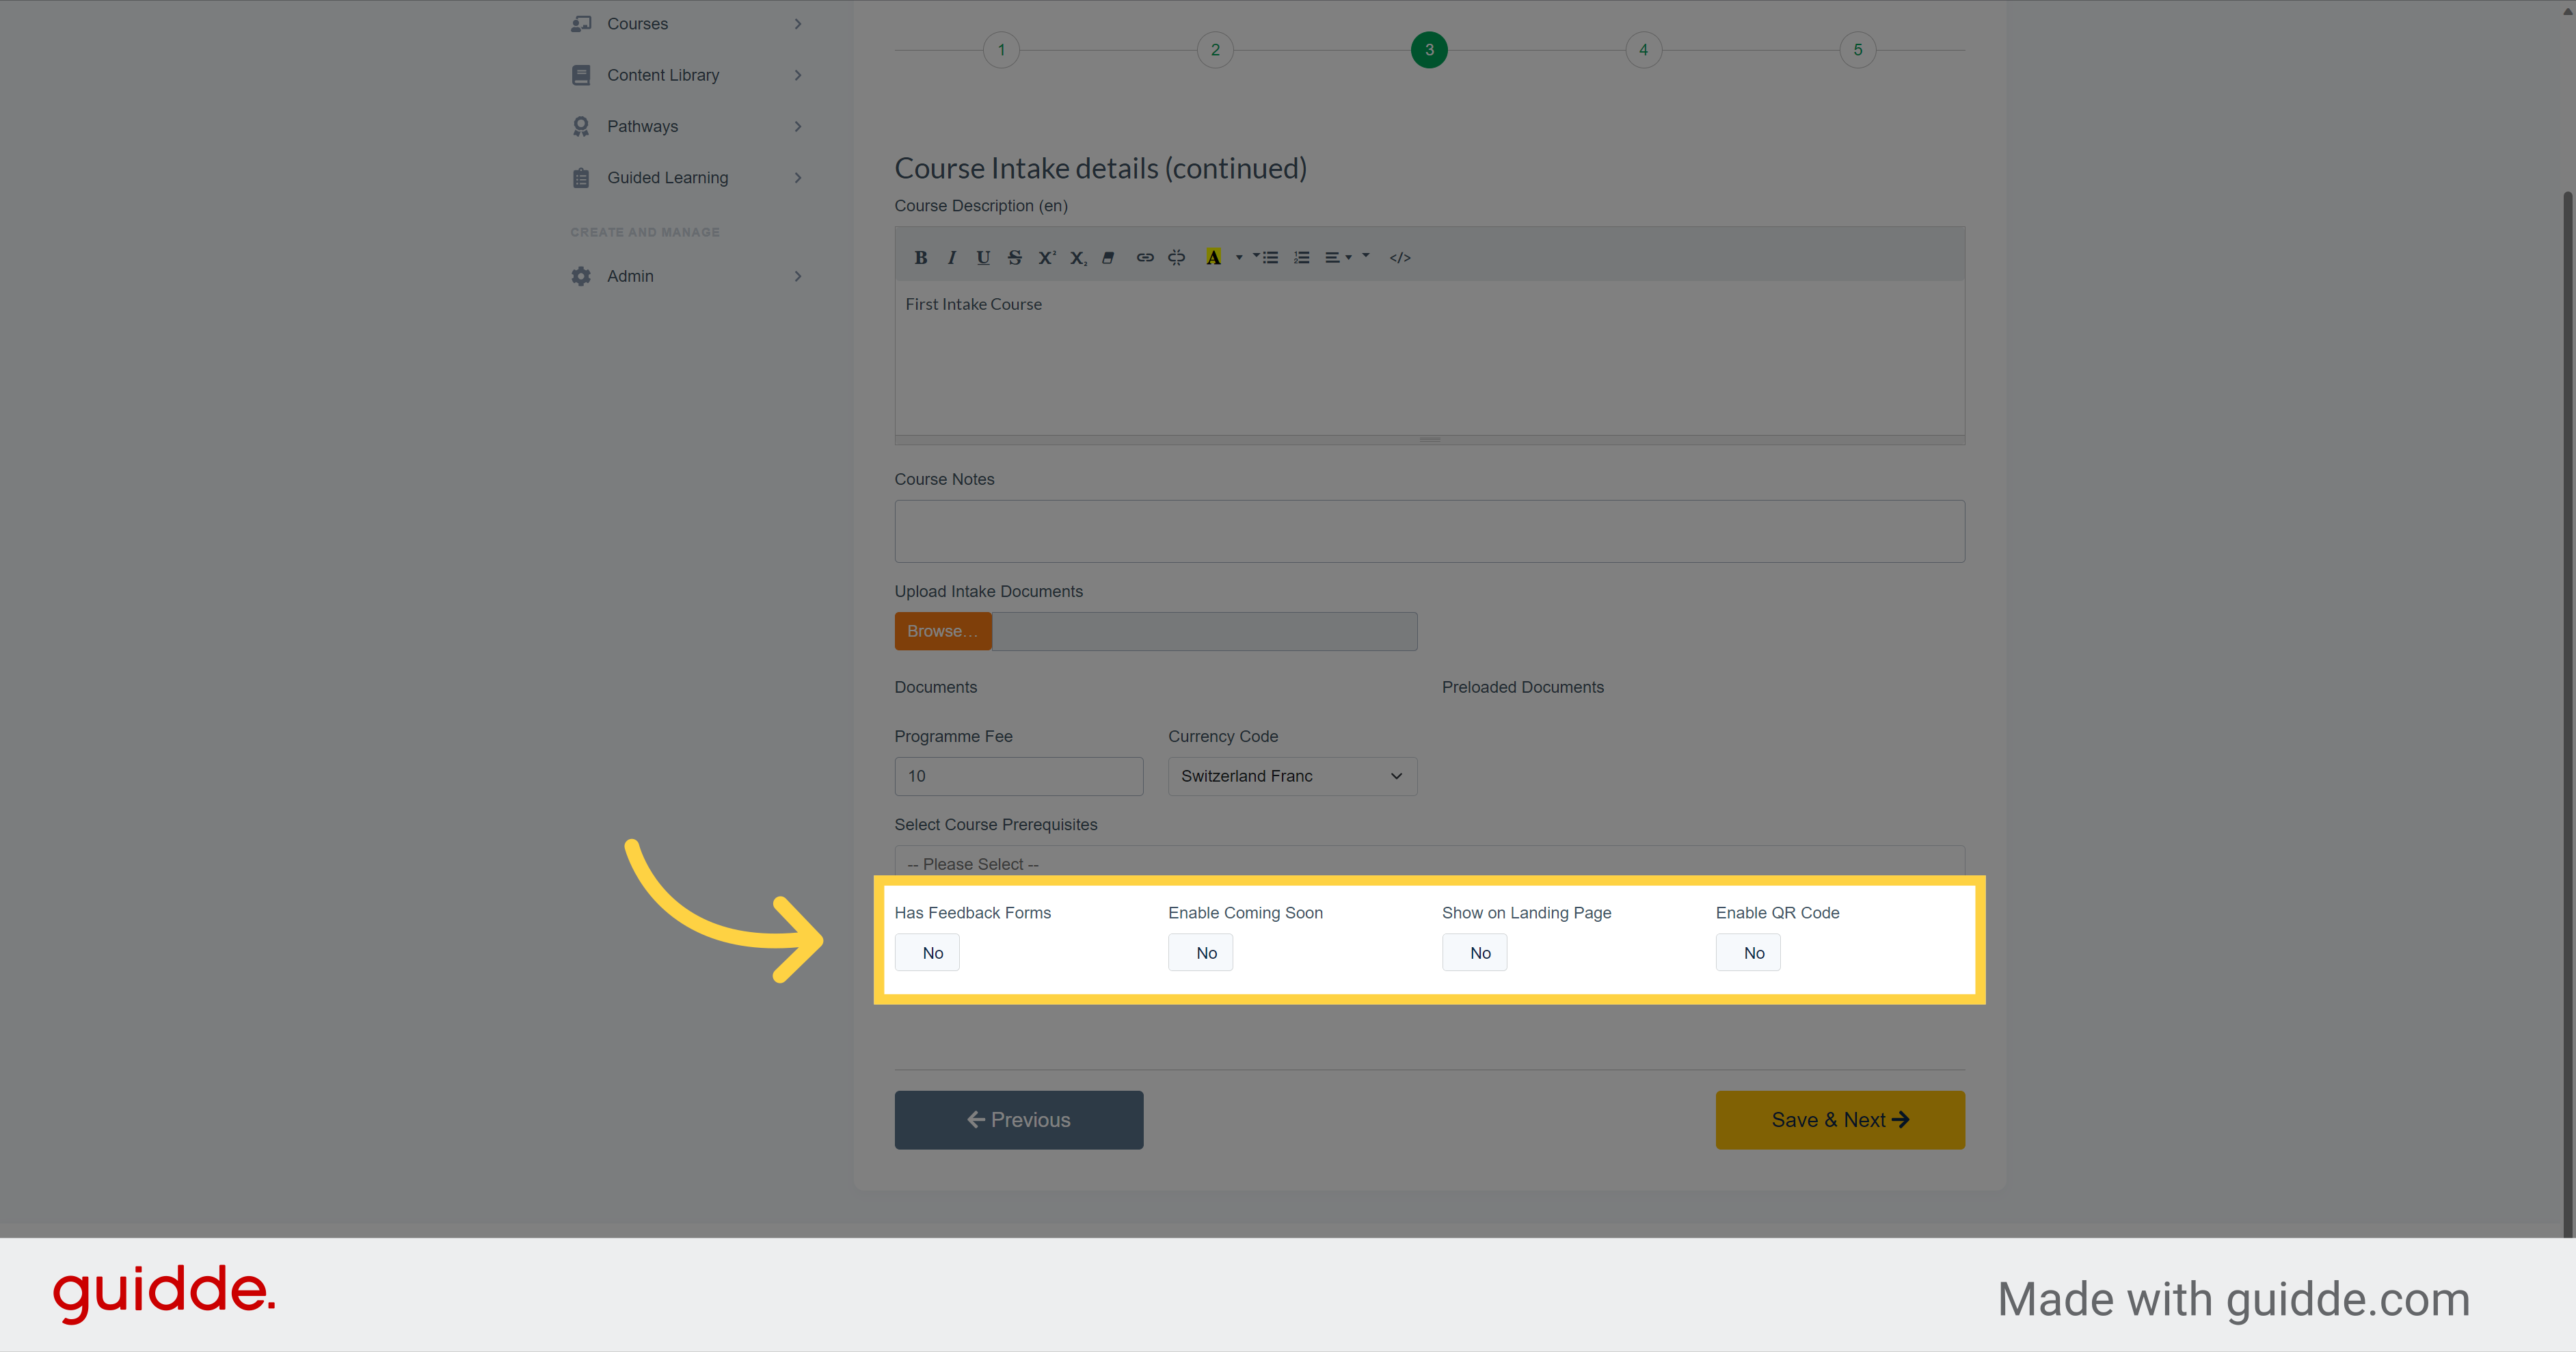
13. Click here
You are now on the third step. All the settings selected during the Master Course's creation will automatically be included in the Course Intake such as a default image, preloaded documents and the course fee. You can add or adapt certain settings specifically for the course intake such as adding additional documents. If you want to add some descriptions about your course intake, navigate to this section.
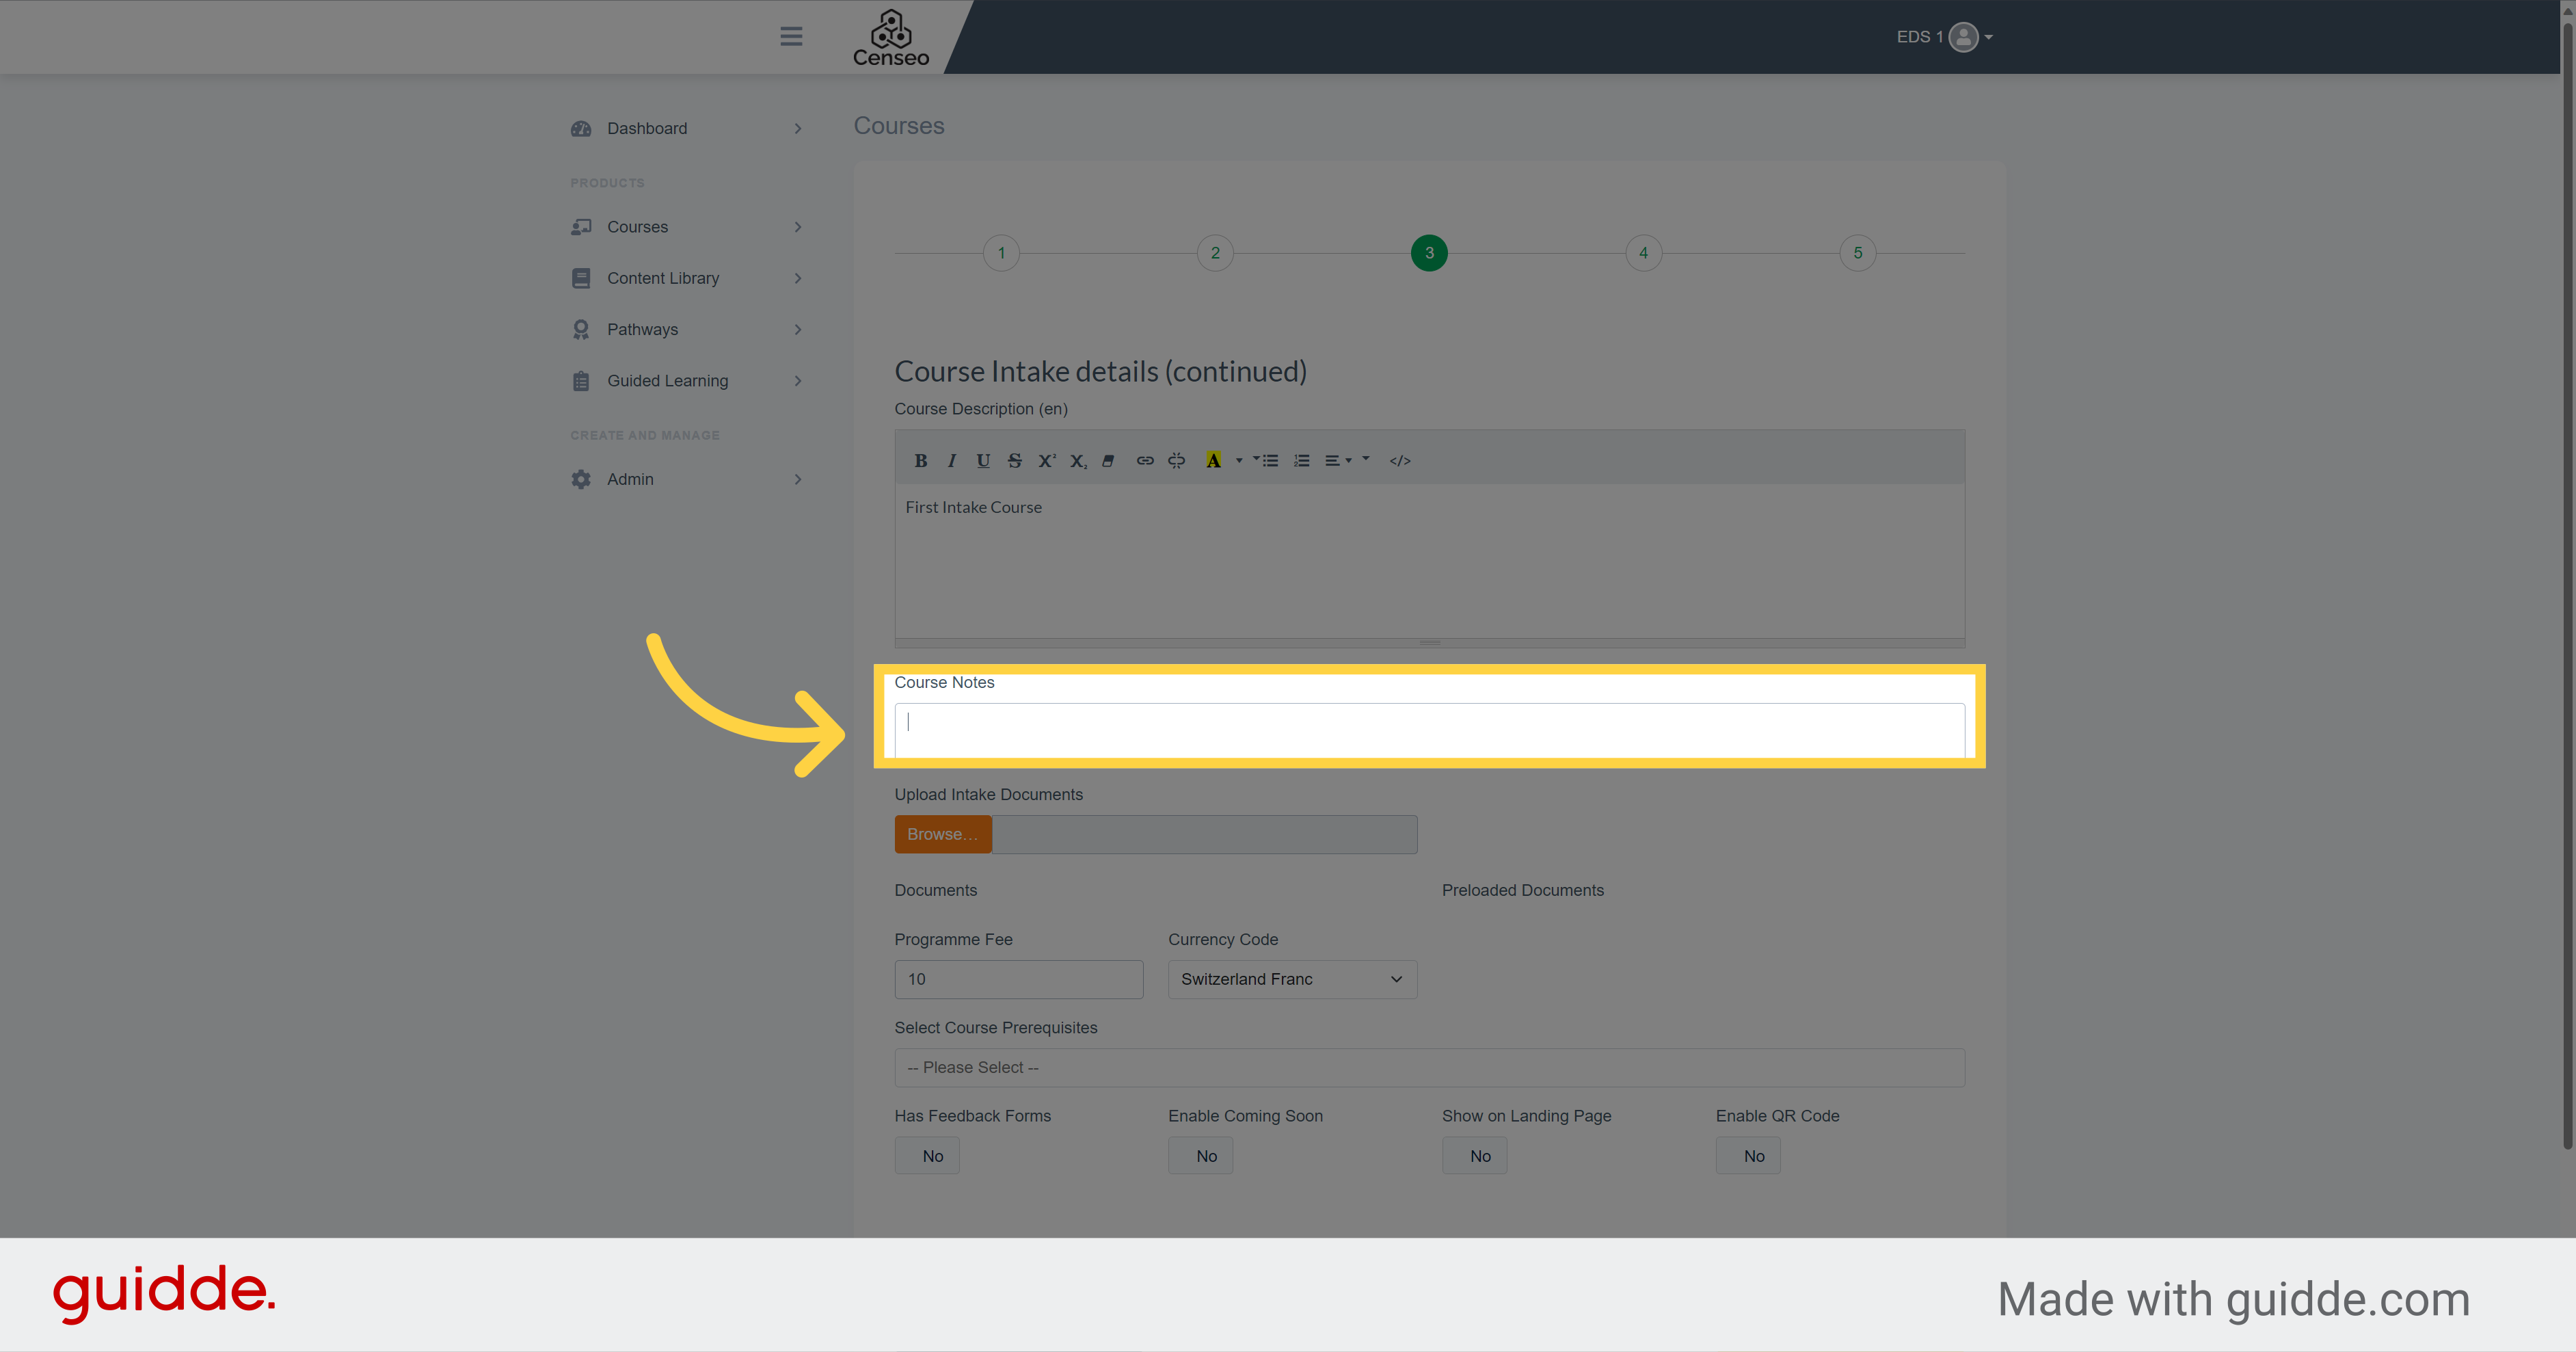
14. Click here
You can add some notes that are only for admin
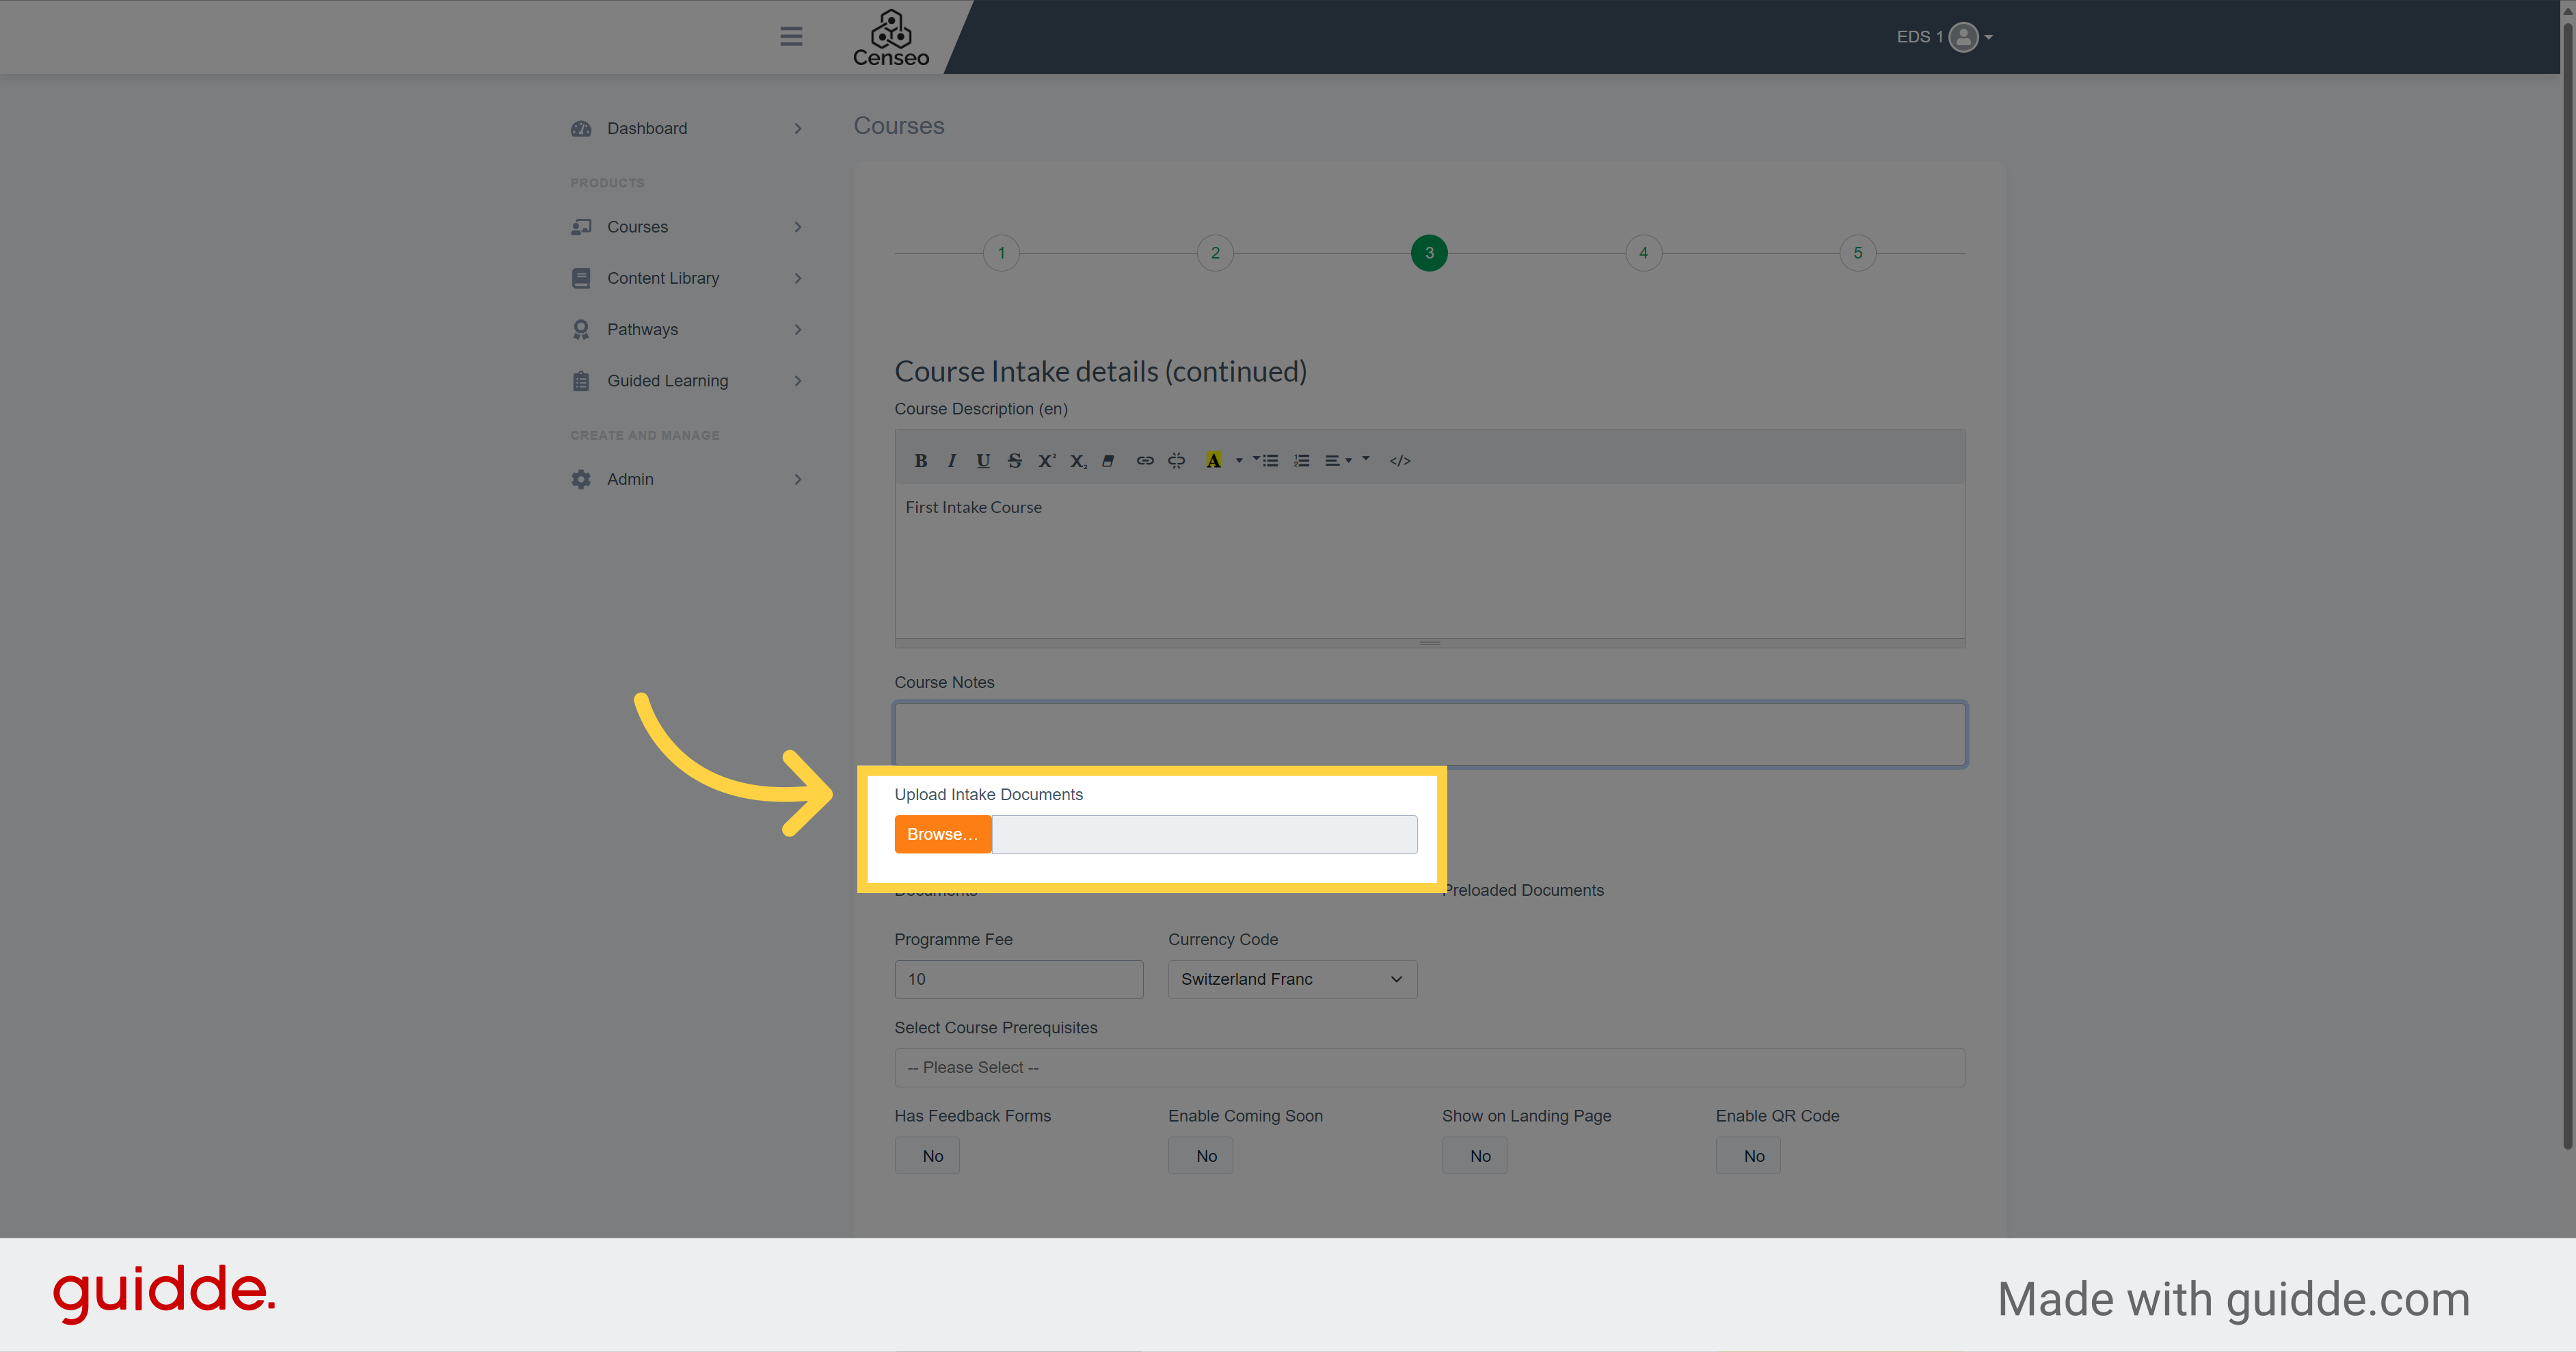
15.
Here you can add a document to the course
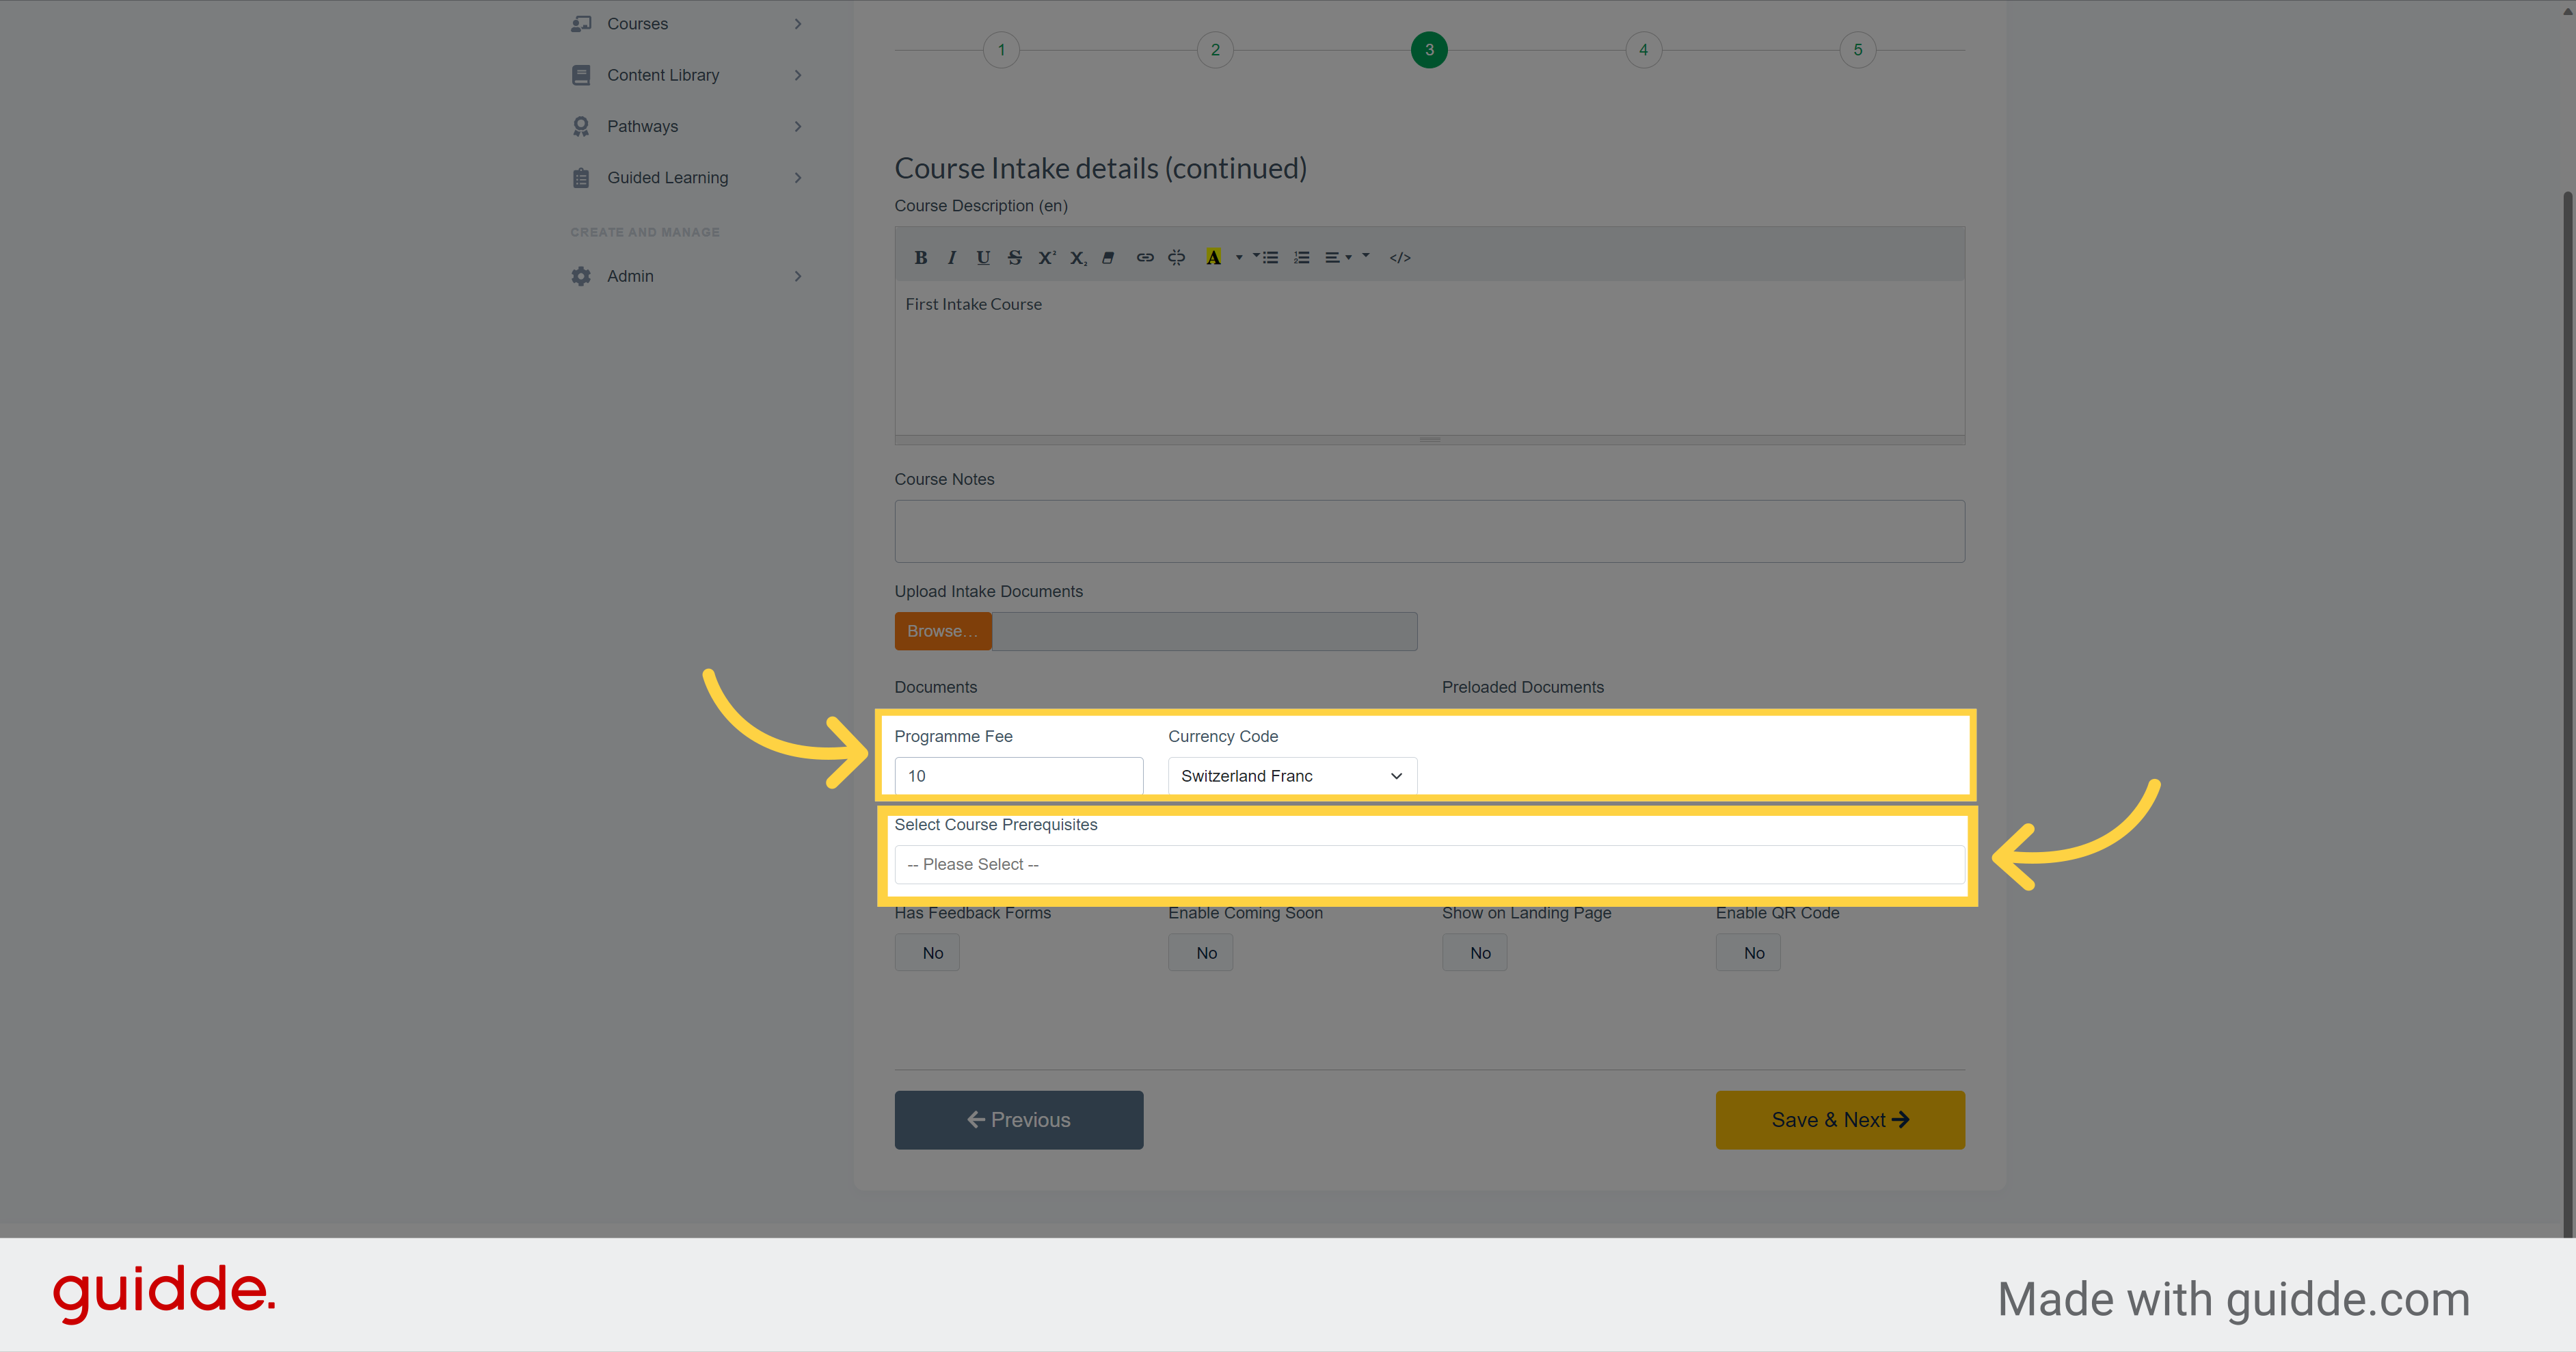
16.
You can choose here the details regarding the payment of the course if you have chosen to enable payment when creating your Master Course. Below that, by this dropdown, you can choose if it need to have completed other courses before committing to this course
17.
Here you have other options for your course such as adding a feedback form. The coming soon box will display the course but not allow registrations. To publish it immediately to the landing page, you can use the Show on landing page button. We highly recommend you enable a QR code which is an easy link to go to the course and this is available to distribute on the overall course list once all the steps for the course intake have been completed
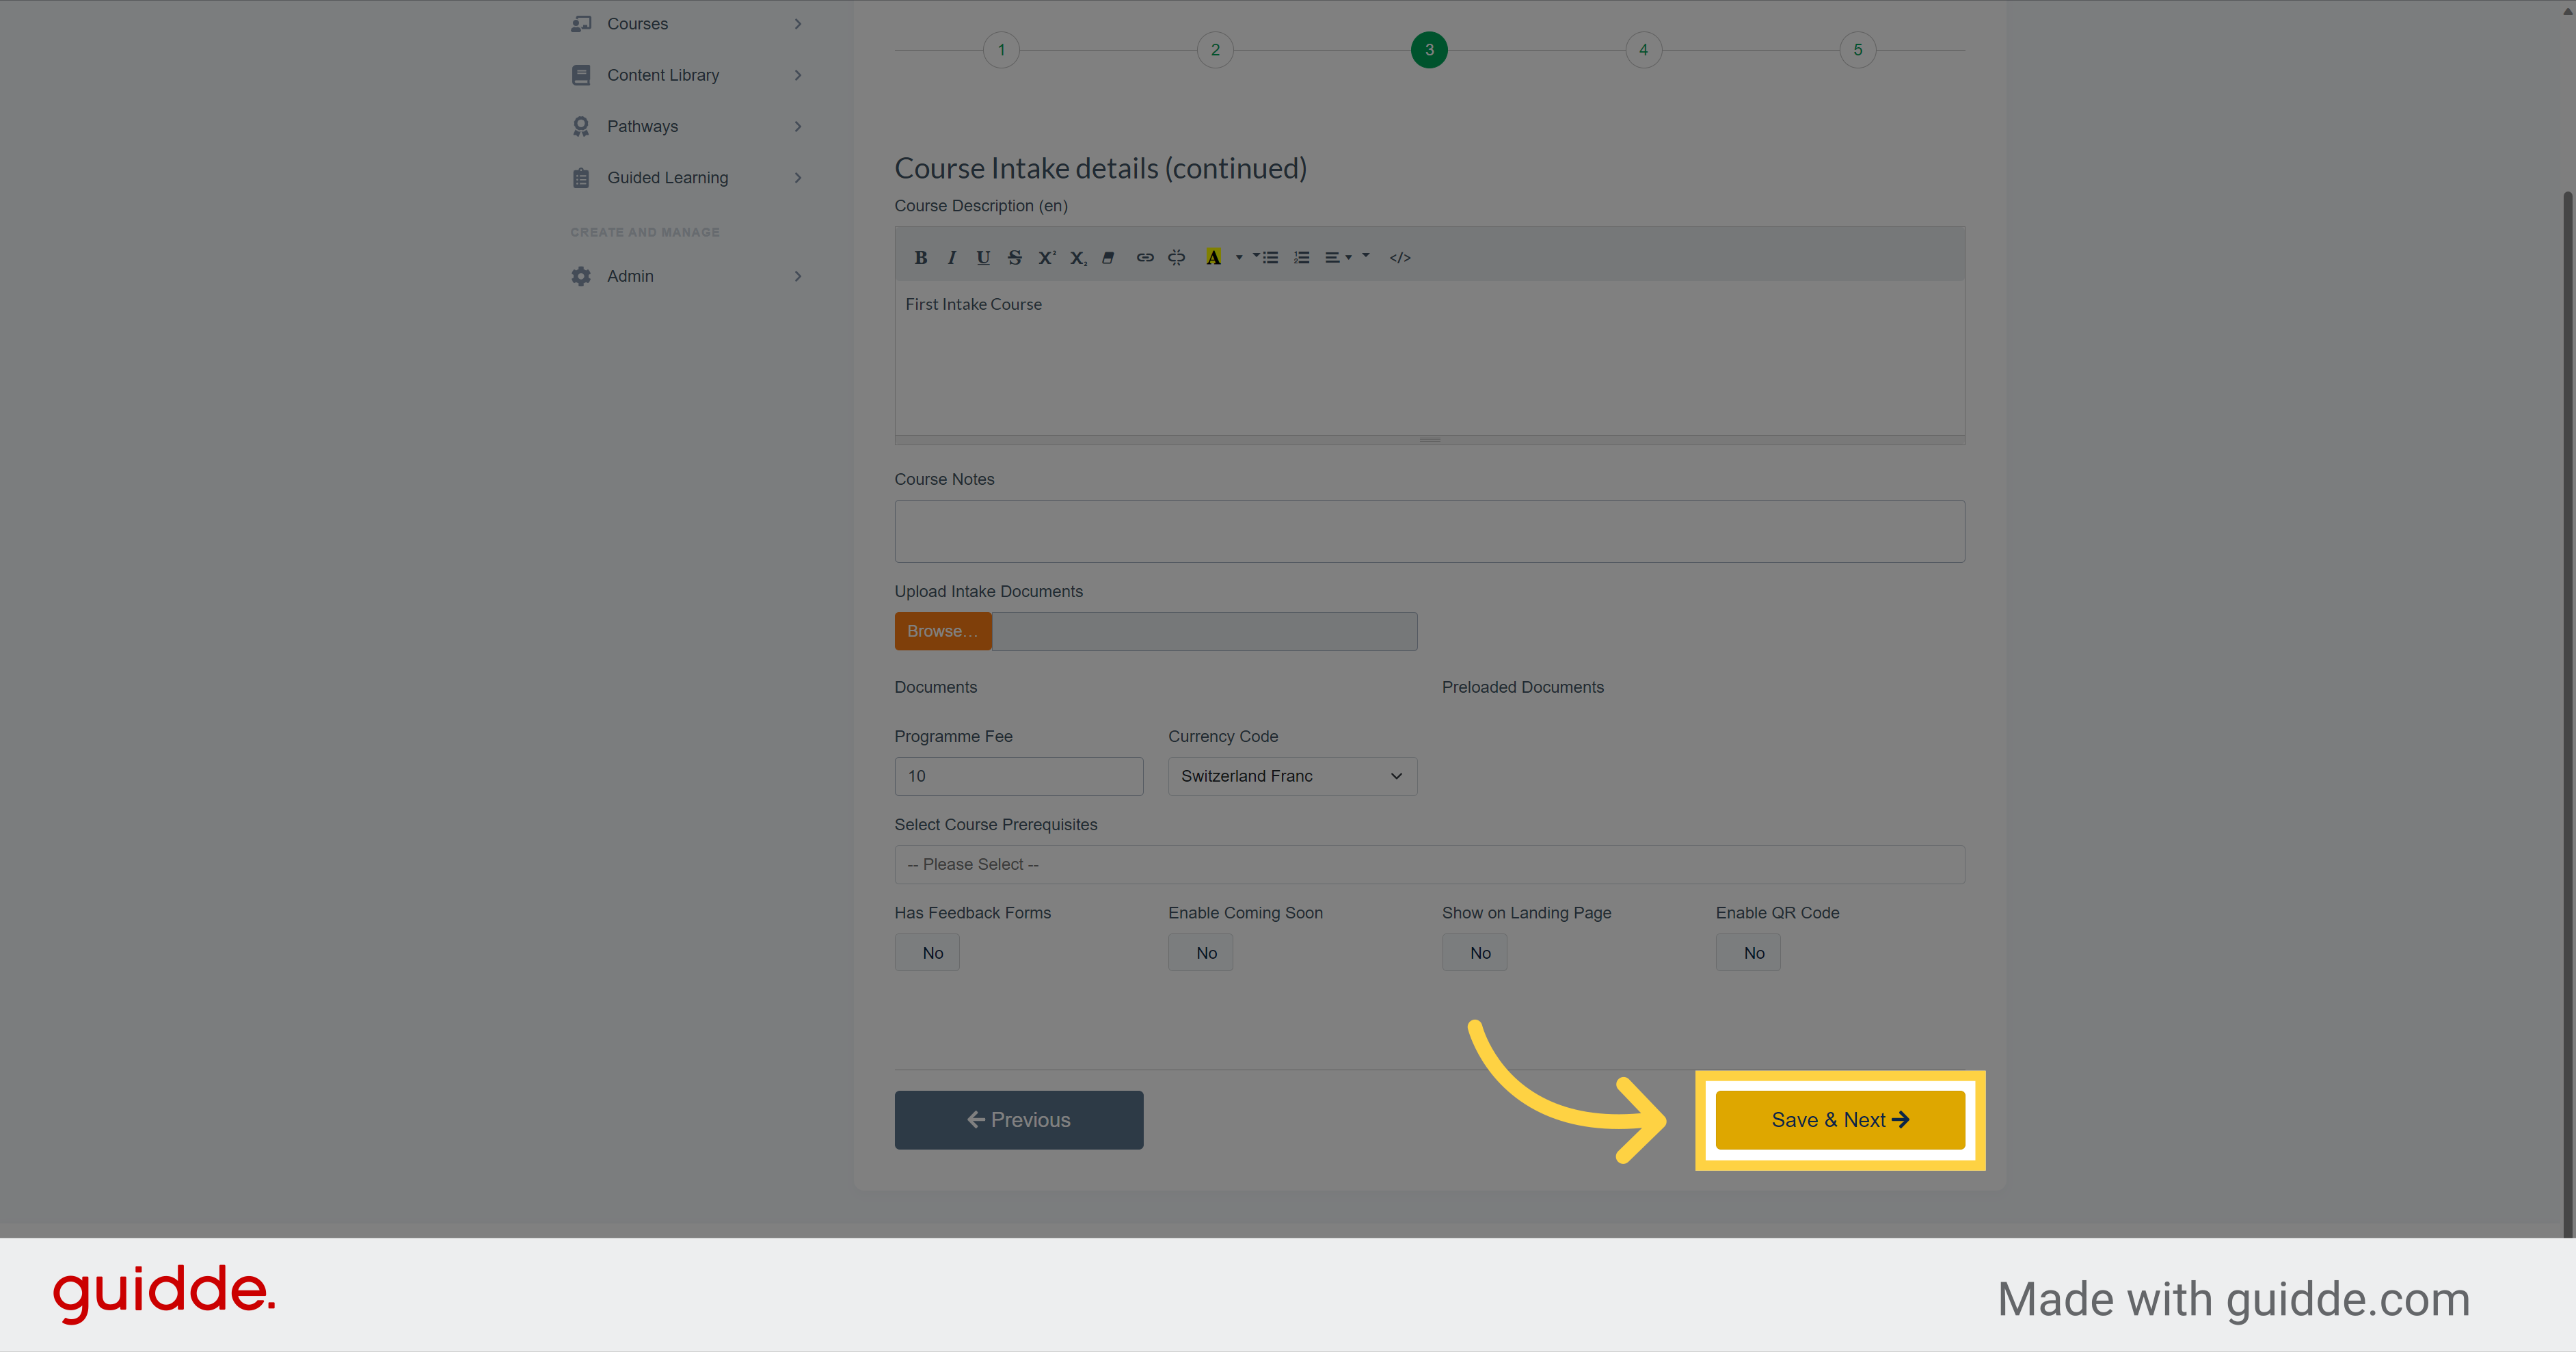
18. Click "Save & Next"
Once you are satisfied with your settings, click on this button to move on the final creation step of your course
19.
You are now at the fourth step of creating your course intake. Here you will chose who will run the course and who will participate in the course
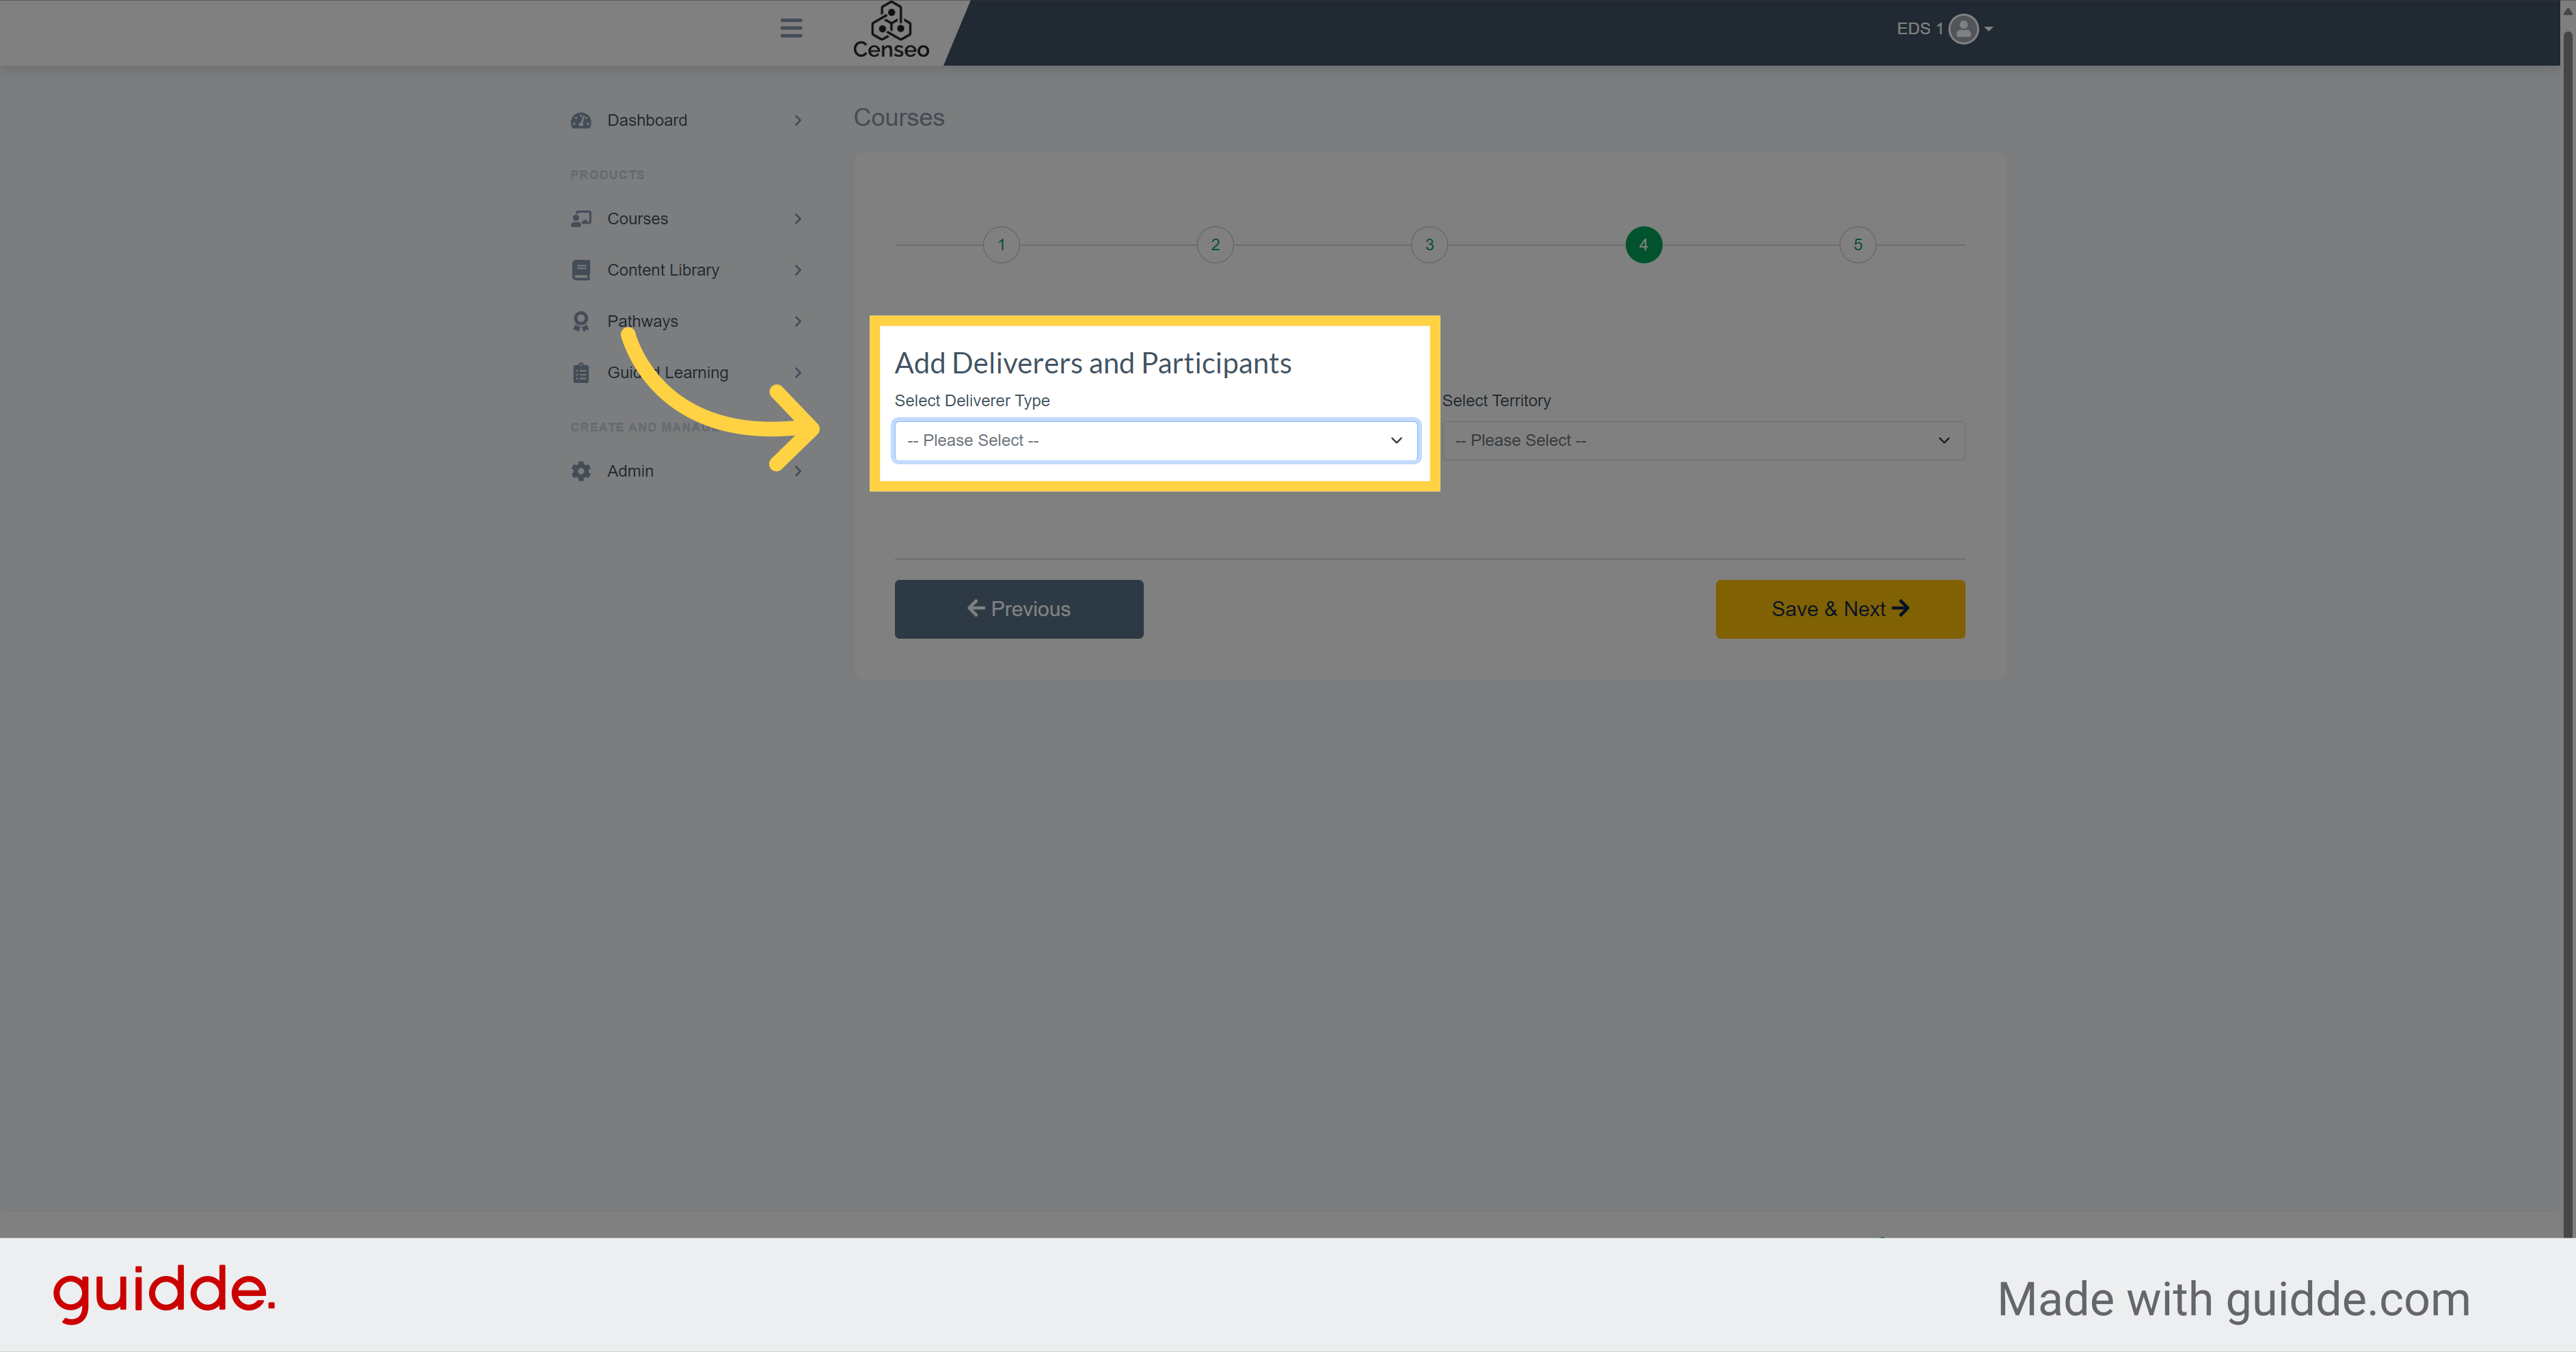
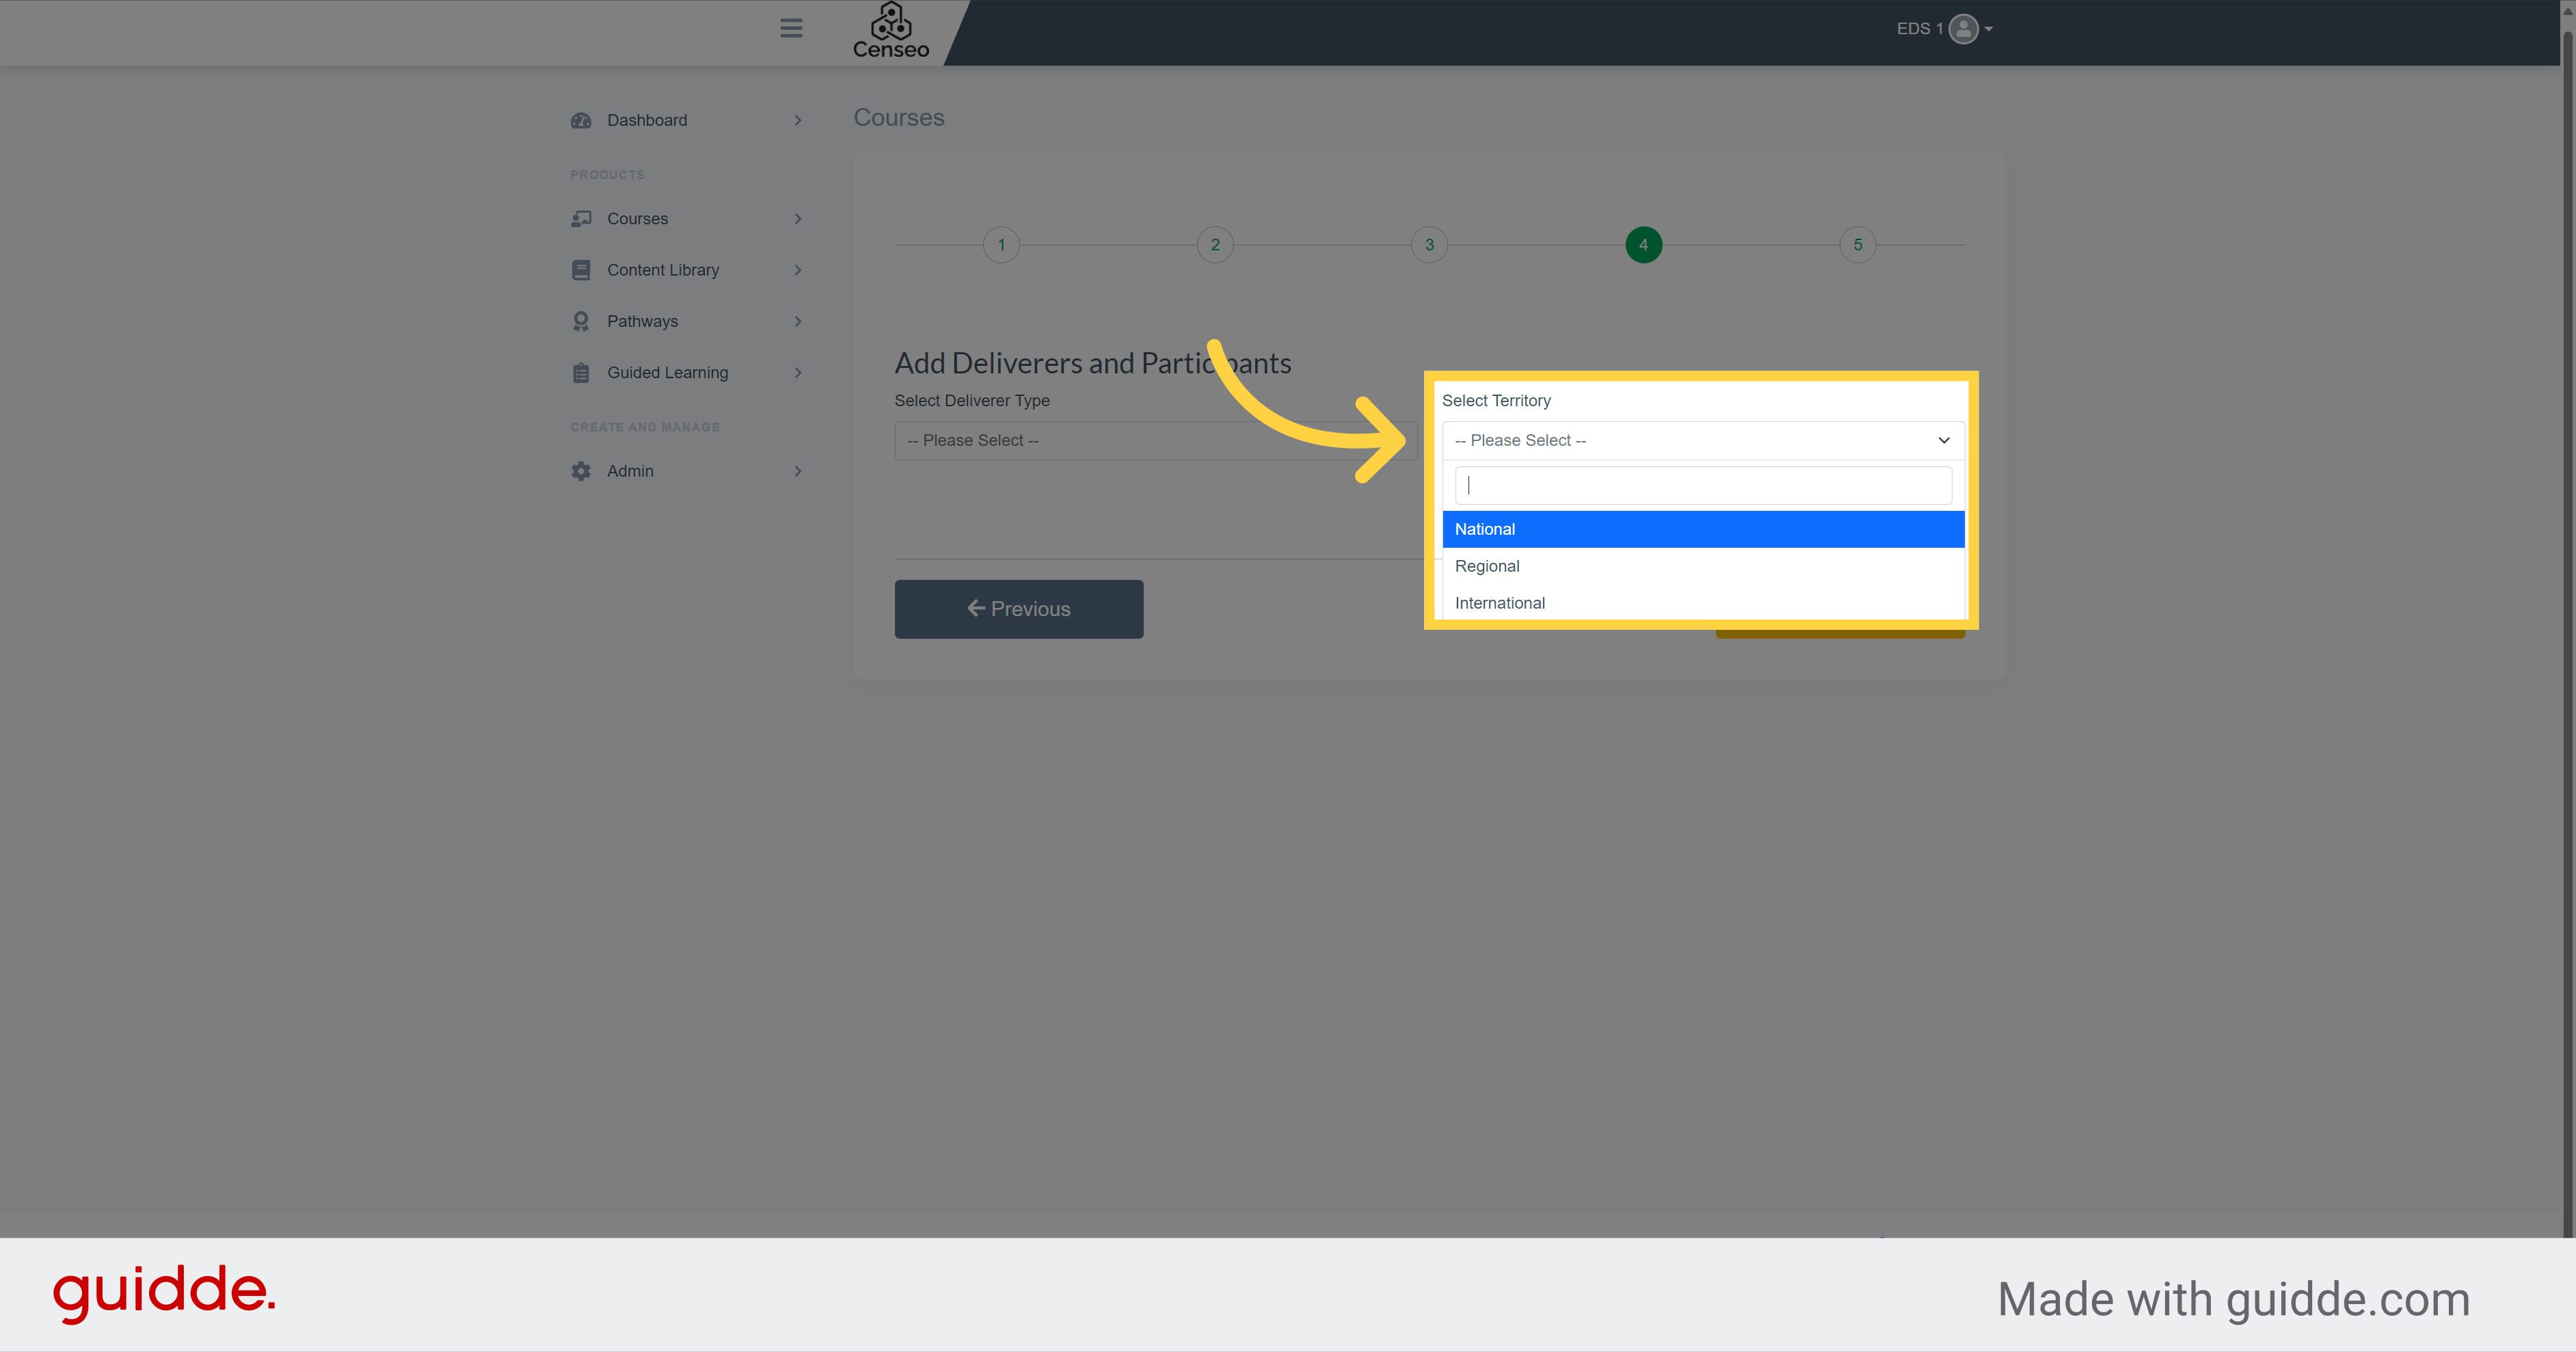
20. Click "-- Please Select --"
If you click on this dropdown menu, you can chose the territory of the course.
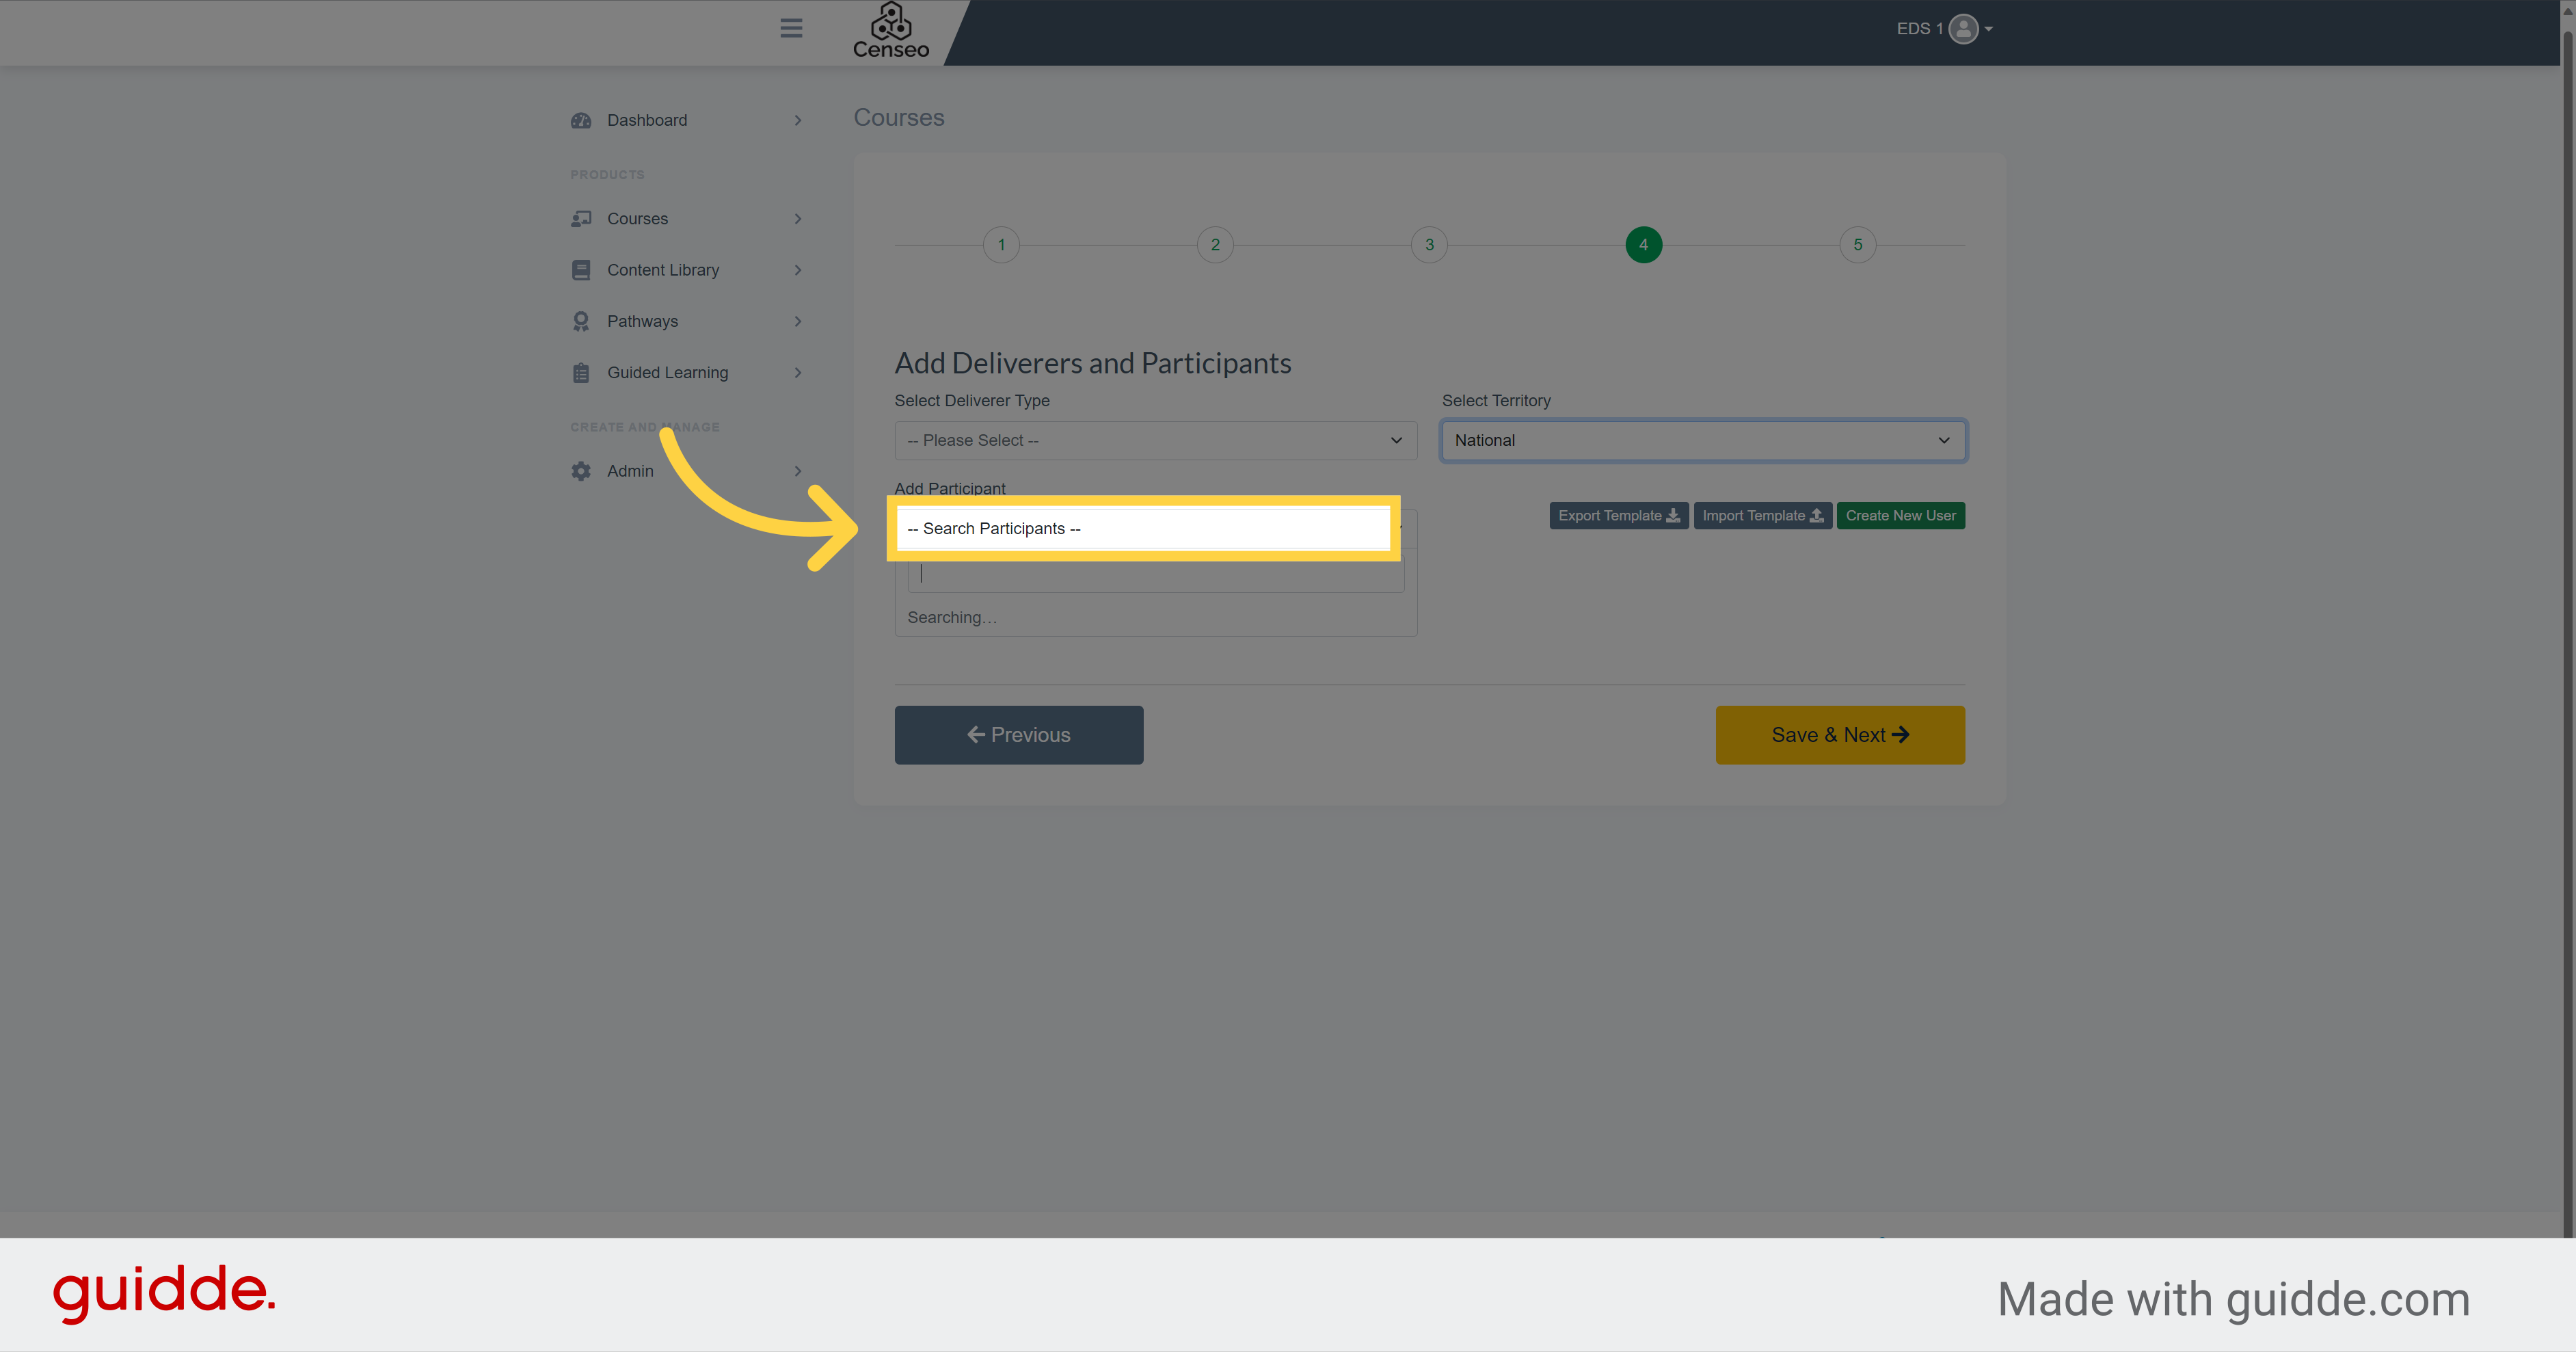
21. Click "-- Search Participants --"
Chose here the participants of the course
22. Click "Save & Next"
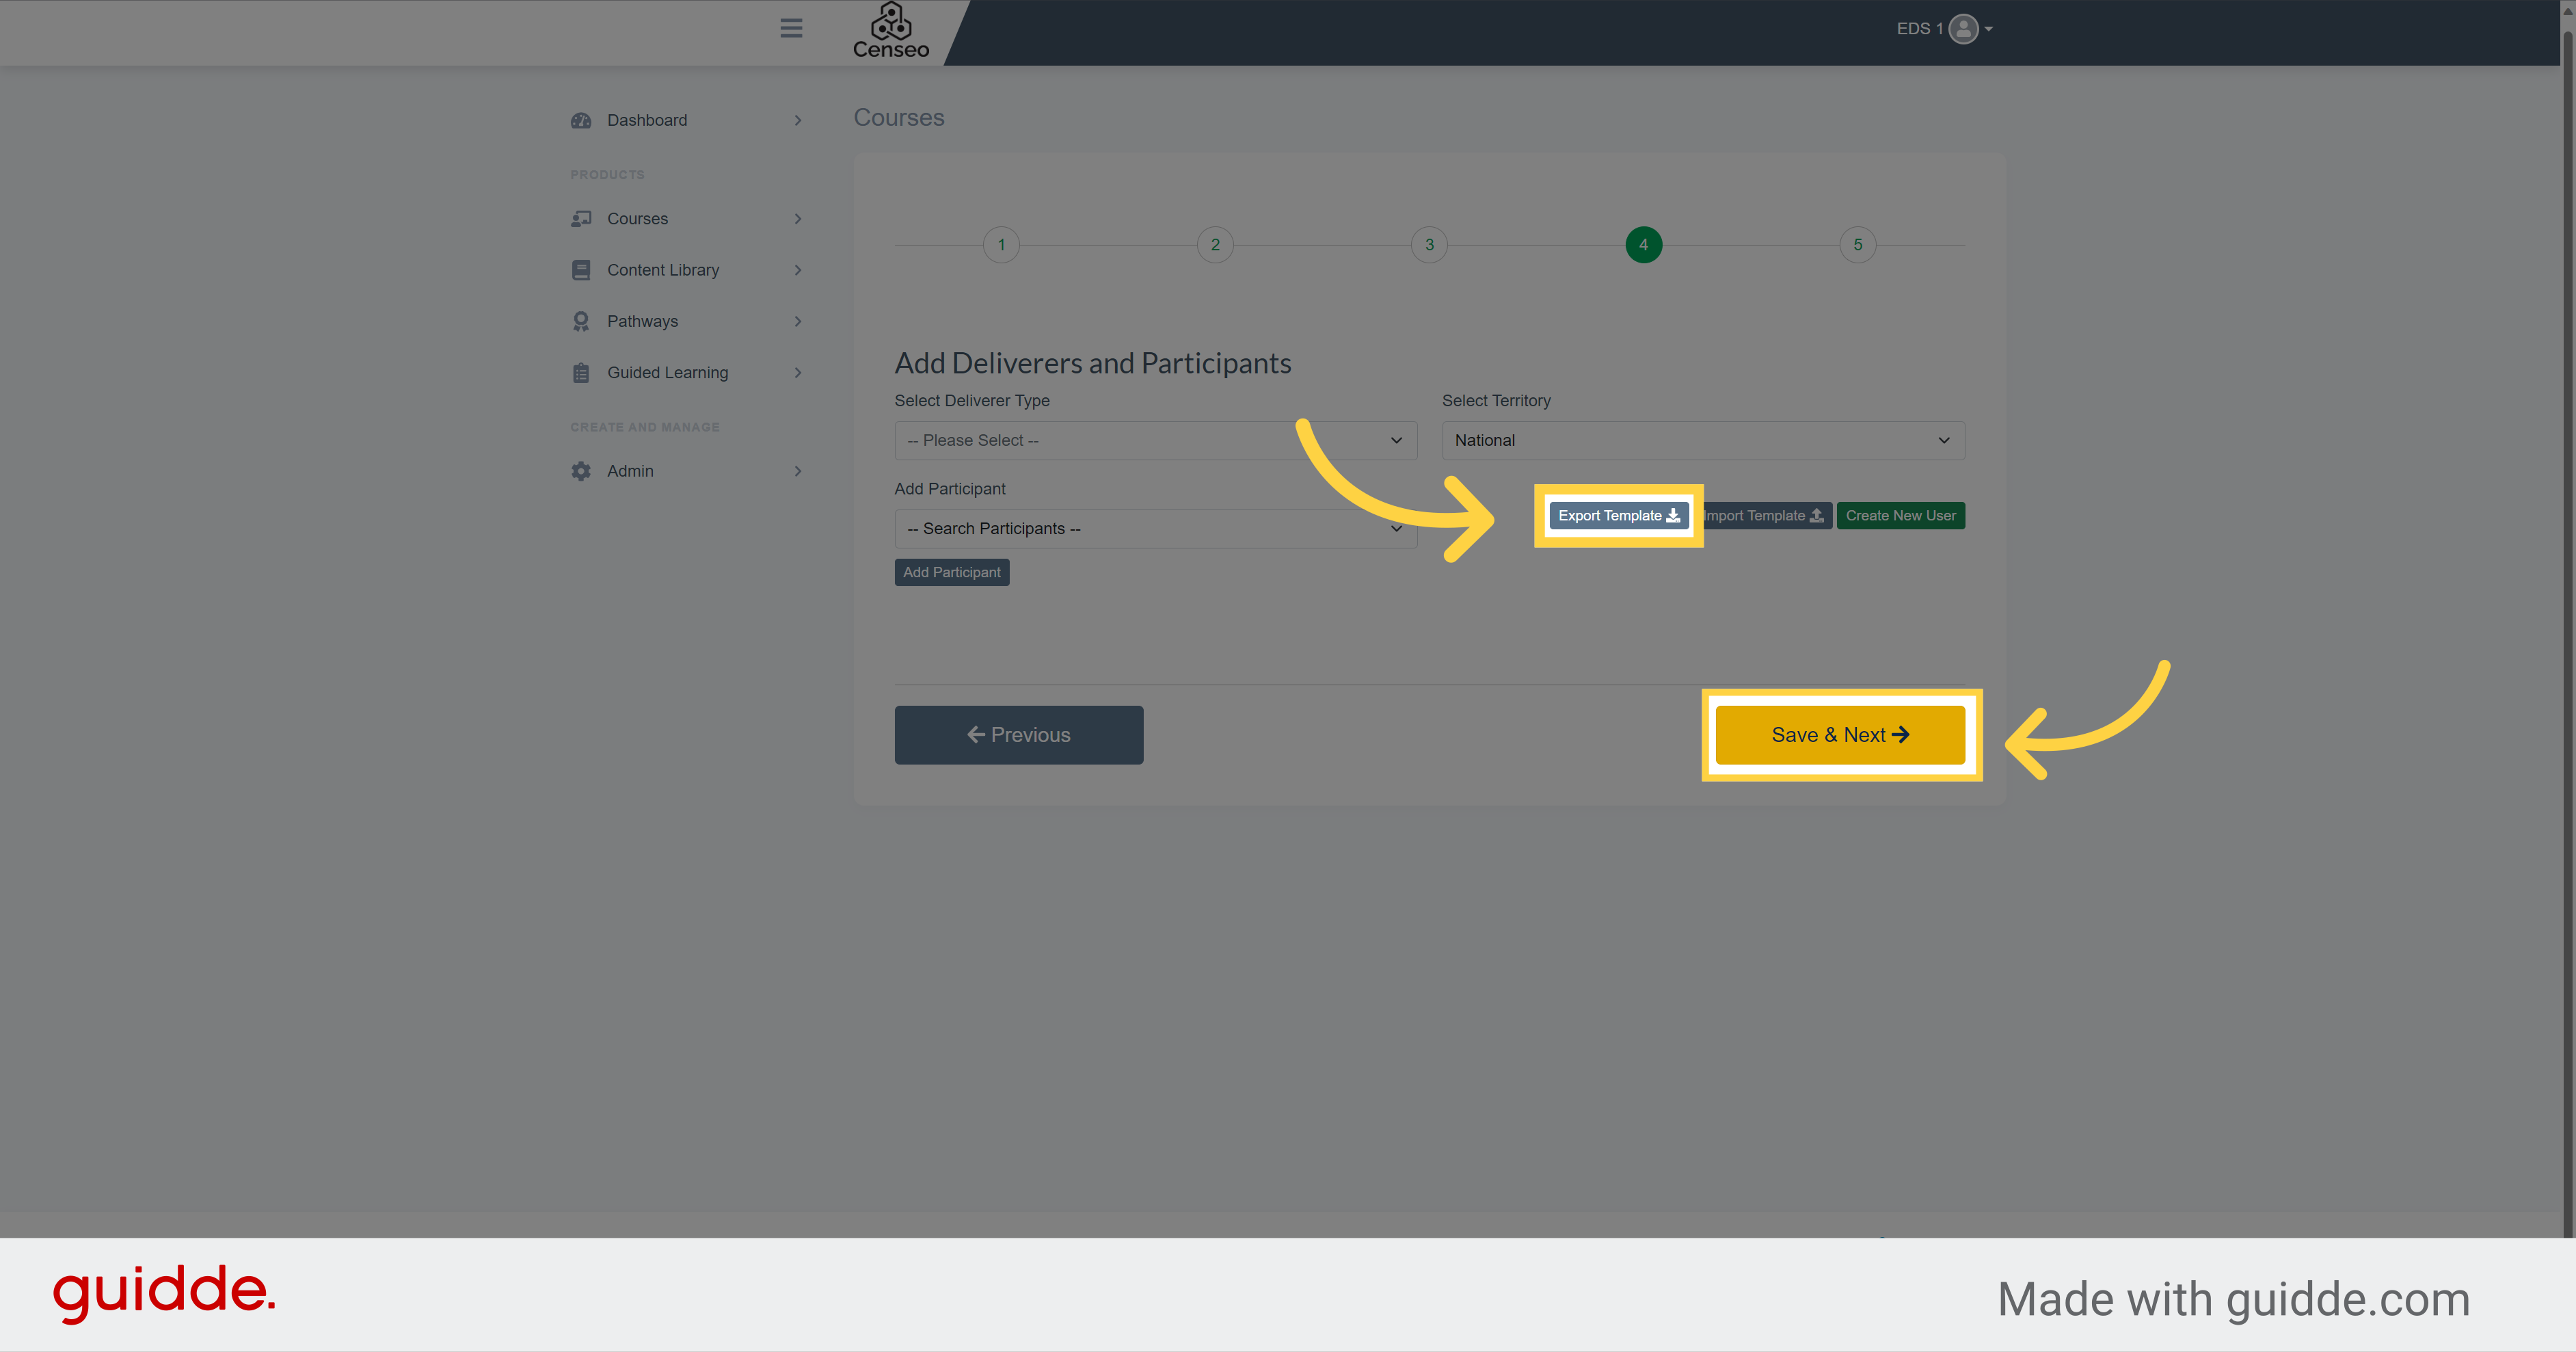
If you have a lot of participants, you can export the excel template and then easy upload an excel list of the participants. Once you are satisfied with the details of your course, click on the save and next button
23. Click "Save & Next"
The 5th step concerns the session. If you have a 5th step to set up, it will be detailed in another video. To validate and create your course intake, click on the save and next button.

Your course intake is now created and added to your master course. In this guide, you were guided through each step, from creating a new course intake to filling in the required information and saving your changes. Now you can easily create other courses intake